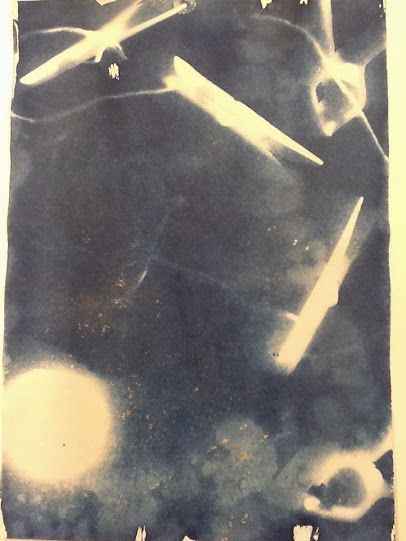
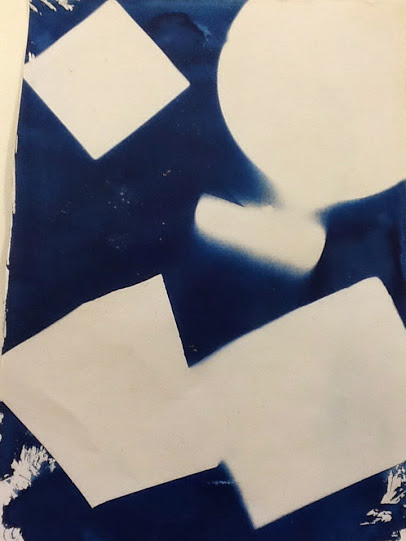
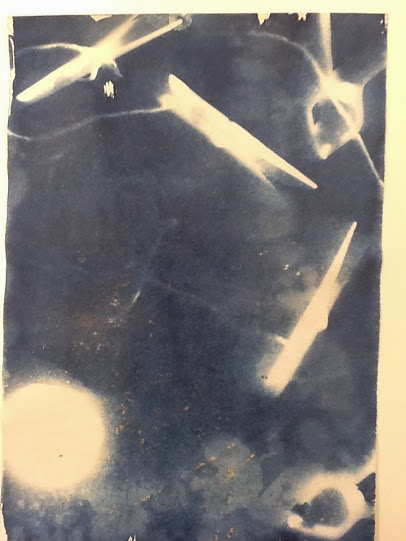
Cyanotypes
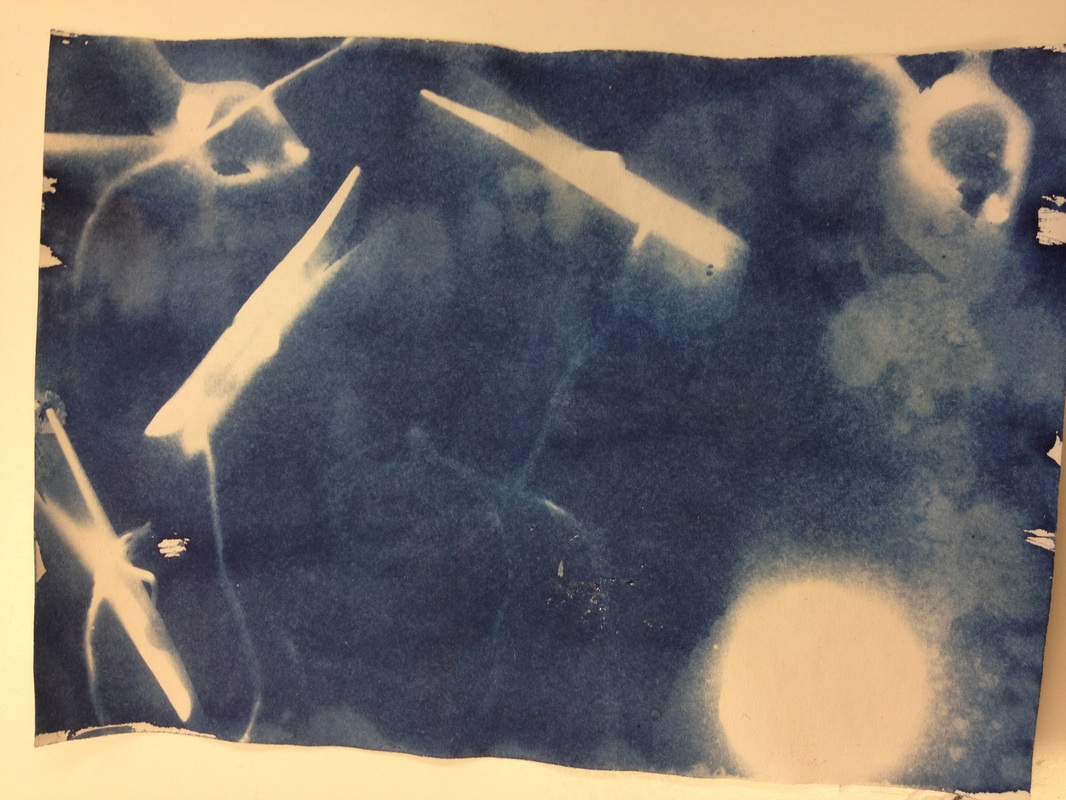
The images to the right are the finished products of my cyanotypes, I am quite happy with how they came out considering we did them using natural light outside so the pattern wouldn't be very sharp as the wind moved the objects a bit.
|
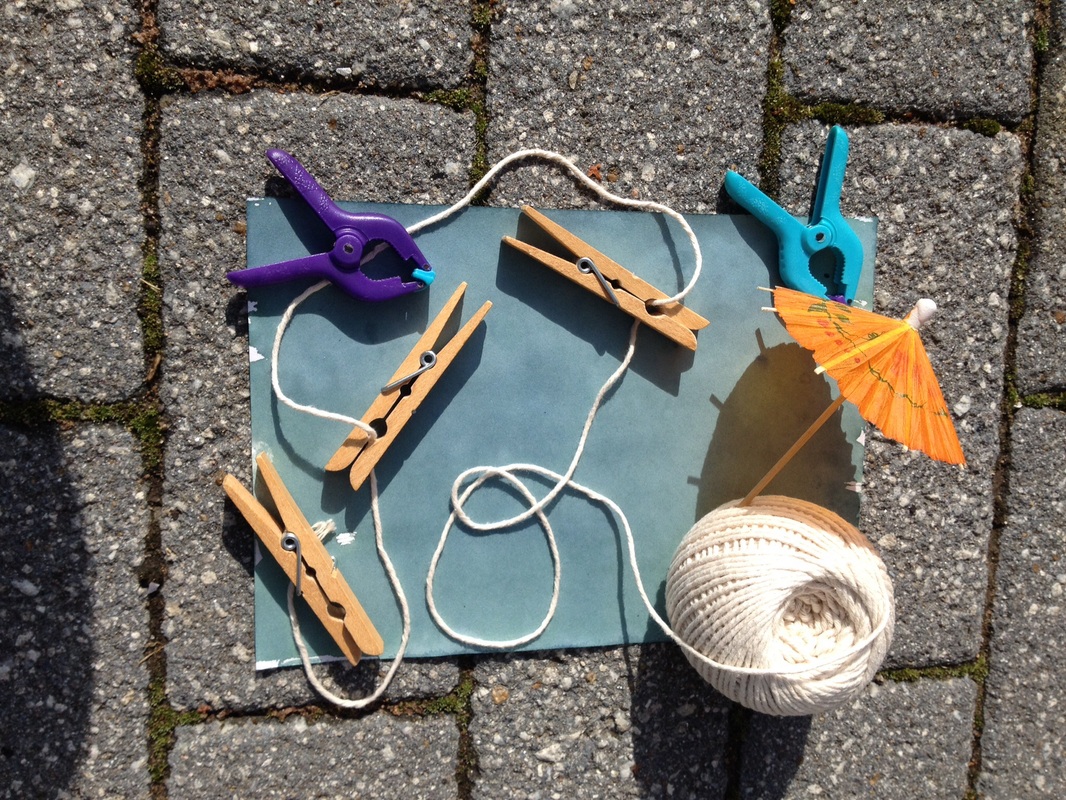
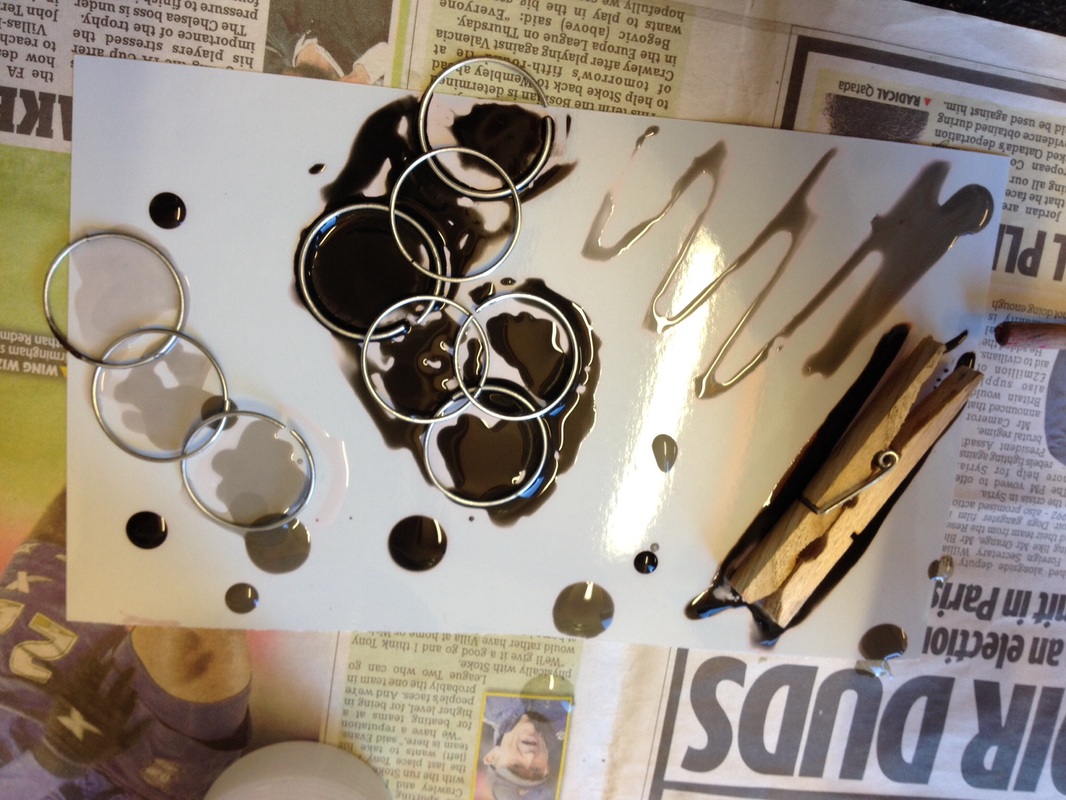
This is my first attempt of a cyanotype, I got some paper that had been dipped into chemicals to make it light sensitive and some items. In this case I used a ball of string, a drinks umbrella, some clothes pegs and some plastic pegs. I had to leave it in the sunlight for around 20 minutes and then take it out of the sun and wash the paper to take the chemicals left off the surface of the page and then put it in some water to soak the paper so it gets rid of all of the light sensitive chemicals so the paper doesn't change anymore.
|

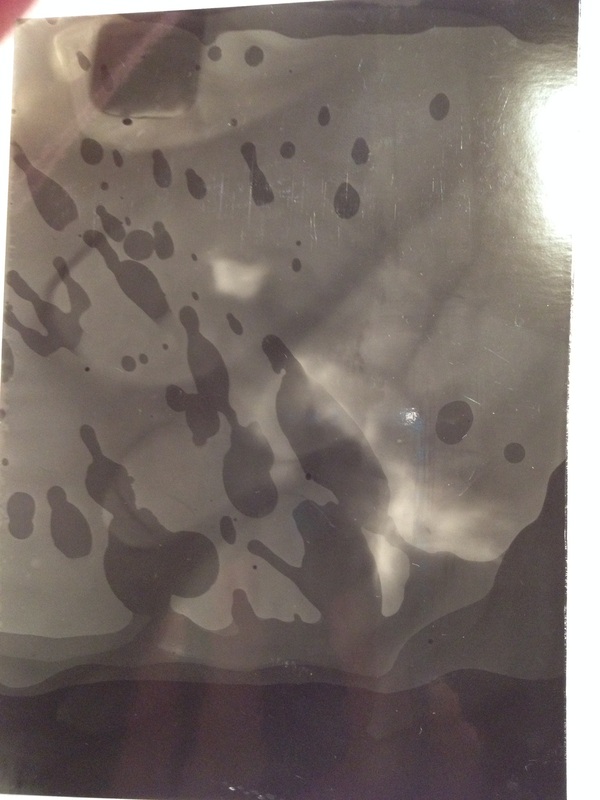
CHemigrams
|
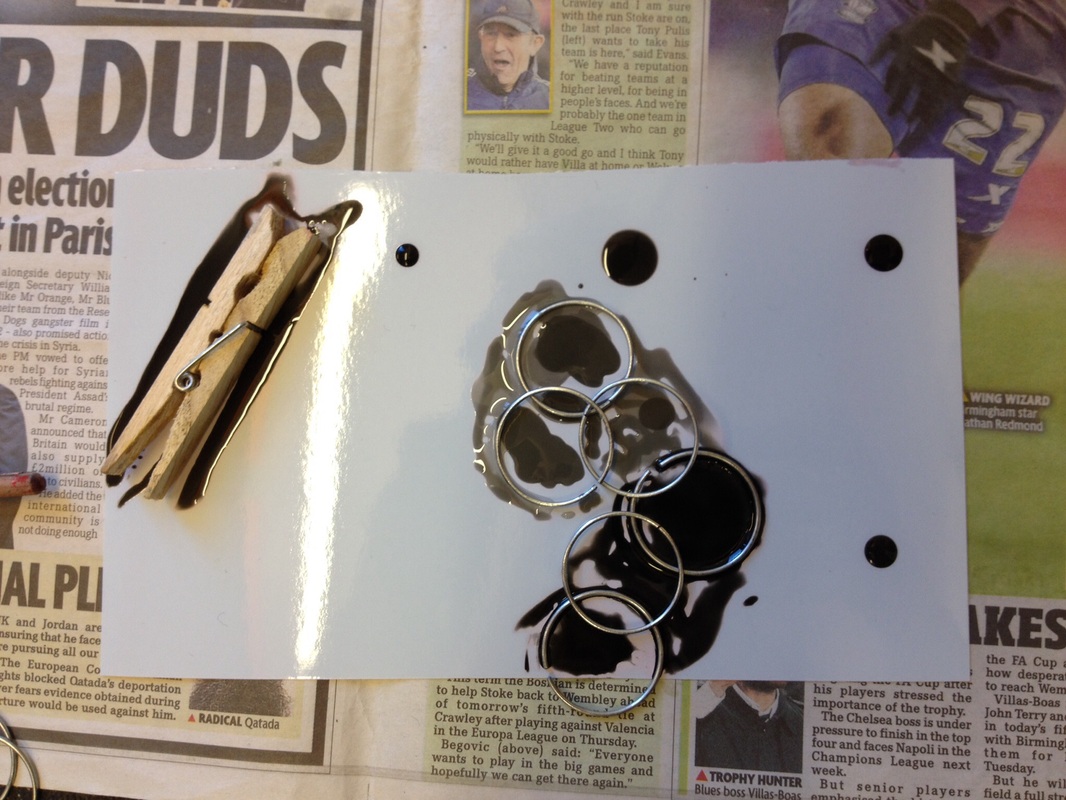
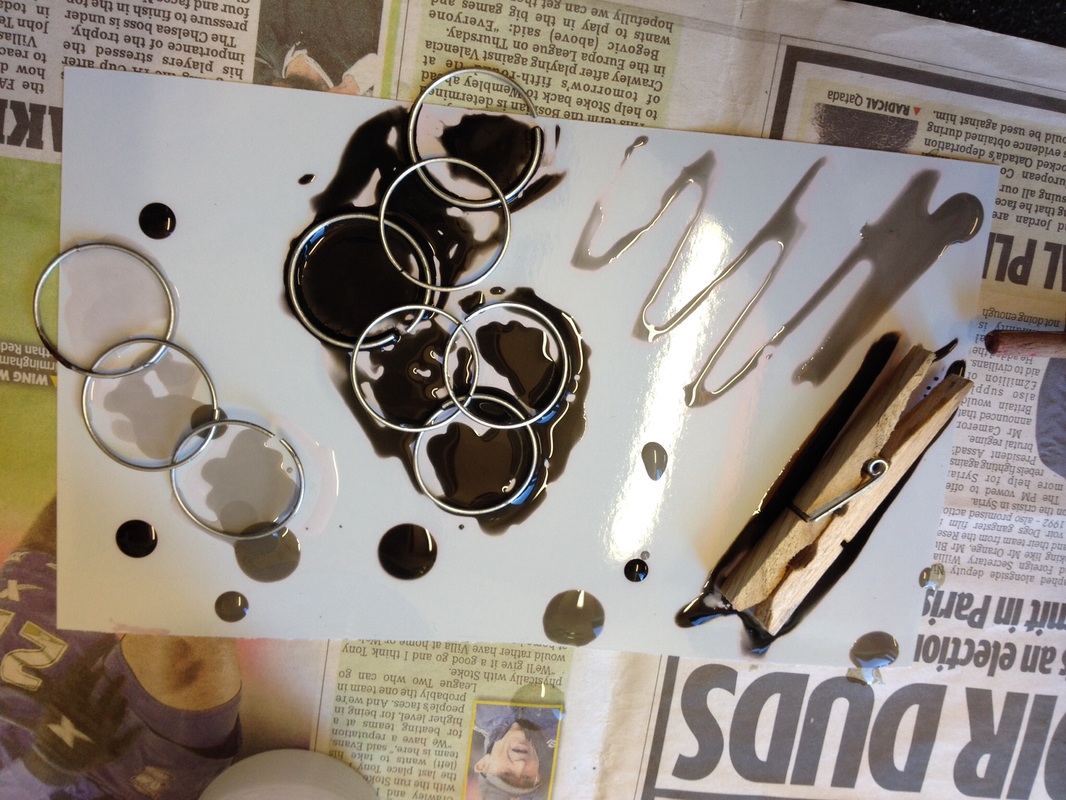
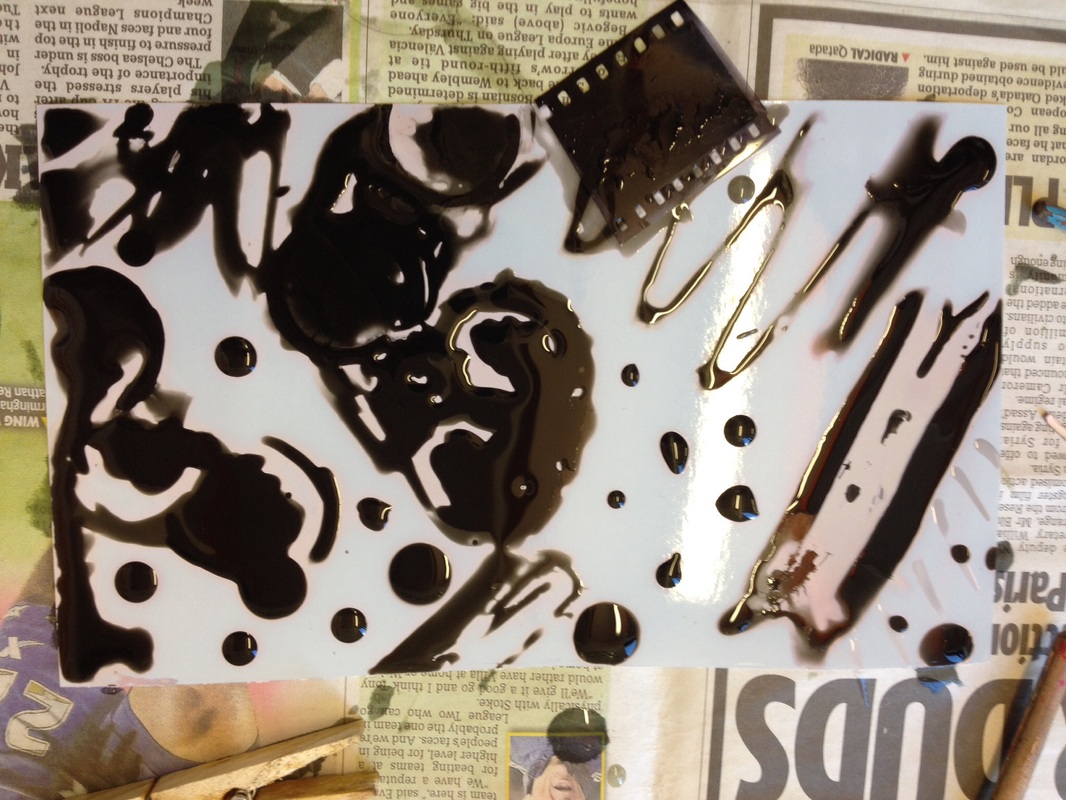
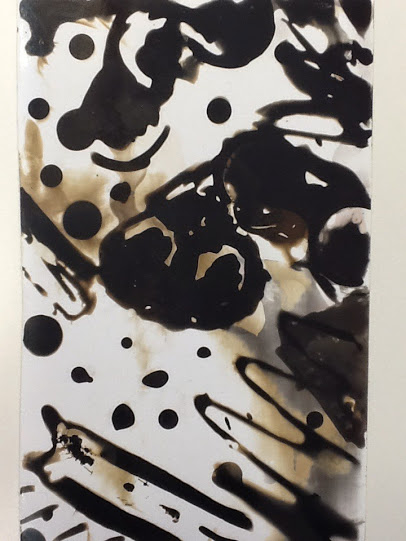
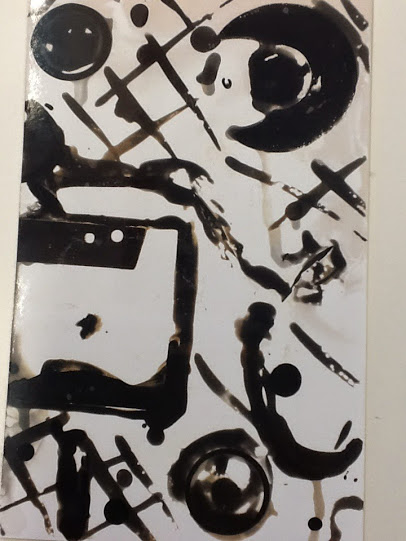
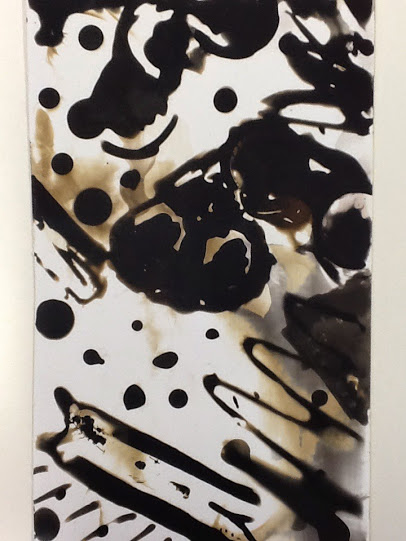
The images to the right are of my first chemigram, we had some light sensitive paper and some chemicals which started the reaction and made the paper turn pinky then grey then black, after we decided that we had finished our chemigram we had to run it under water to wash off the chemicals and then put it in a bowl to stop the reaction from happening. I was quite happy with my chemigrams as they are really abstract however I can still see what some of the objects are.
|
|
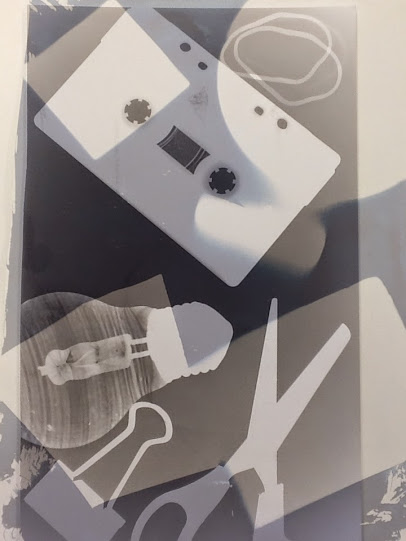
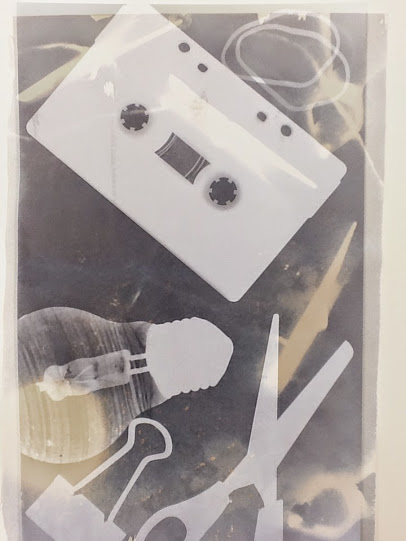
photograms
In a lesson, we decided that we were going to make photograms. It was a lot easier than I expected, however it did take a few attempts before I was happy with the tone of the darkness.

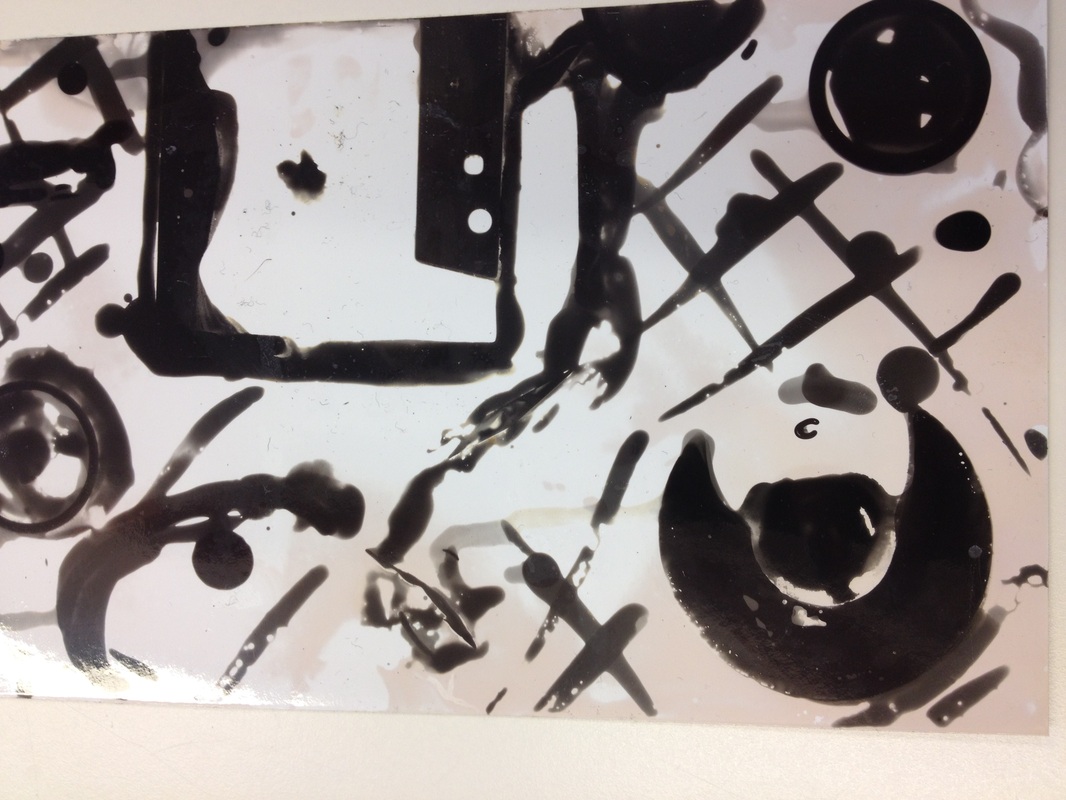
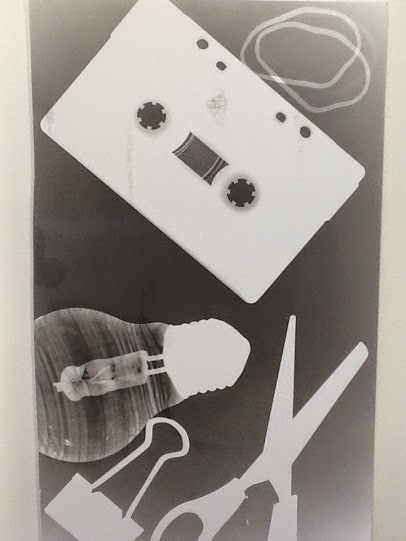
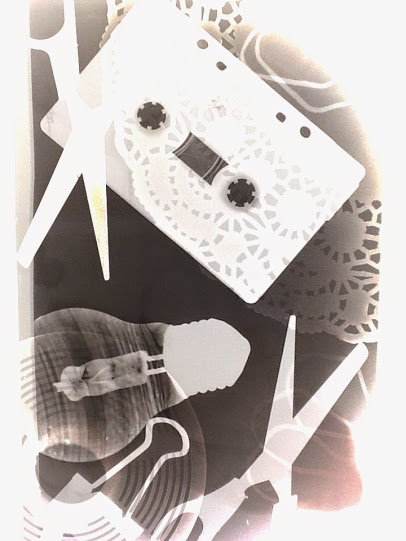
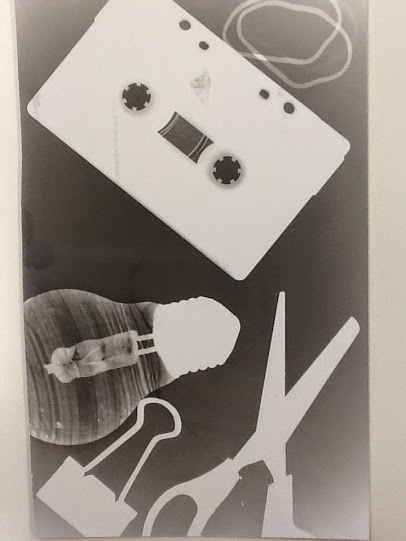
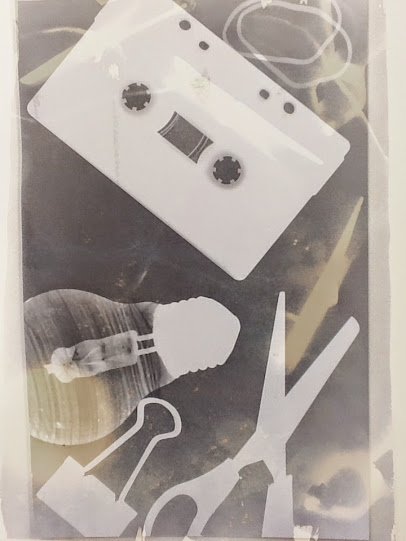
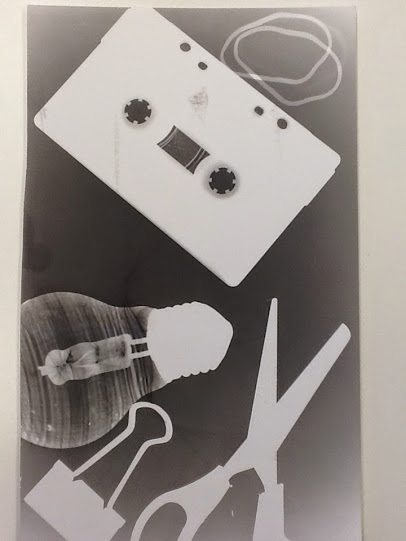
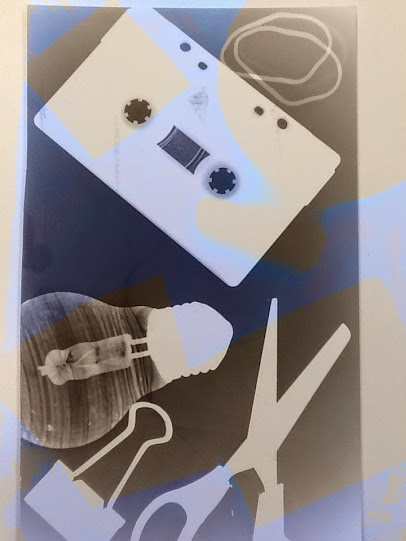
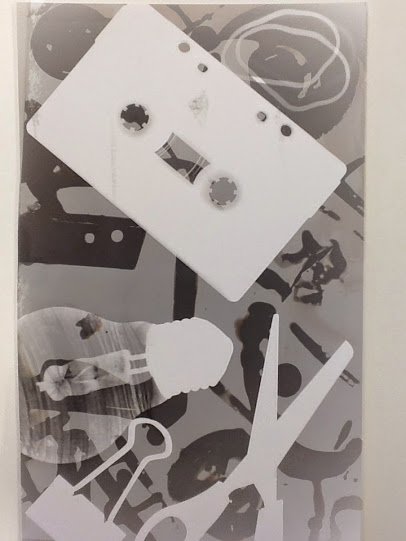
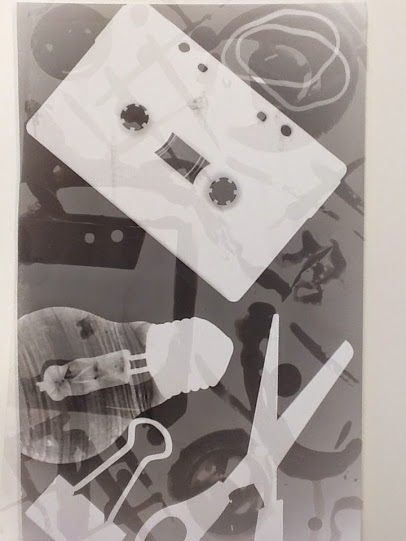
The image to the right is the first proper photogram I achieved, it has a clip, a light bulb, scissors, a tape and a rubber band which I moved once to cause an effect that there are two rubber bands.
I am quite happy with this image as it is very clear and you can tell what each object is, also I like how the light bulb has lots of small lines on it which makes it look like it's three dimensional and popping out of the paper. I also like how the tape is very clear and has very precise lines. 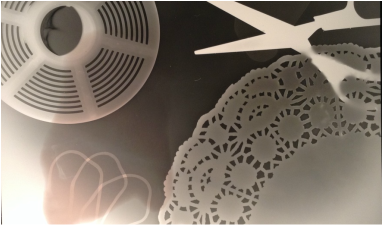
|
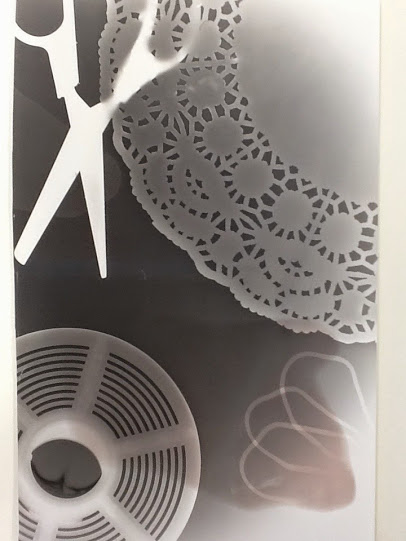
The image to the left is the test strip that I made to make sure the lamp that I was using to make the photogram wasn't too bright so the flash of 0.5 seconds didn't change the whole piece of photographic paper black.

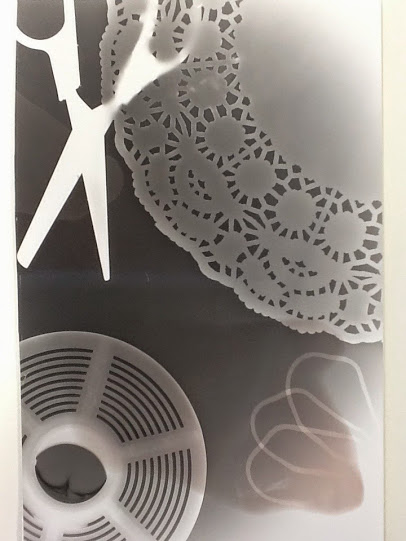
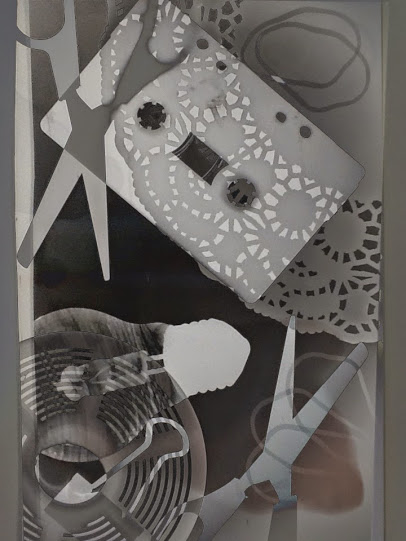
The image to the left is of the second photogram I made, this consisted of a circle, some scissors, a rubber band and some decorative material. I am also quite happy with this image as well, I like how the decorative pattern on the material came out quite well as it shows all of the different intricate details.
|
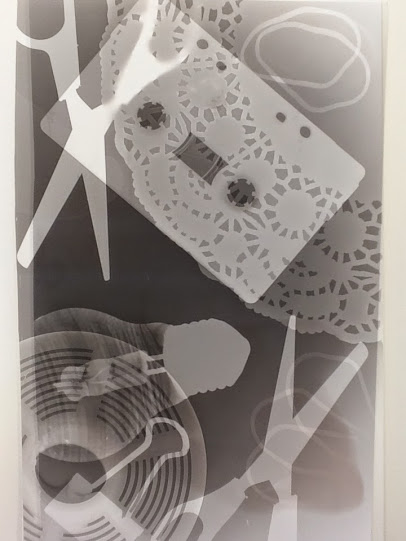
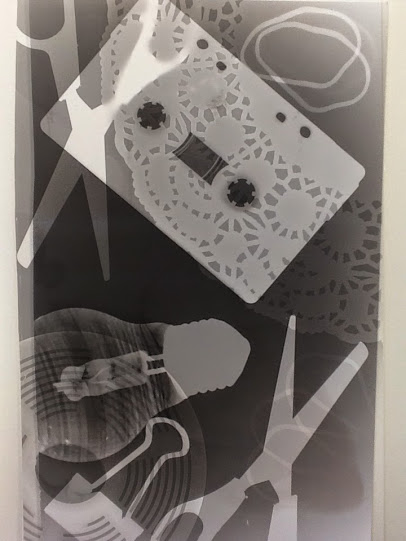
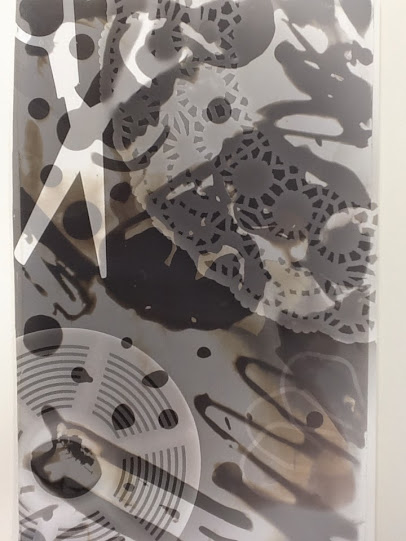
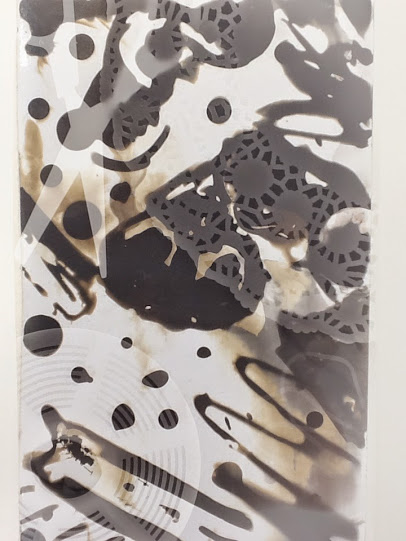
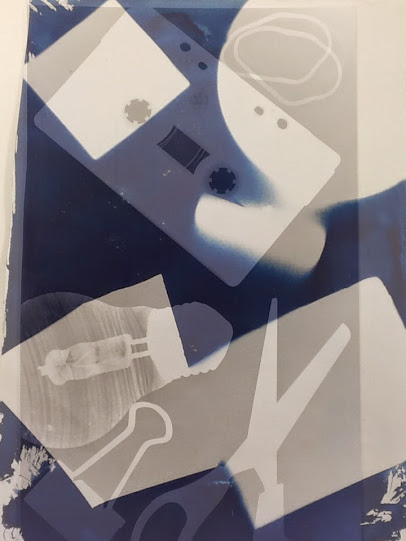
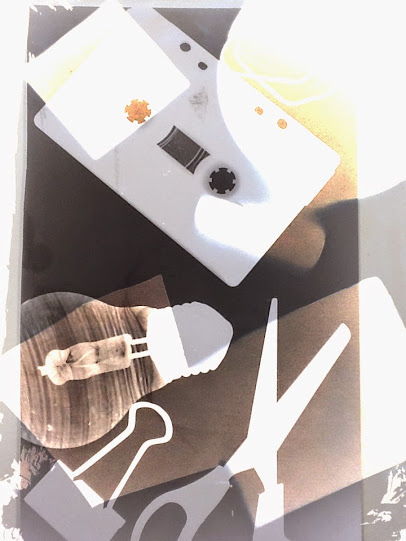
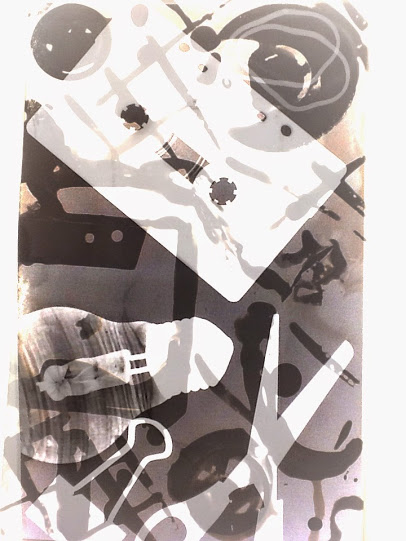
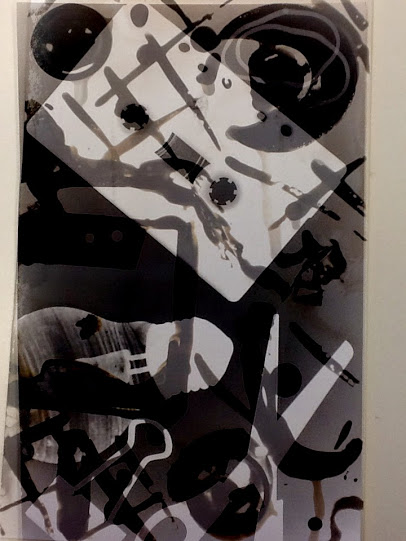
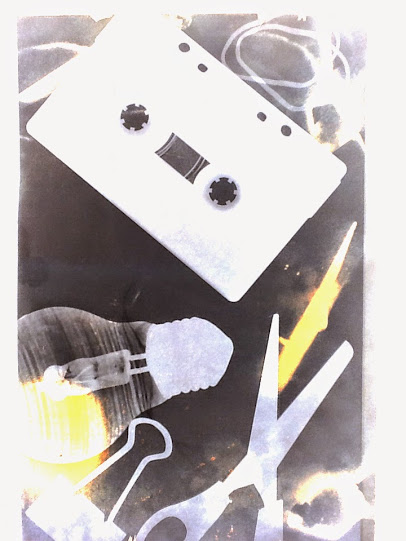
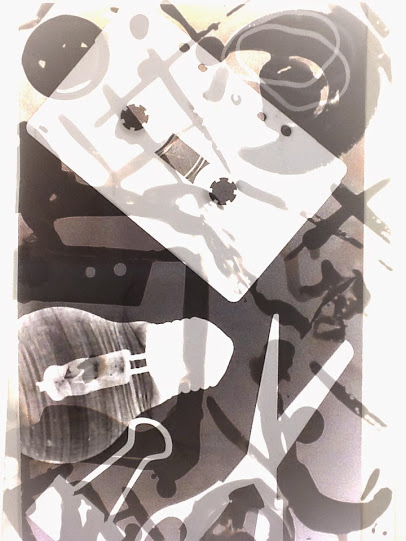
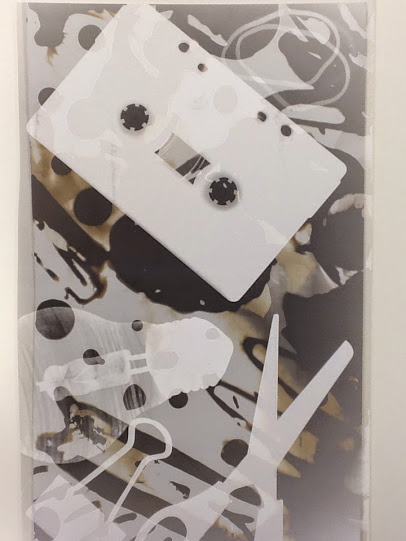
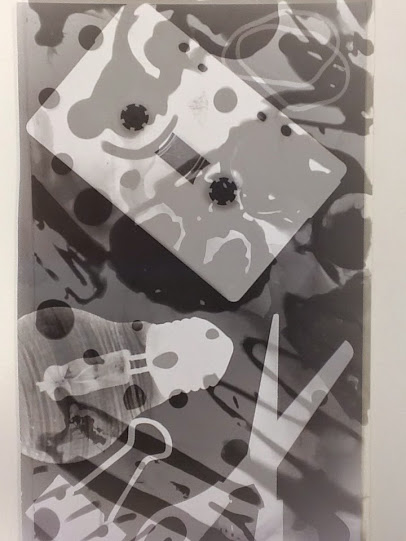
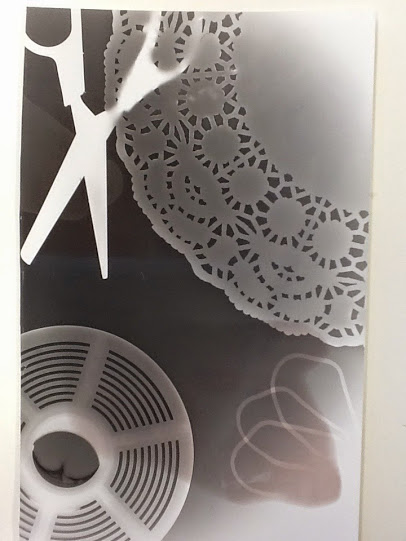
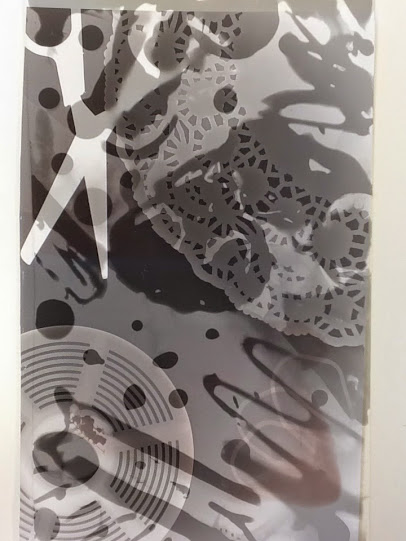
Image blender
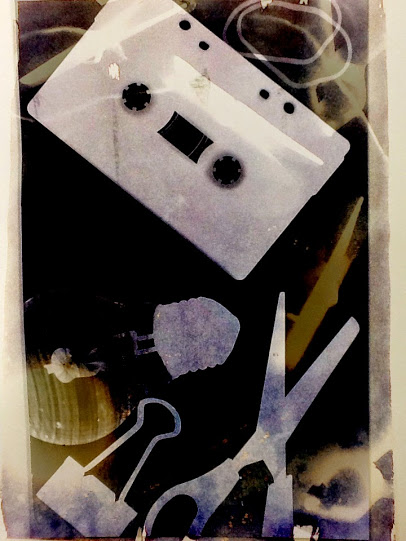
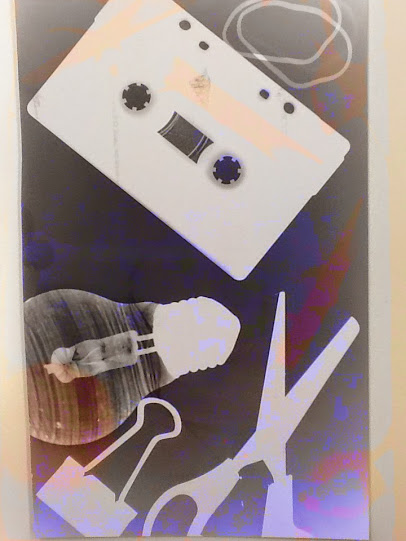
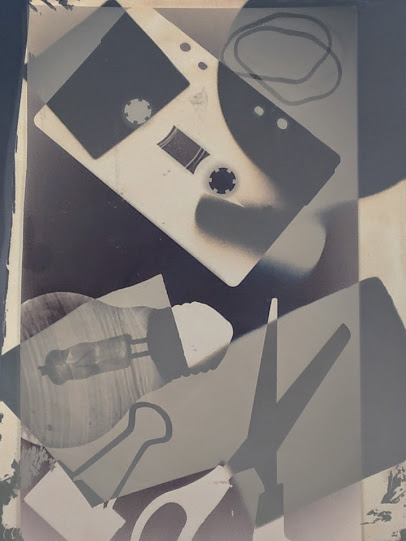
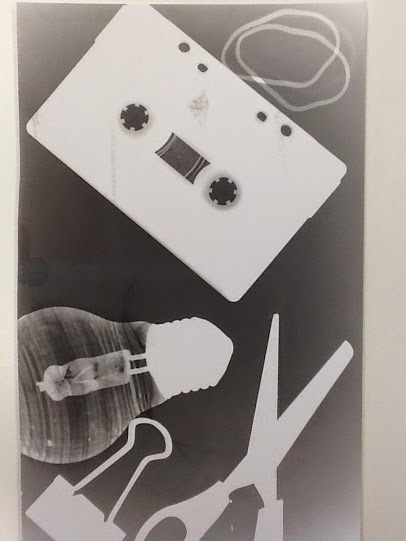
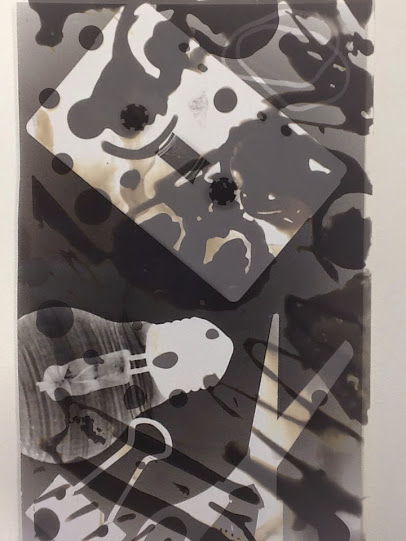
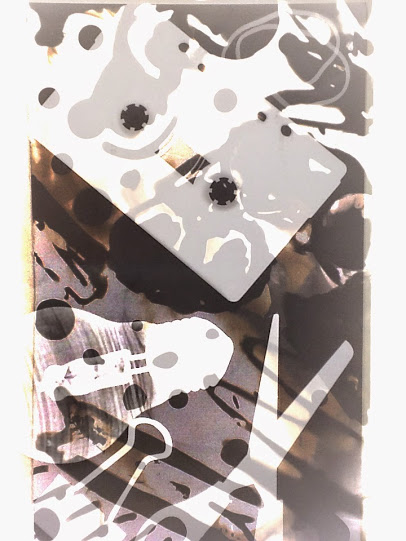
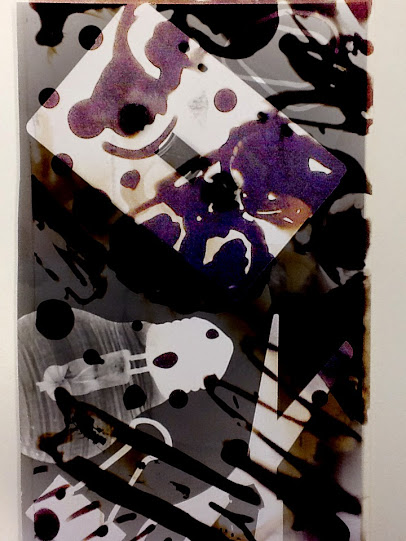
These are my cyanotypes, chemigrams and photograms. The images below are of two of my images mixed together.


pinhole images
The images below were quite difficult to take. To begin with we had to get a pinhole camera- this is an object that can have a pin pierce one side and have an image projected on the other. You have to put a bit of photographic paper on the opposite side of the pin hole inside the camera and then put a lid on the container so it is completely dark inside so the paper will not become affected until after it has left the dark room which is why we had to have our finger over the pinhole when we went outside the darkroom until we had set the camera down where we want our image to be of. The first time I tried it, I left it for 3 minutes- this was way too long and the image mostly went black, the second time I did it for 1 minute 30 seconds this was still quite dark- however the main issue with this image was once it was developed it was a bit blurry as I think the camera moved whilst it was creating the image. The final image I did for 1 minute, it was the best one and came out quite well.
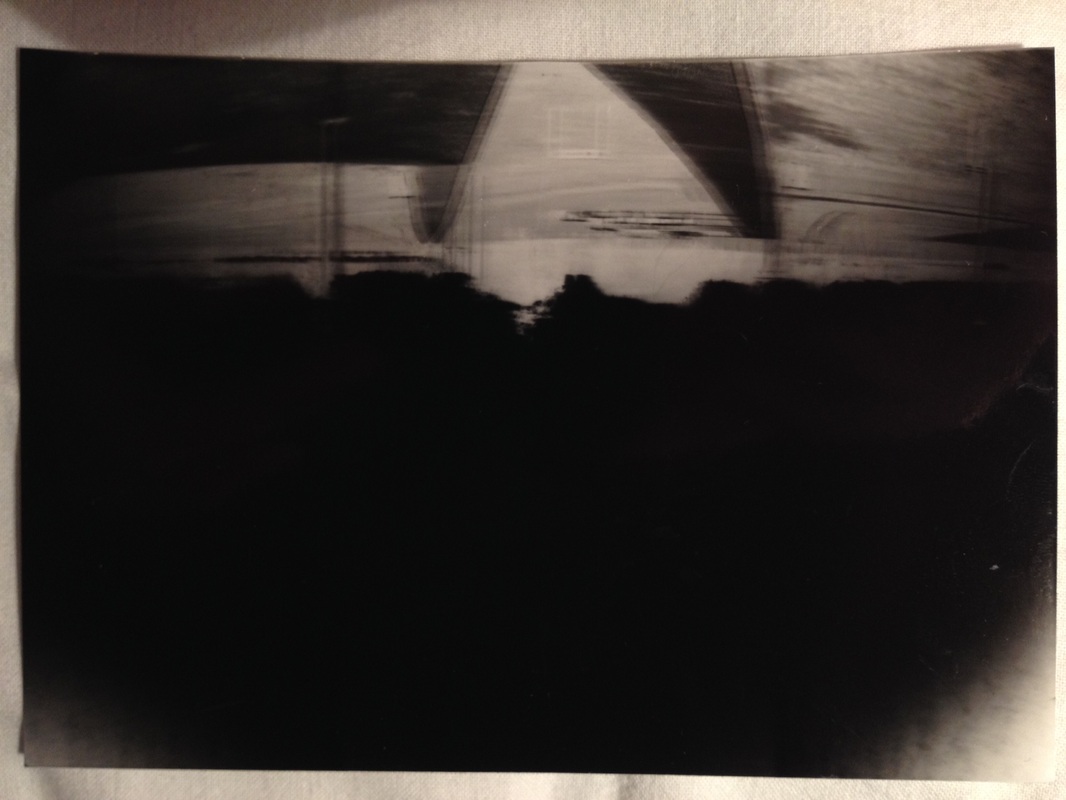
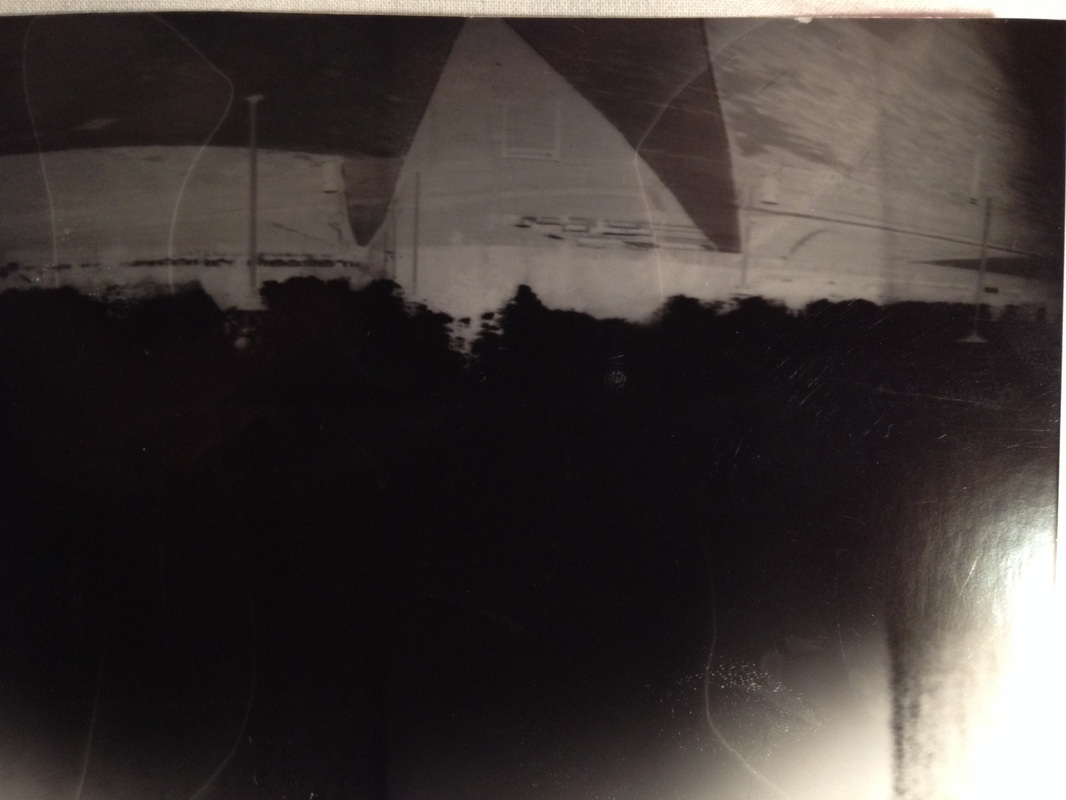
In the end, I think the last image was a success whilst the other 2 images seemed to be a failure. I quite liked using a pinhole camera however it is very time consuming and difficult to get a perfect image without it being completely blurry.
