EXTERNALLY SET ASSIGNMENT 2015
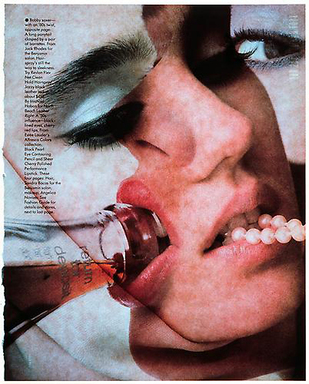
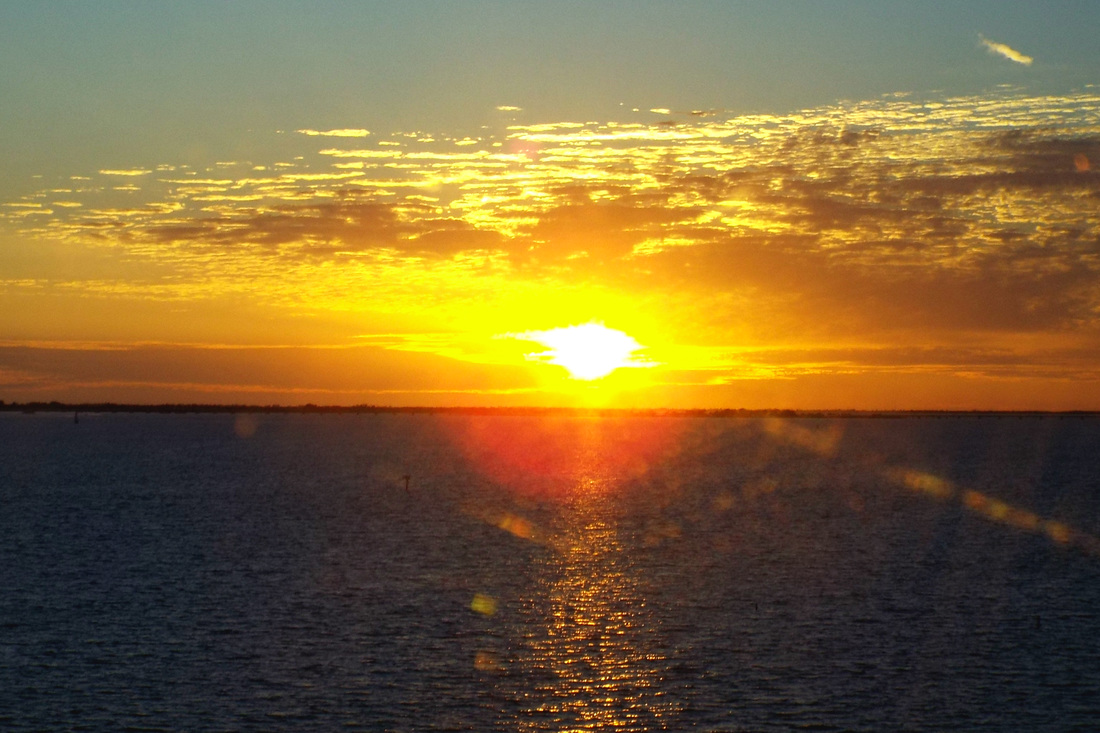
The images above are of the photography external set assignment. After reading through the specifications, I decided that I am going to do my project on the weather as I love the weather and I talk about it daily which is why I decided that it would be a good idea for me to do this as my project.
The mind map above is summing up everything from my project and everything that I want to do through out this unit. It shows the idea that I have come up with and the problems that may occur throughout the project.
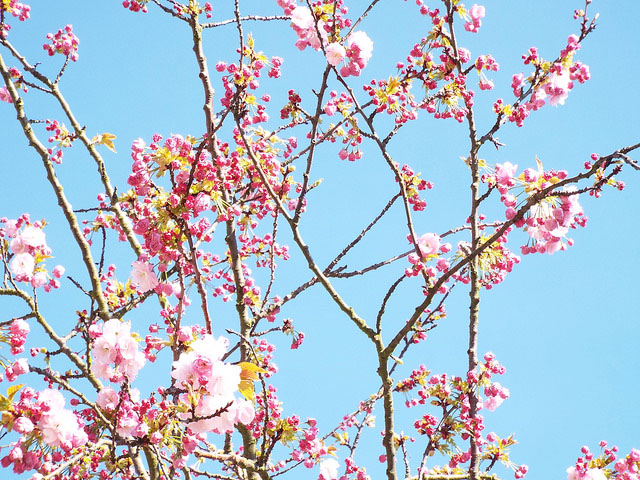
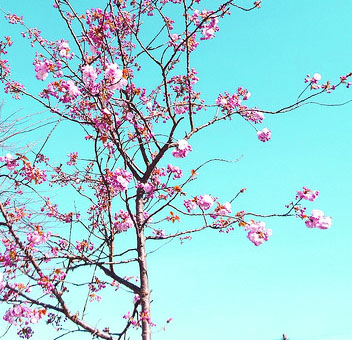
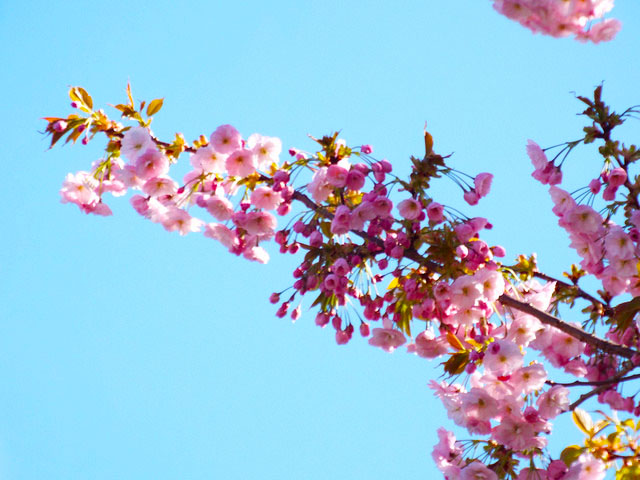
Above is my Pinterest board of all the different images that I associate with the weather, they are not necessarily directly linked however they are linked in some way. This could be because they are all weather conditions or it could just be items that have been affected by the weather conditions.
I liked how some of the images on the board are quite normal and would be expected of for the weather where as they are quite normal, standard images to do with the weather; however other images are very different as they show the effects of the weather in a different light which has inspired me to take more photographs on the effects of the weather rather than the weather conditions.
I liked how some of the images on the board are quite normal and would be expected of for the weather where as they are quite normal, standard images to do with the weather; however other images are very different as they show the effects of the weather in a different light which has inspired me to take more photographs on the effects of the weather rather than the weather conditions.
INTERESTING PHOTOGRAPHERS
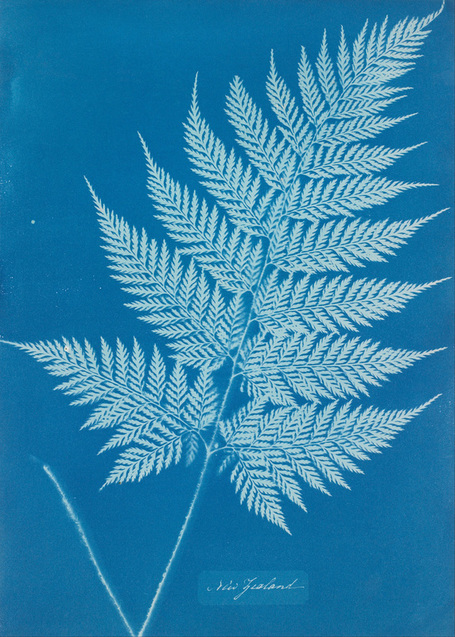
anna atkins
Atkins has made plenty of different botanical books showcasing all of the different types of plants in the world.
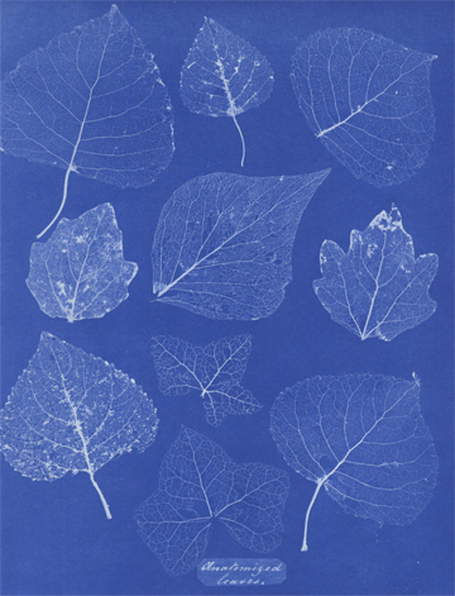
The image to the right shows an entire section of a plant, I like how the plant has the stem to the bottom of the paper as I personally think it looks more aesthetically pleasing.
|
The image to the left is of multiple leaves, I like how there is so much detail in the leaves and how it shows up so well with the blue. However I am not sure about how you can see the stems of the leaves and how they all stop quite abruptly.
|
alexander hamilton
Hamilton spent six months documenting plants on an inhabited island in Stroma.
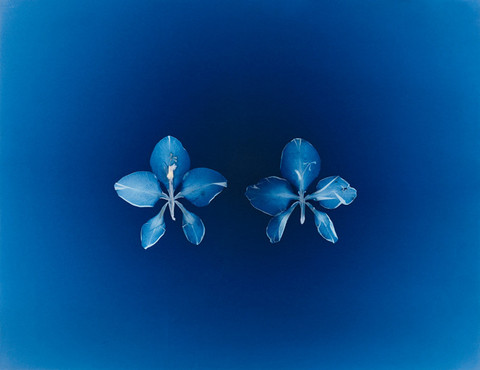
The image to right is of two flowers that are quite detailed, I like how they have been placed the exact same way around and has one that looks like it is freshly picked where as the other looks like it has been picked for a while and is starting to wilt.
|
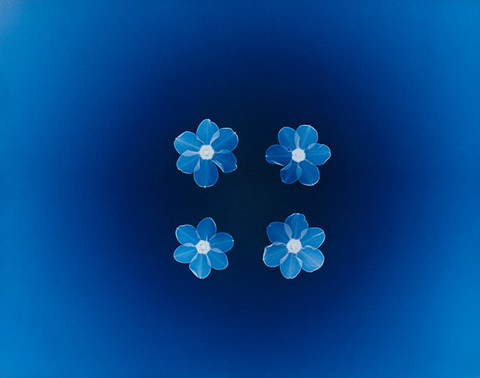
The image to the left is of four identical flowers that have been laid out so that there is the same space between each flower. I also like how the blue is a lot darker around where the flowers areas it gives it the effect that they have been under the spotlight.
|
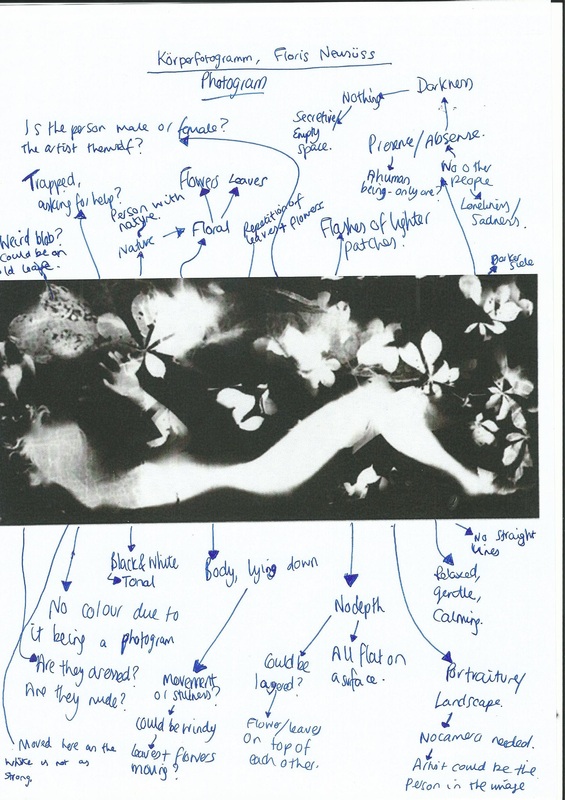
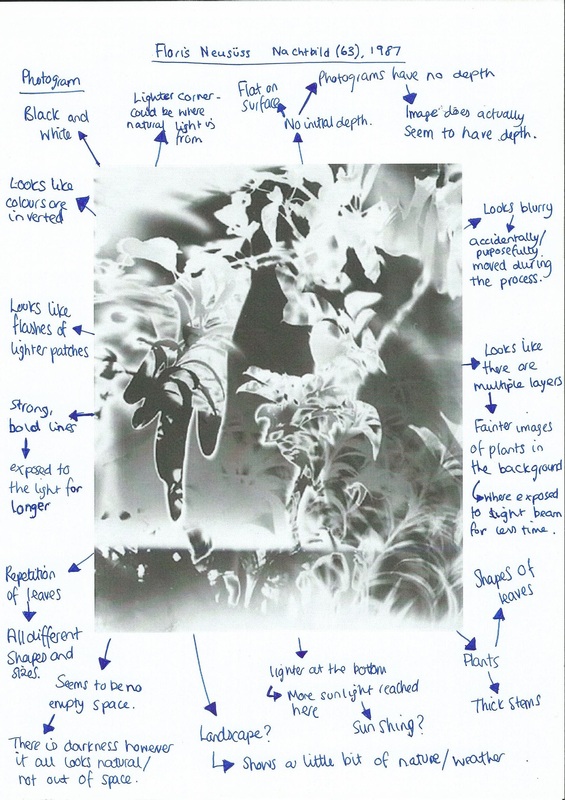
Floris neusüss
Neususs only creates photograms he usually works with opposite pairs, some examples of these are; black and white, shadow and light, movement and stillness, presence and absence. He also likes to translate 3 dimensional objects into 2 dimensions.
As shown by the images below, I annotated the three images by Floris Neususs, these images made me think more about camera-less photography and how I may be able to use it in my own project to show the weather or to show how the weather can produce a photograph.
As shown by the images below, I annotated the three images by Floris Neususs, these images made me think more about camera-less photography and how I may be able to use it in my own project to show the weather or to show how the weather can produce a photograph.

|
|
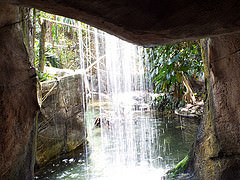
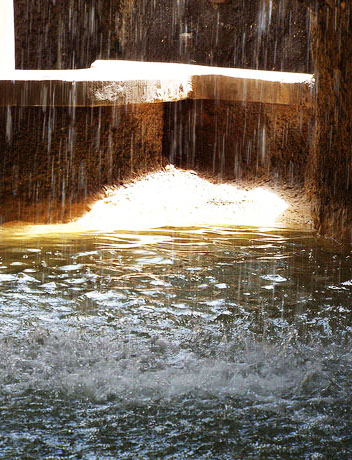
peter fraser
Ice and water 1993
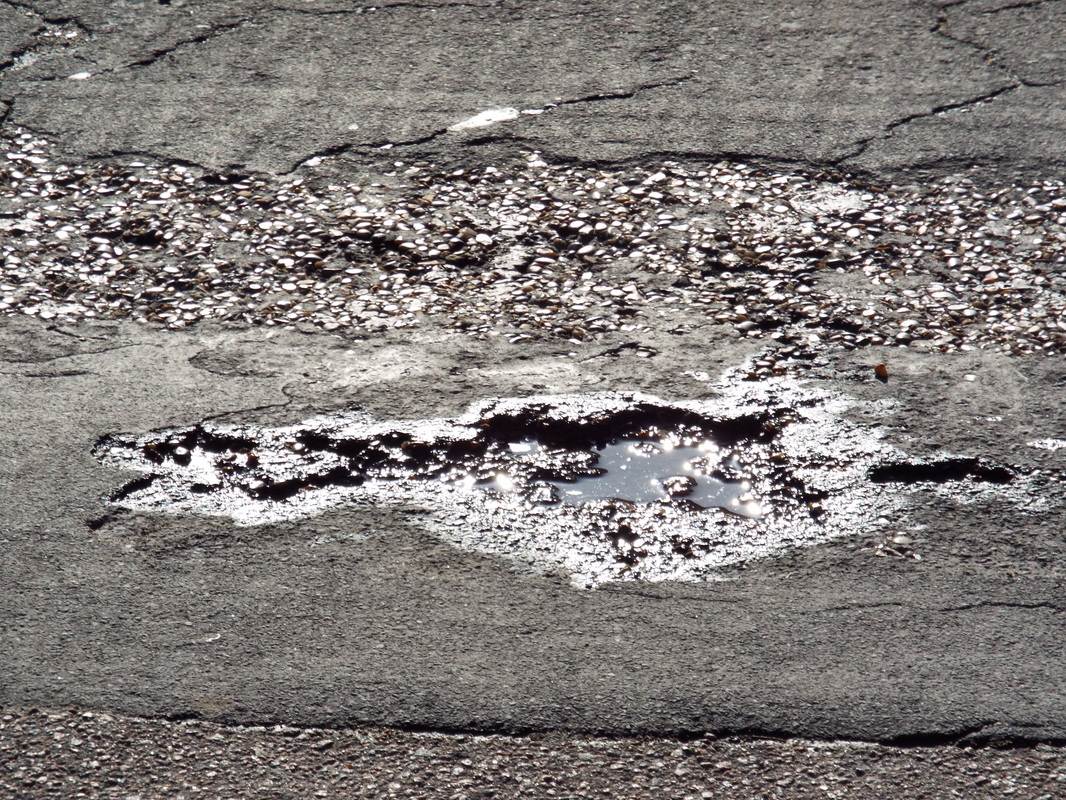
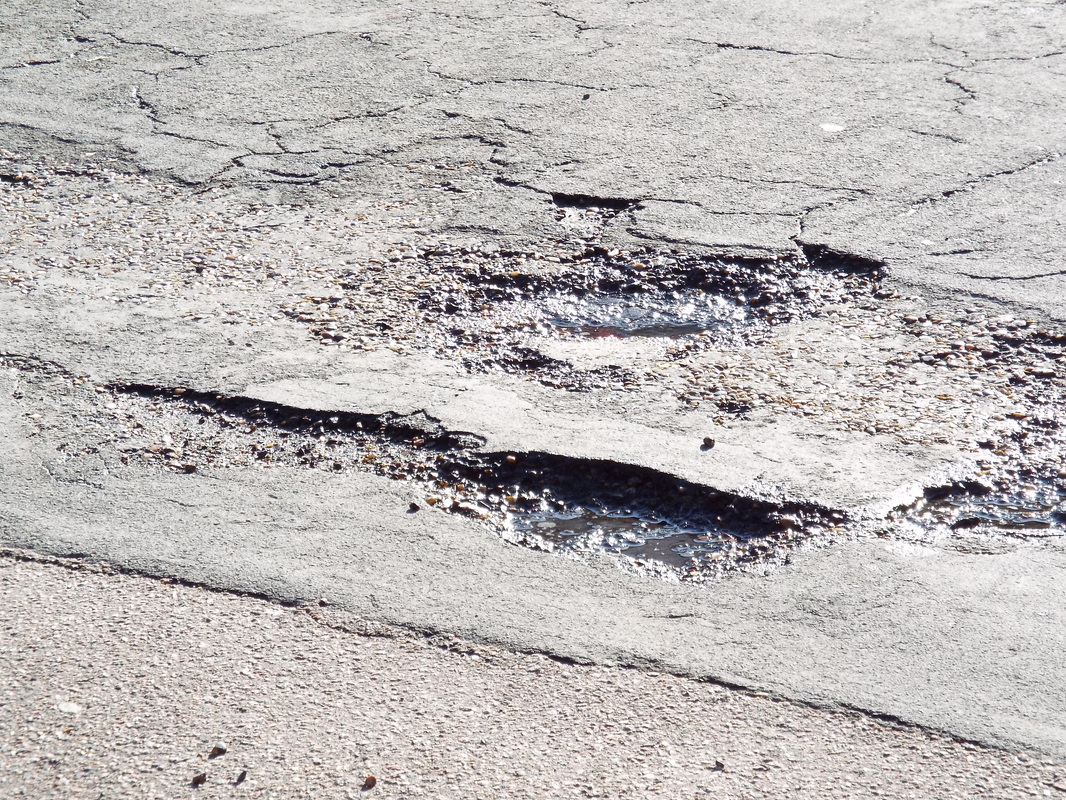
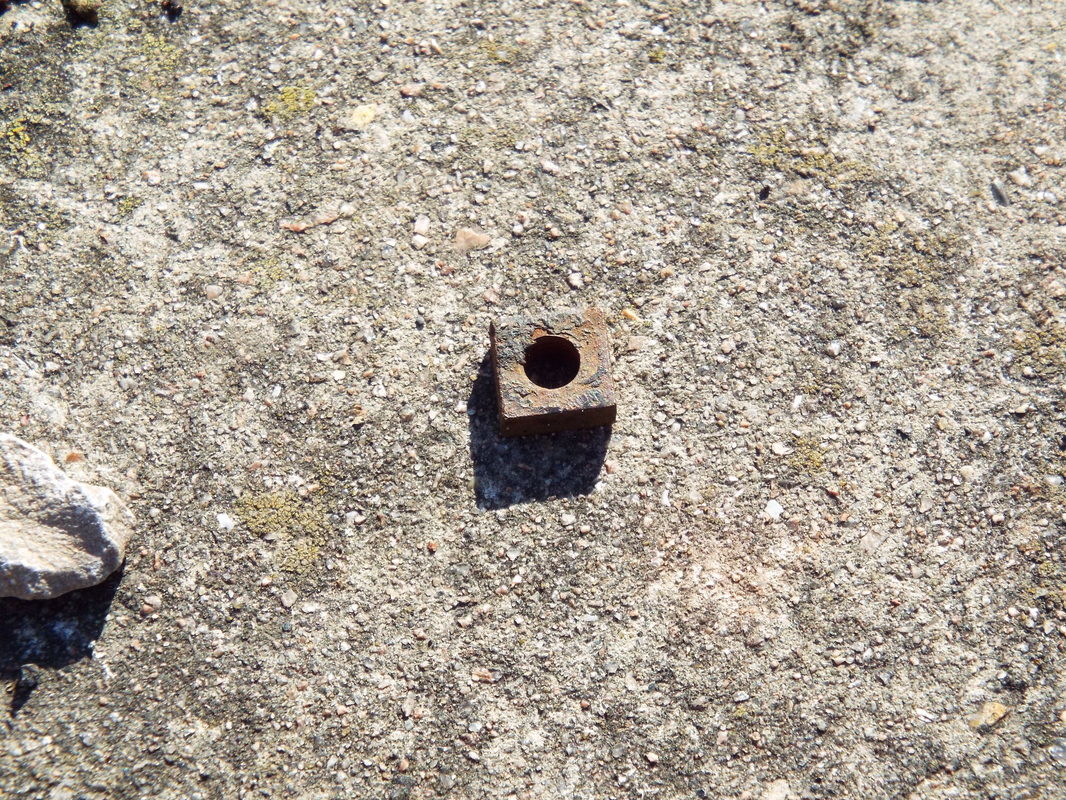
I quite like these images by Peter Fraser, this is because these images are quite mysterious due to the way that they have been cropped as it gets rid of your sense of surrounding and safeness, the images are all quite spooky and mysterious with how they have been set.
The first image is the most mysterious in my opinion as it is very dark and not in complete focus, it also seems to have blue lighting to turn everything in the image blue. The other option is that the image was edited after with a blue effect. This image looks like it was taken at night when the sky was clear and the moon was very bright, it also looks like the objects in the image are boxes that are cardboard- as if someone has just piled them all up after moving house.
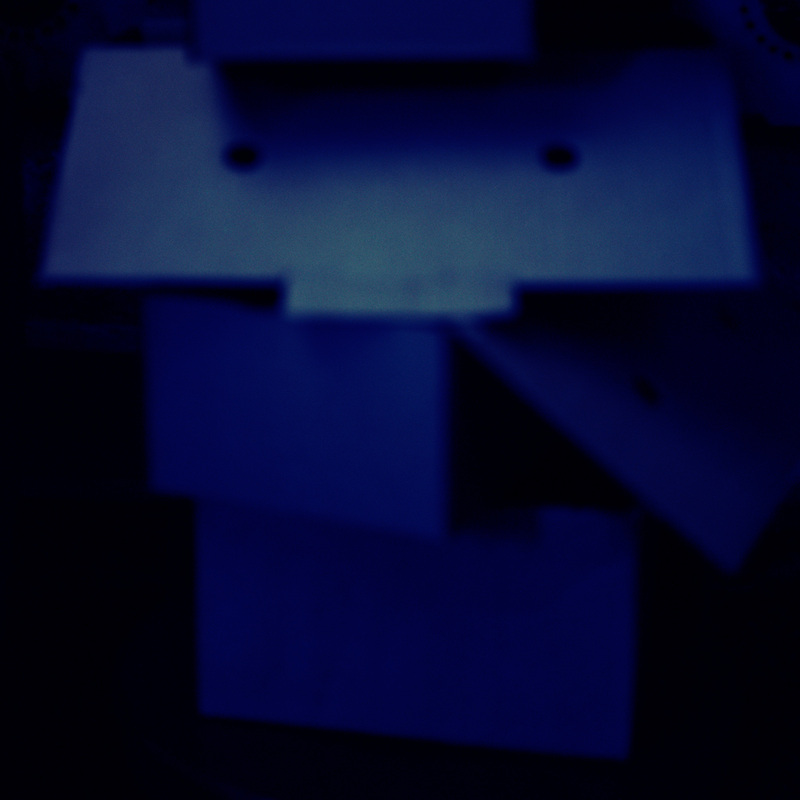
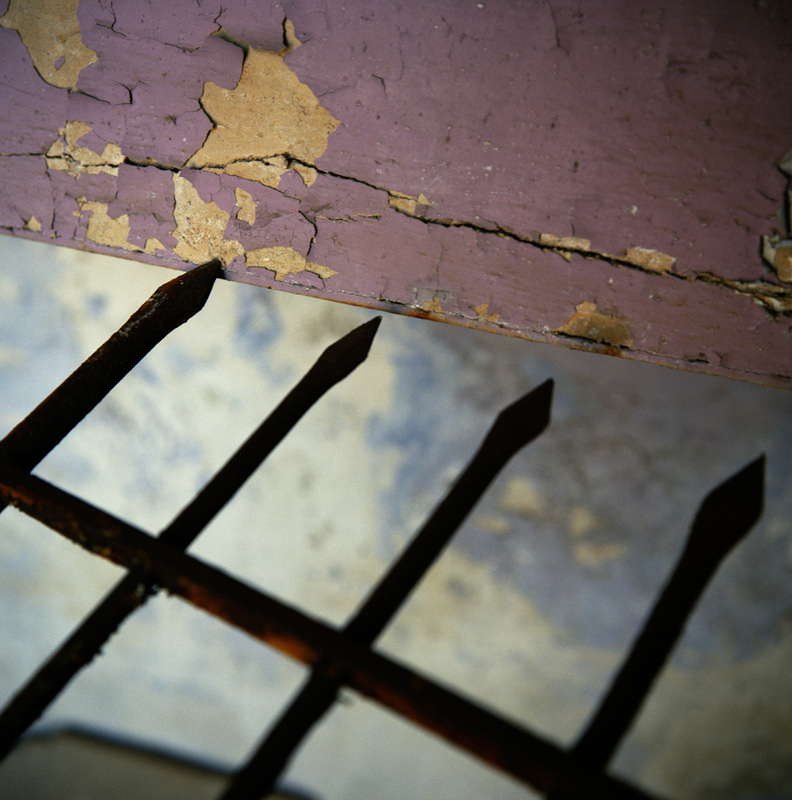
At first, the second image looked like it was taken with the main background being the sky, however upon further inspection it seems like the background is actually the floor and the purple/lilac coloured concrete is a wall and the black metal is the top part of the wall. I like how it is a very questionable image and how it took me quite a long time to work out the angle that everything is at and how that is the floor not the sky.
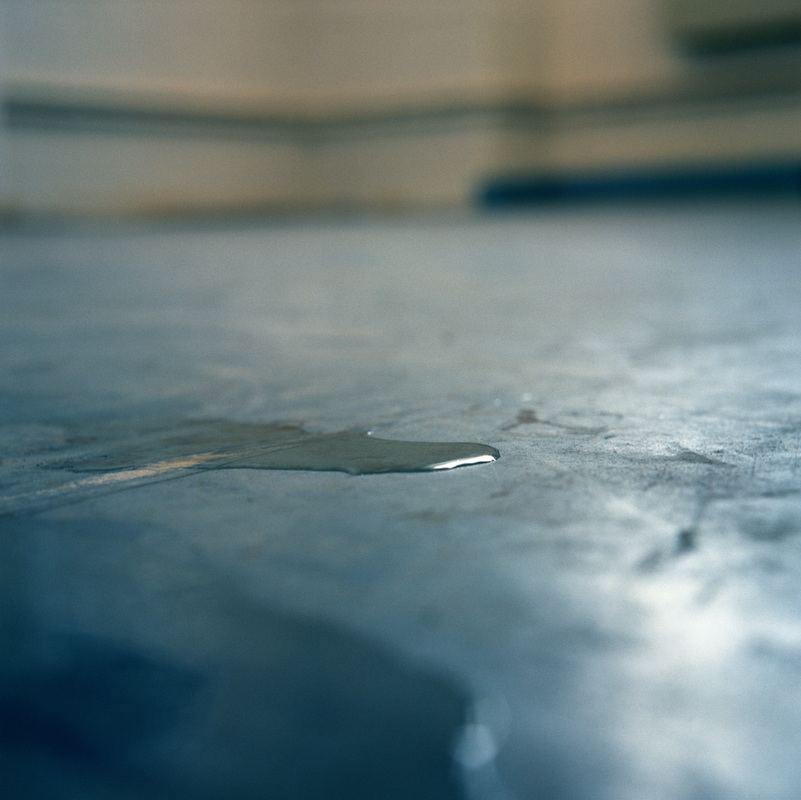
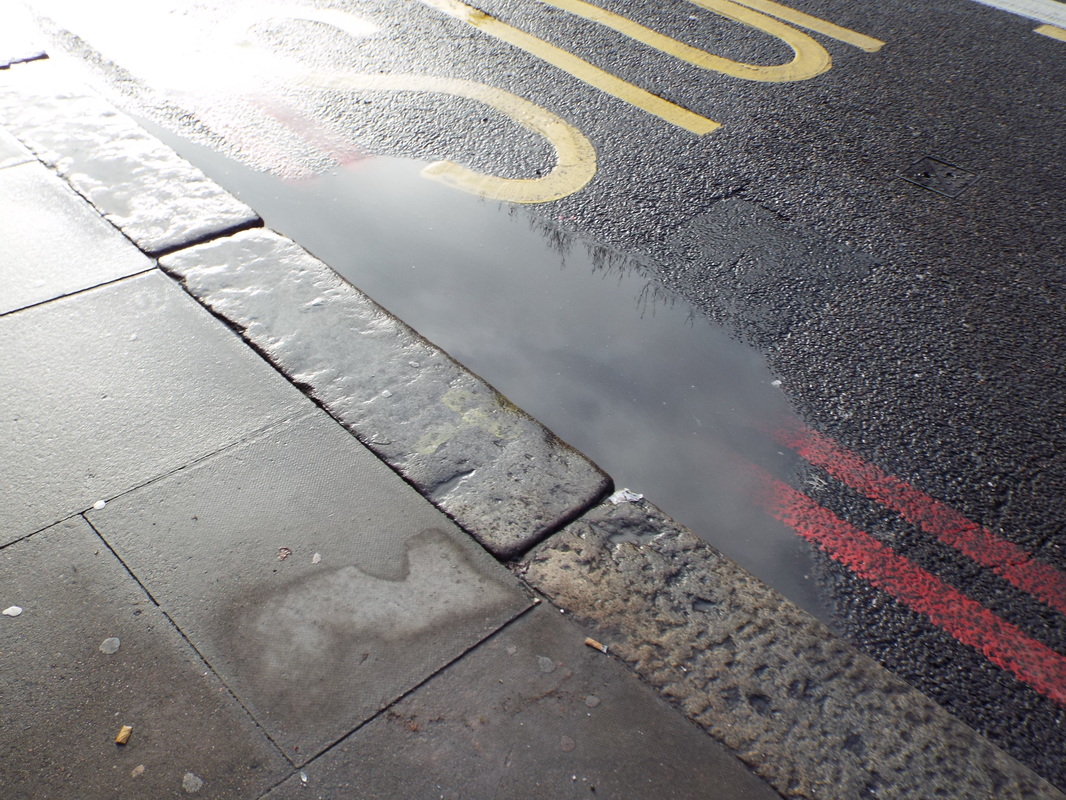
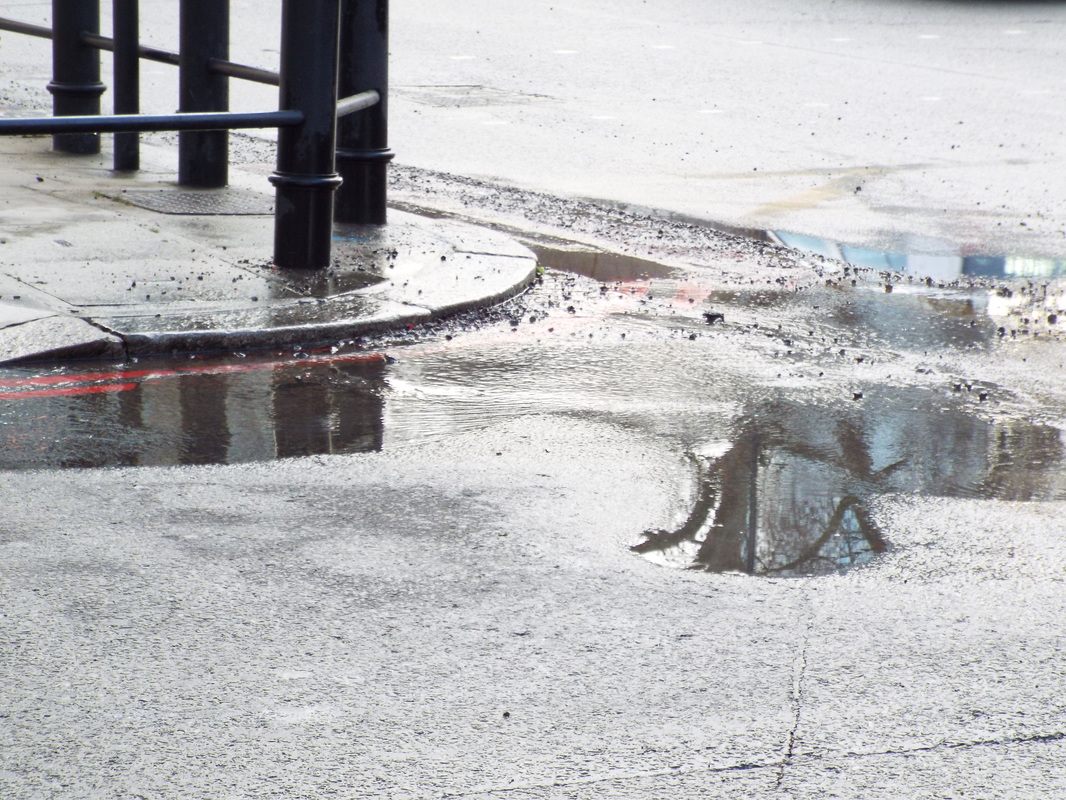
The third image is very simple and understated, it seems to just be in focus on the puddle on the floor and not the rest of the image which is blurred. This gives a good effect as it shows that the puddle is the main focus of the image and that the floor and wall behind are not the main part of the image.
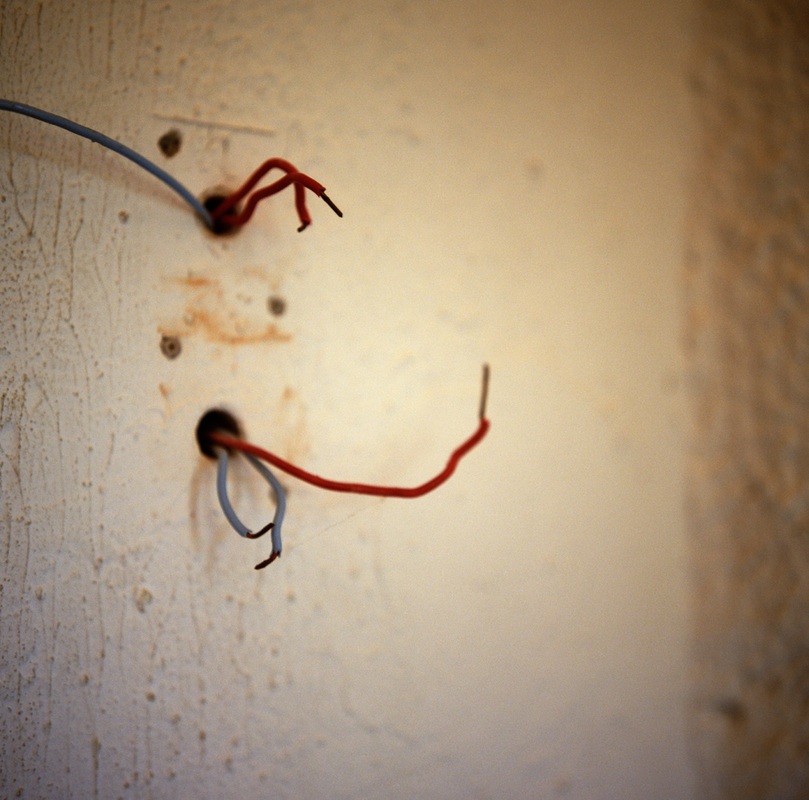
In my opinion the fourth image is the best, this is because I like how it is composed. The white/ cream background draws you into the photo especially to the points where there are holes and orange rust on the wall, I also like how all of the wires sticking out of the wall are of different lengths and give the appearance of spider legs.
The first image is the most mysterious in my opinion as it is very dark and not in complete focus, it also seems to have blue lighting to turn everything in the image blue. The other option is that the image was edited after with a blue effect. This image looks like it was taken at night when the sky was clear and the moon was very bright, it also looks like the objects in the image are boxes that are cardboard- as if someone has just piled them all up after moving house.
At first, the second image looked like it was taken with the main background being the sky, however upon further inspection it seems like the background is actually the floor and the purple/lilac coloured concrete is a wall and the black metal is the top part of the wall. I like how it is a very questionable image and how it took me quite a long time to work out the angle that everything is at and how that is the floor not the sky.
The third image is very simple and understated, it seems to just be in focus on the puddle on the floor and not the rest of the image which is blurred. This gives a good effect as it shows that the puddle is the main focus of the image and that the floor and wall behind are not the main part of the image.
In my opinion the fourth image is the best, this is because I like how it is composed. The white/ cream background draws you into the photo especially to the points where there are holes and orange rust on the wall, I also like how all of the wires sticking out of the wall are of different lengths and give the appearance of spider legs.
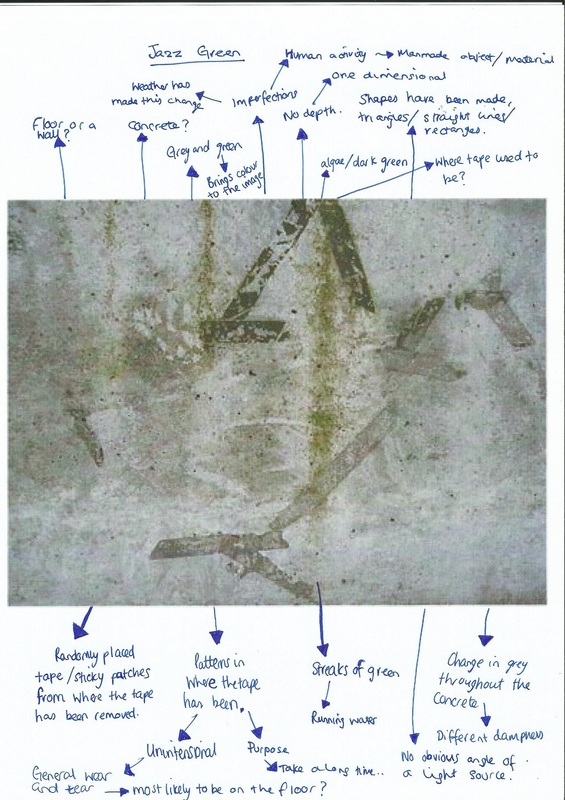
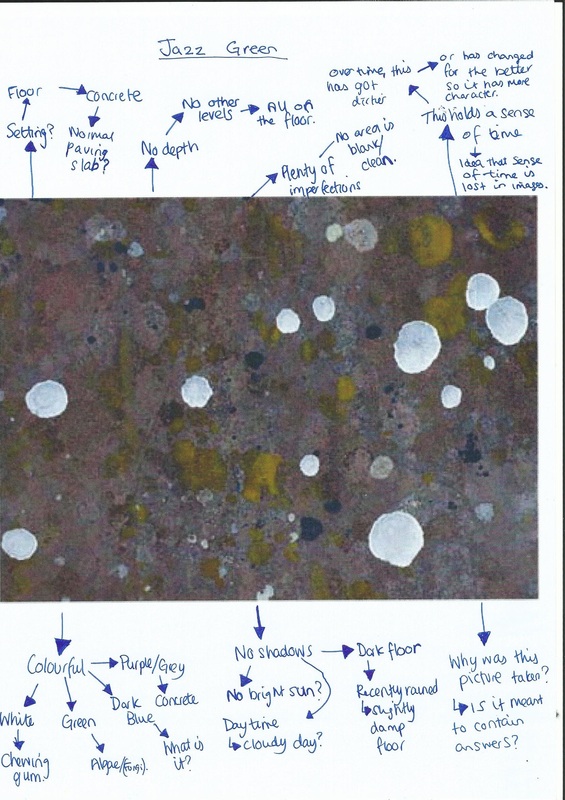
jazz green
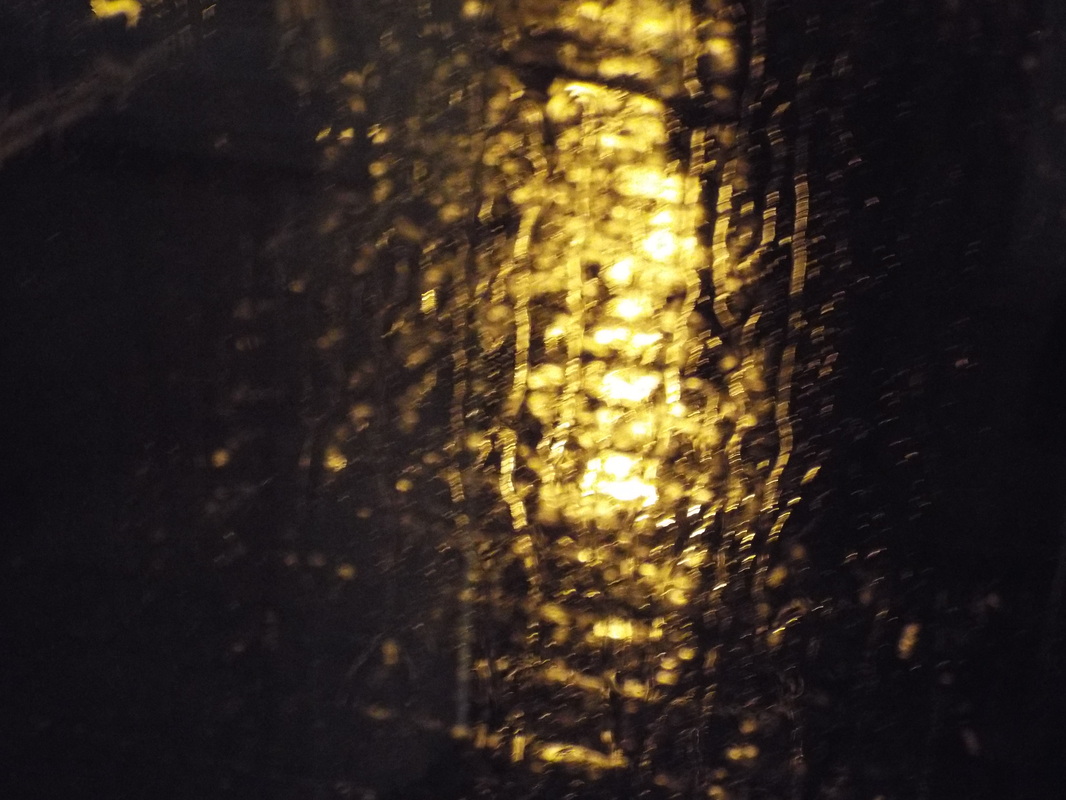
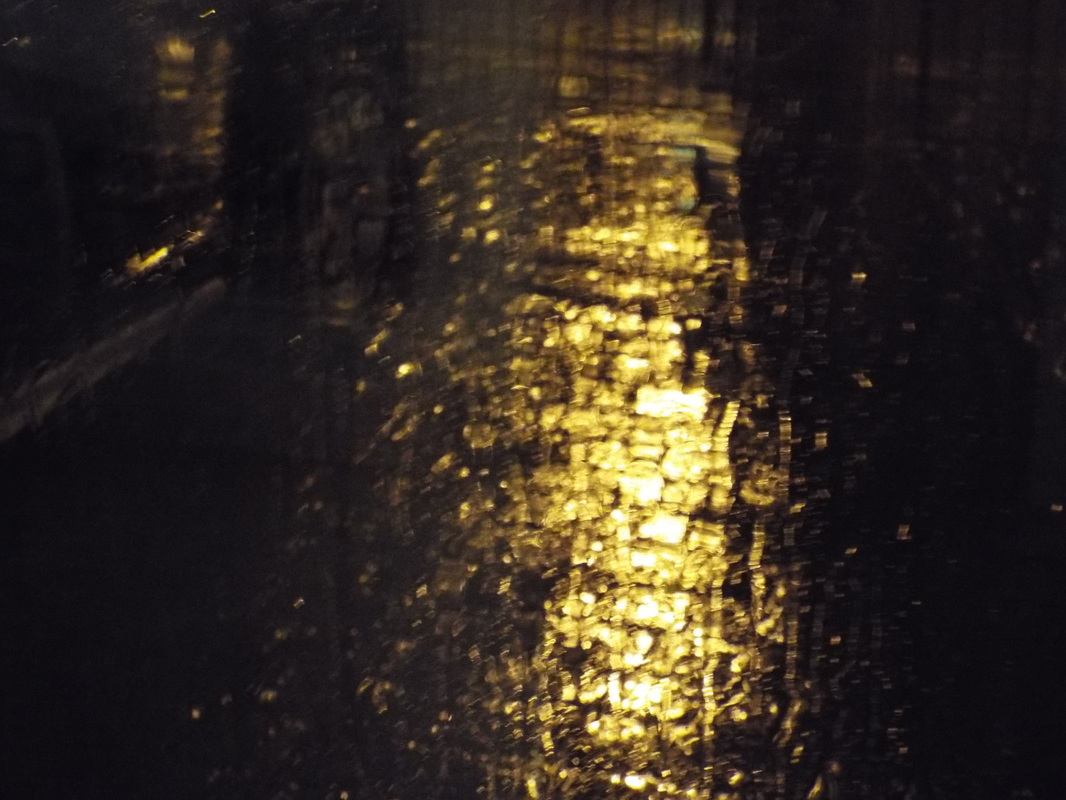
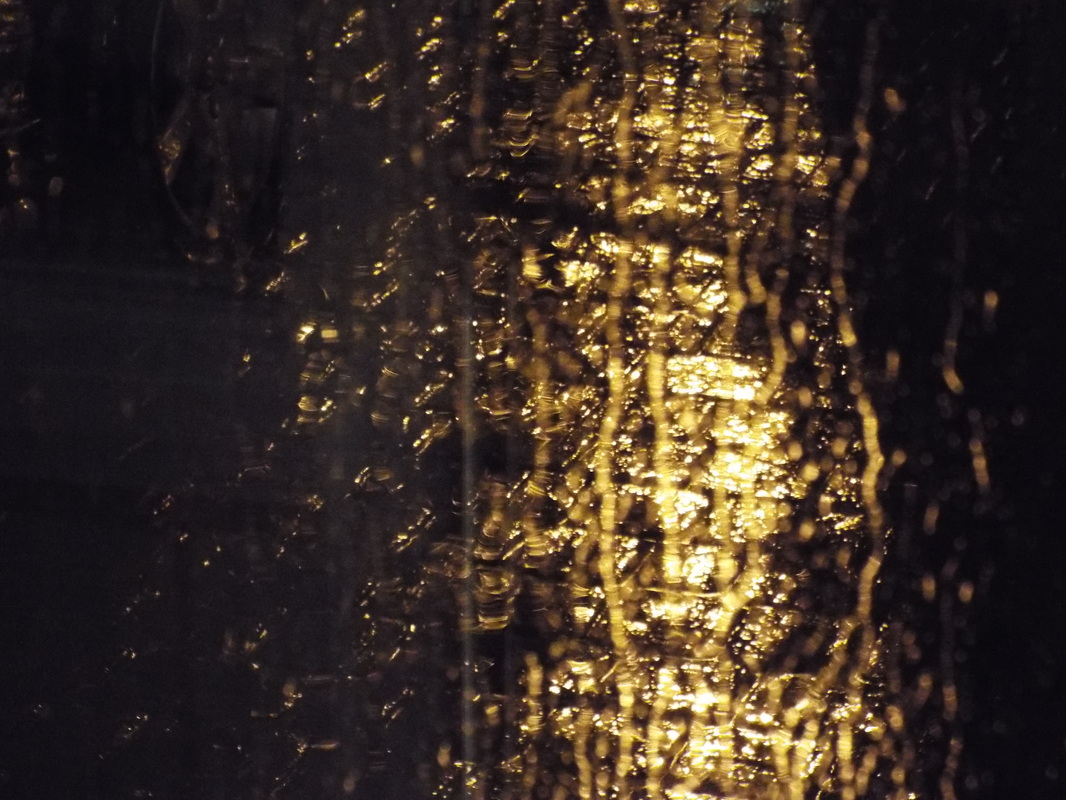
The images by Jazz Green have been made so that they are very mysterious, purposely there is no sense of location. I really like these images as I like how they seem like effects of the weather on the environment- in this case, what seems to be either walls or floors which is another reason why I like these images as you don't know exactly what they are.
|
|
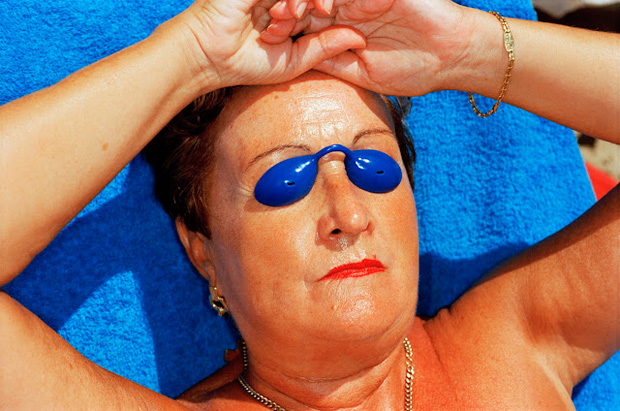
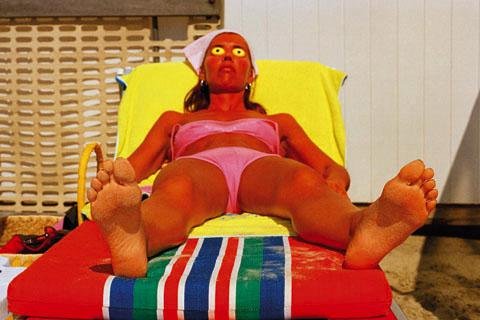
martin parr: saturated prints
|
This image by Martin Parr is one of his saturated prints range.
This image to the left is not as saturated as the image below, as the body of the person itself doesn't look that saturated however the towel behind them definitely is saturated and very bright. I like how the blue is so bright and makes you just want to stare at the image for a long time. |
|
The image to the right is definitely part of the saturated images produced by Martin Parr.
I am not sure what I really think about the image as it is at quite a weird, unflattering angle of the person. However, once I put aside the fact that I'm not really that happy with the set up of the image, I do really like the colours in the image and how they have obviously been over-saturated as the person is orange for it to be a natural tan. This image seems to be quite ironic as they have saturated an image of someone who is trying to get a tan. |
|
"there is a vast difference between taking a picture and making a photograph"
Robert heinecken
Robert Heinecken was an American artist who also referred to himself as a "paraphotographer" because he also made images without cameras. He said that his work stood "beside" or "beyond" traditional ideas associated with photography. The images that I have seen by Heinecken are very conceptual and are mainly focused on the themes commercialism, Americana, kitsch, sex, the body and gender. Some of these consist of photographs layering over photographs. Heinecken also has quite interesting ways of displaying his work, this means that most of his work are sculptures as well as being photographs. It also seems like he likes to focus on conceptual photography.
Heinecken seems to be very focused on the fact that there is a "difference between taking a picture and making a photograph", it makes you think more about how taking a picture is mechanical- it is the camera taking a photo when you press the button. This involves hardly any work on the photographers behalf as all you do is decide what you would like to take a picture of and then the camera does the rest for you. However, when making a photograph you have to use your brain as you have to decide more about what the image is going to look like through the art of editing and also how the photographs once they have been edited are going to be presented. The presentation of the photographs are as or more important than the photographs themselves as that is when people see your work and are either wowed by the work or just walk straight past it.
Heinecken seems to be very focused on the fact that there is a "difference between taking a picture and making a photograph", it makes you think more about how taking a picture is mechanical- it is the camera taking a photo when you press the button. This involves hardly any work on the photographers behalf as all you do is decide what you would like to take a picture of and then the camera does the rest for you. However, when making a photograph you have to use your brain as you have to decide more about what the image is going to look like through the art of editing and also how the photographs once they have been edited are going to be presented. The presentation of the photographs are as or more important than the photographs themselves as that is when people see your work and are either wowed by the work or just walk straight past it.
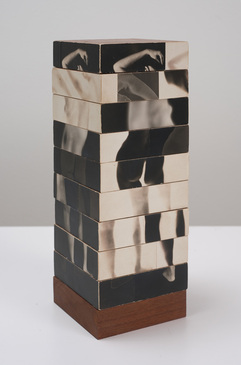
The photograph to the right seems to be more of a sculpture than a picture. It is quite cool how the wooden blocks that the images are on are moveable so you can mix and match the different sides of the work.
|
This image is quite interesting, it is multiple faces all layered over each other. The images look like they have all been taken in completely different lighting and angles, it is too difficult to tell from looking at it if they are of all the same person or not. It is very deceiving as there are two noses facing in different directions and two mouths that are both being used.
|
trip to tate britain
|
|
On Monday 9th February my photography class and I went on a trip to Tate Britain, the purpose of this trip was to work with Anna Lucas who is an artist. We got to watch a video of all of the images from one of her projects. This project is called "Opi 21, Oopsy, Tiger Lily", this projected was inspired by a particular high street in London, all of the images are of a particular part of the street or of something that is linked to the street.
|
The images in the video above show that there are pet shops as there are plenty of images of animals however there was also a taxidermist which is why there are plenty of pictures of fur and also nail shops which is shown by the vast variety of multiple colours of real and fake nails.
There is also some text in between some images as it was not possible to take images of every single thing Anna wanted to see if she could set the scene by words which she managed to do without using too many words.
There is also some text in between some images as it was not possible to take images of every single thing Anna wanted to see if she could set the scene by words which she managed to do without using too many words.
|
The images to the left in a slide show are from the project that we were set for the day that we went to the Tate Britain. The aim was to start taking images as soon as we could (just before we leave our house) and each image has to link in some way to the next. This was extremely difficult to achieve as you want to take pictures of something that catches your eye not because it links to the previous image. I do not think I managed to have the images linking very well as I kept forgetting that they had to link and just started taking pictures of things that I wanted to take pictures of. I also got to take photographs of the art work in the gallery that caught my eye, it was quite overwhelming as there is so much art everywhere and it was difficult to decide what to take pictures of and spend time on.
|
|
|
|
Once we had finished taking pictures, we went back to Anna and we had to pick two images so far from the trip; one from the journey to the gallery and one from in the gallery. The images I chose are below:
|

The video on the day randomised the images so that they were all paired differently to see which pairs worked well and which ones didn't.
Tate Britain from kirsty lewis on Vimeo.
The video above is my own version of Anna Lucas' video, it documents my whole day out. I tried to lay it out in the best way possible as similar to Anna Lucas' as possible. To improve this, I could change the time gap between certain images and to place couples next to each other to show juxtaposition, I could also print off all of the images and film them all layed out in different positions for the best result that is closest to Anna Lucas'. I think this is the best option as it would be extremely similar to Lucas' work which is what I am aiming for.
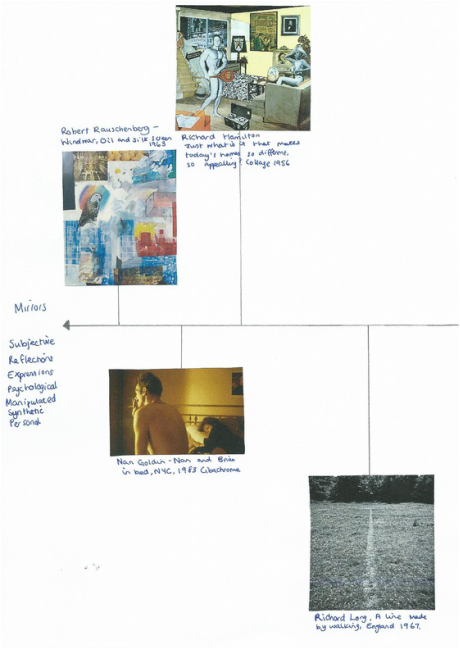
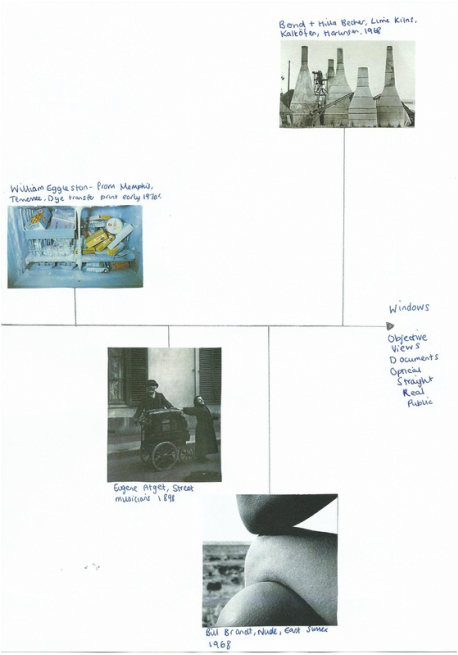
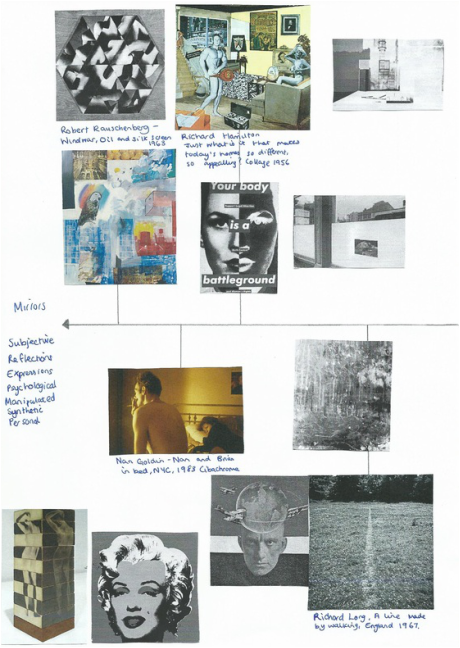
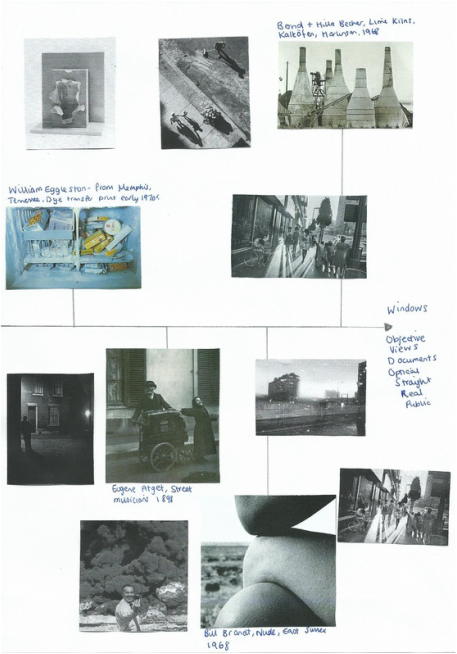
timeline of mirrors versus windows
The timelines below show what my personal opinion is of the pictures below with the fact of whether the images are more to do with mirrors or windows. There was some criteria of what the image had to entail to be on either side of the line.
|
|
|
|
THE WEATHER- FIRST PROJECT: "the weeds of tallis"
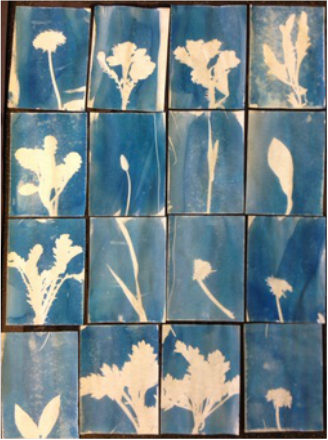
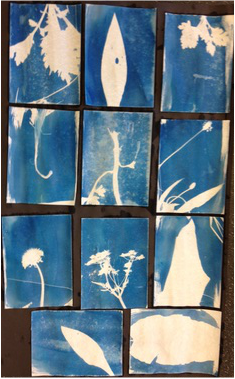
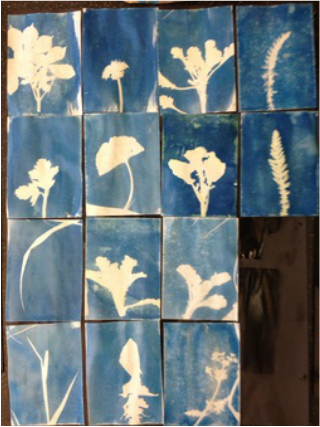
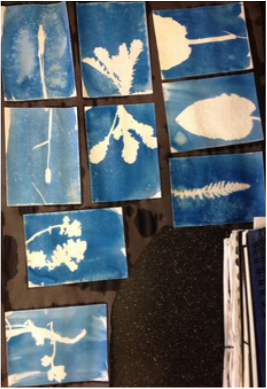
The first project that I did was some cyanotypes, I decided that this would be a good idea as cyanotypes need natural light from the sun to work which is to do with the weather which is why I decided to do this as part of my project. As I have made some cyanotypes before in Unit 1, I decided that I didn't need to make any practise pieces as I have made some before. I decided that I would make them on postcard size paper as they are a good size as they are not too small that nothing will fit on them however they are also not too big that there is too much blank space on the page.
I went out and bought 50 pieces of paper that are all the same size and orientation. I am going to do cyanotypes of plants like Anna Atkins did as it is something natural which would only happen because of the weather. As it is quite sunny at the moment, the cyanotypes should come out very well and clear.
I went out and bought 50 pieces of paper that are all the same size and orientation. I am going to do cyanotypes of plants like Anna Atkins did as it is something natural which would only happen because of the weather. As it is quite sunny at the moment, the cyanotypes should come out very well and clear.
|
|
presentation ideas
I do not have many ideas of how to present my work as they are so many images, however my first idea is to display them all stuck onto a board evenly spread out, although I am not that sure about this idea as it would need to be an extremely large board and also the spacing would have to be completely perfect for it to look right because if one is slightly off centre it will not look right and ruin the entire presentation of the project.
My second idea of how to present my cyanotypes is to put them on bulldog clips and then clip them to the wall in a square formation.
My second idea of how to present my cyanotypes is to put them on bulldog clips and then clip them to the wall in a square formation.
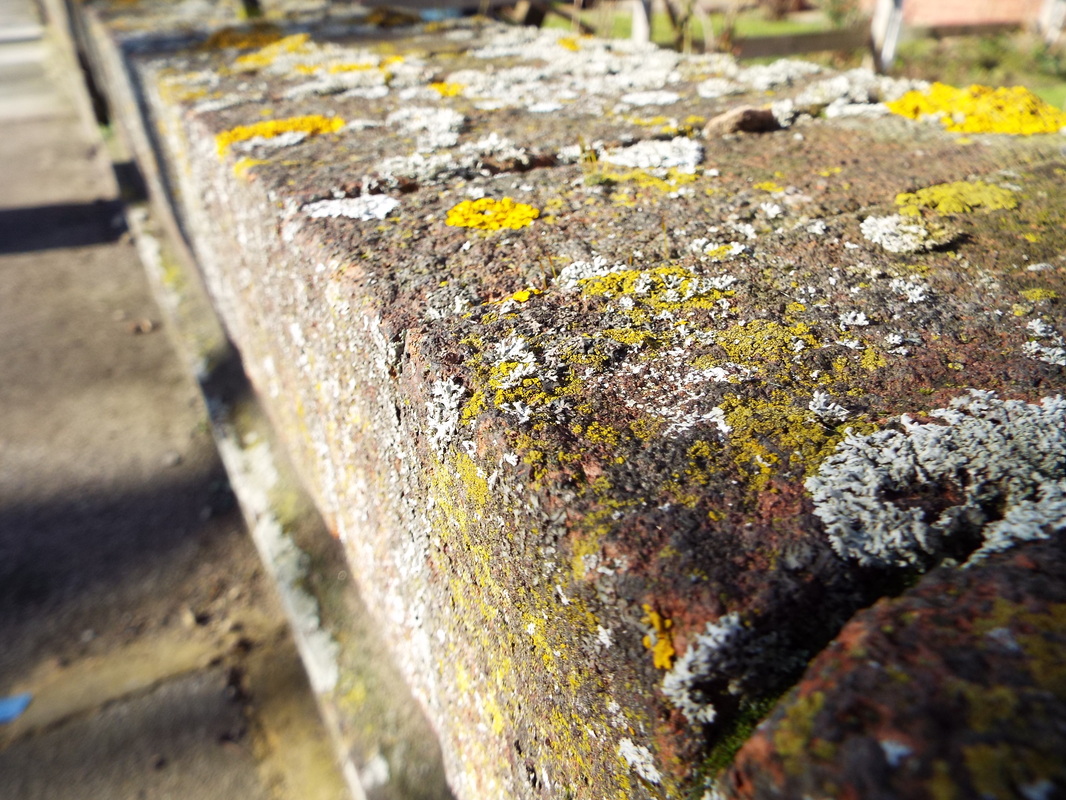
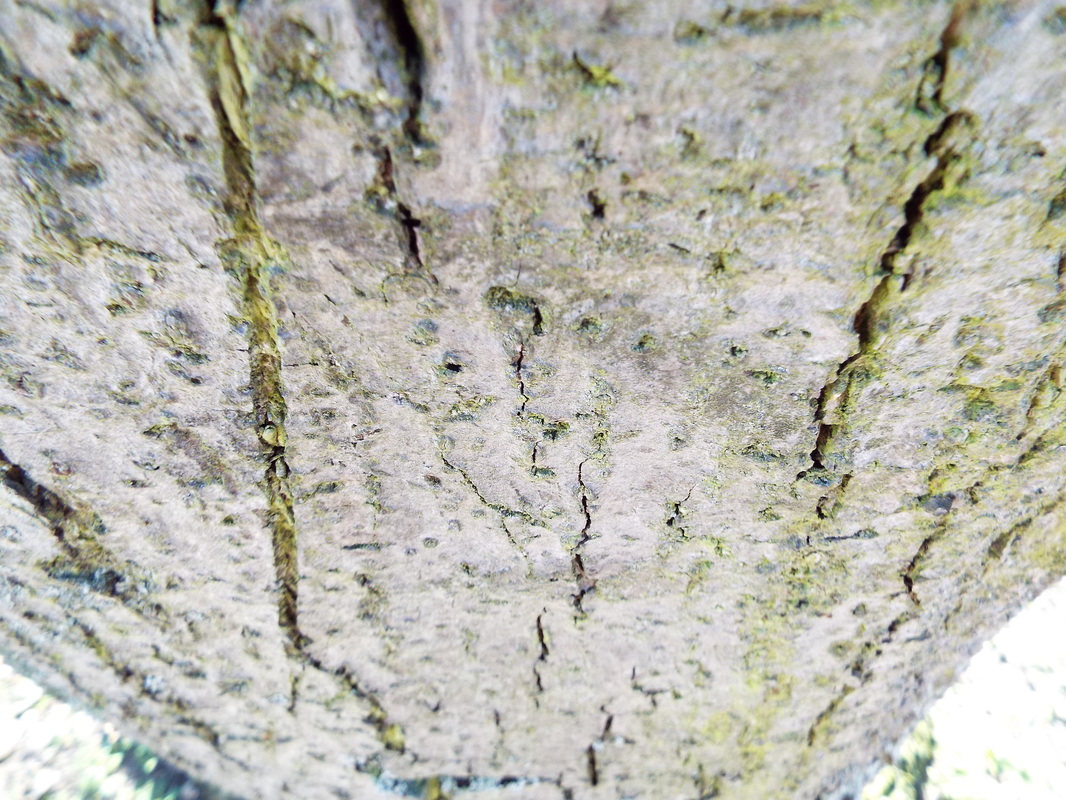
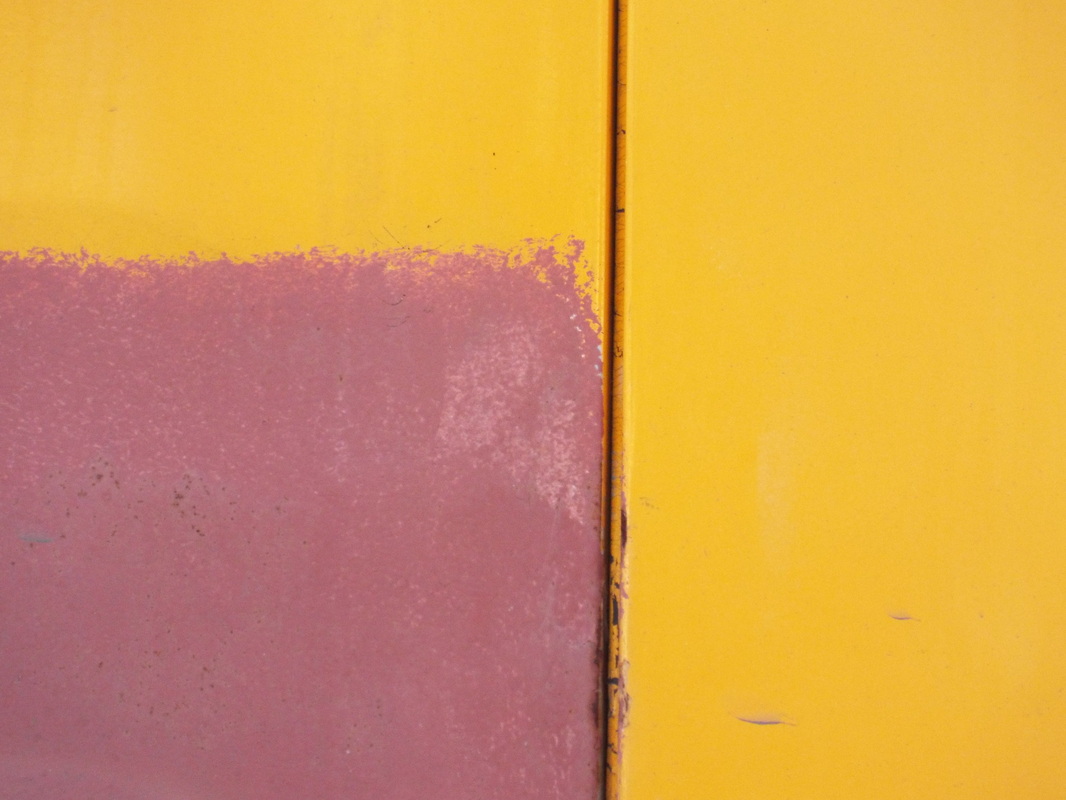
the weather- SECOND PROJECT
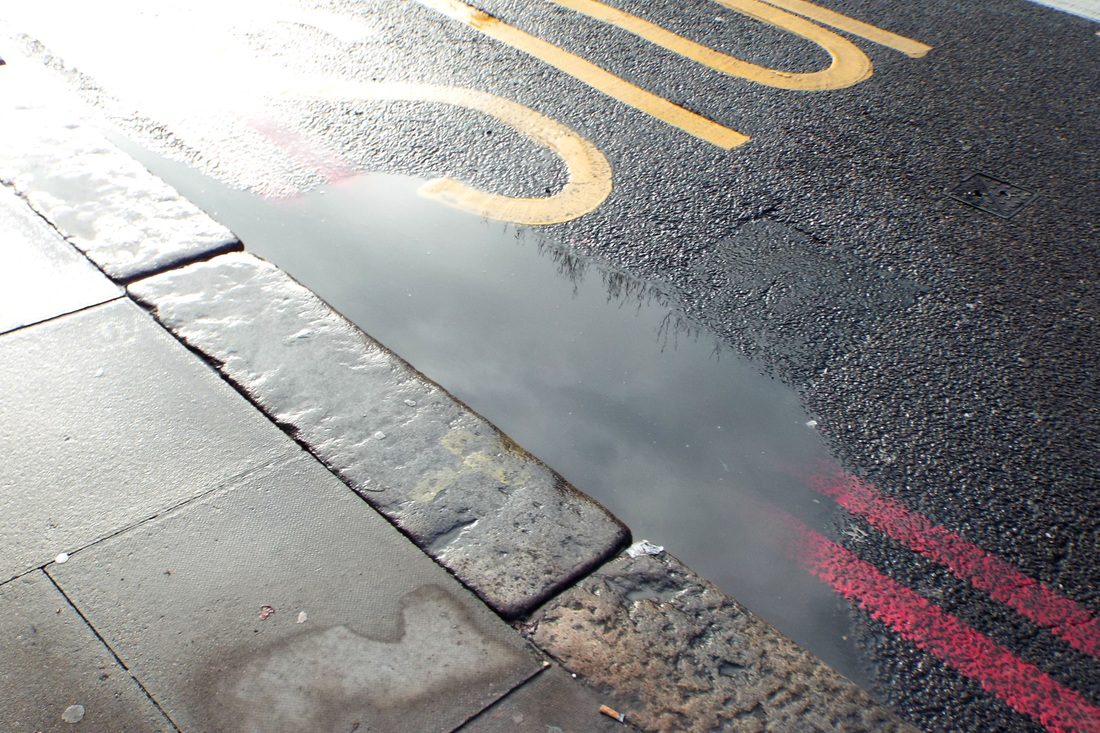
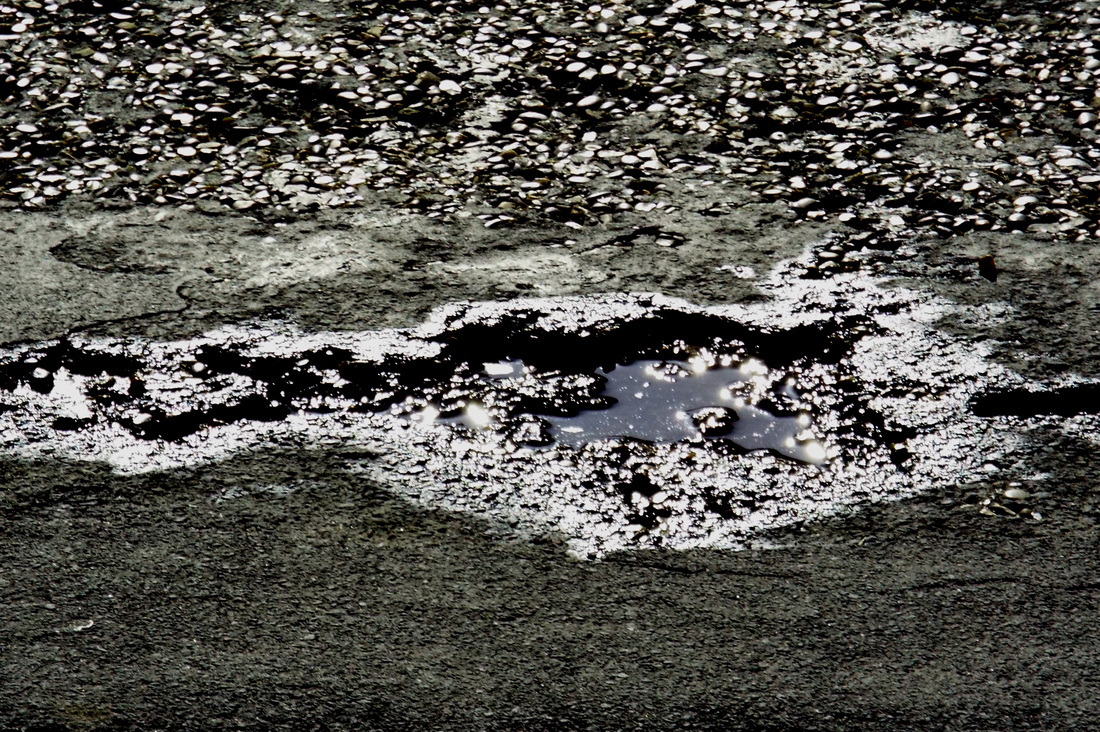
All of the images in this subject of weather all seem to be from Threshold concept 10, this is where photographs warp our sense of time. The images remind you of something that has happened in the past.
Photo shoot 1
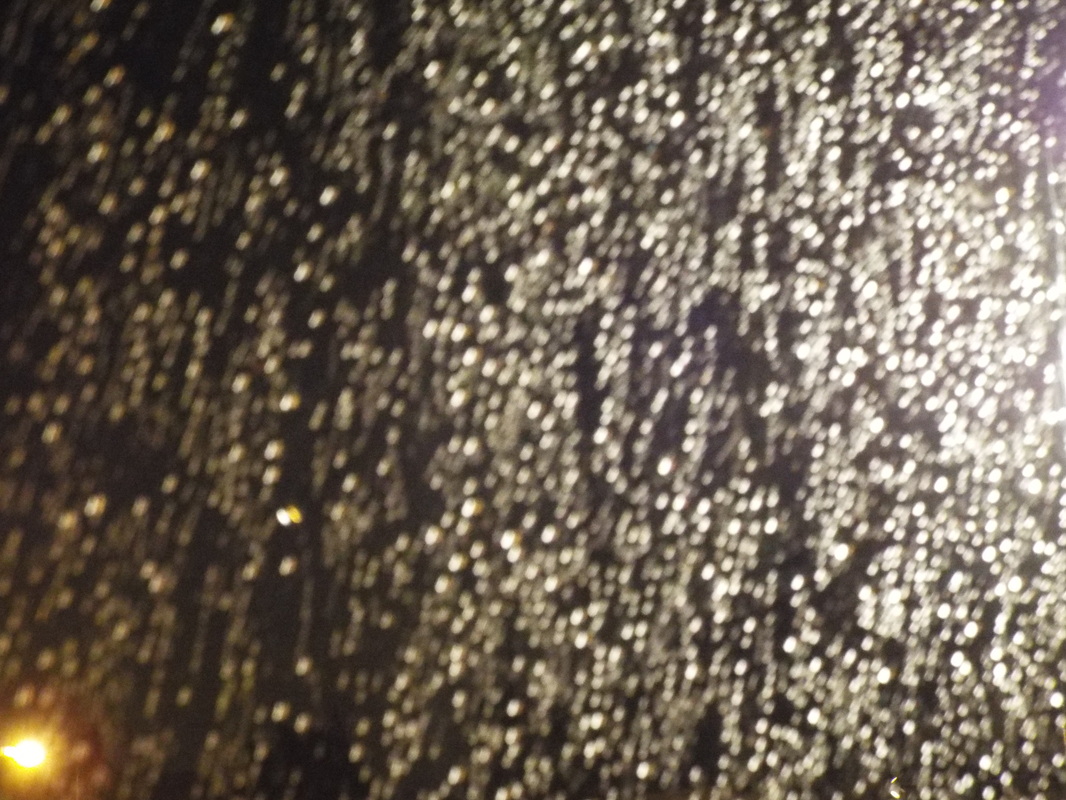
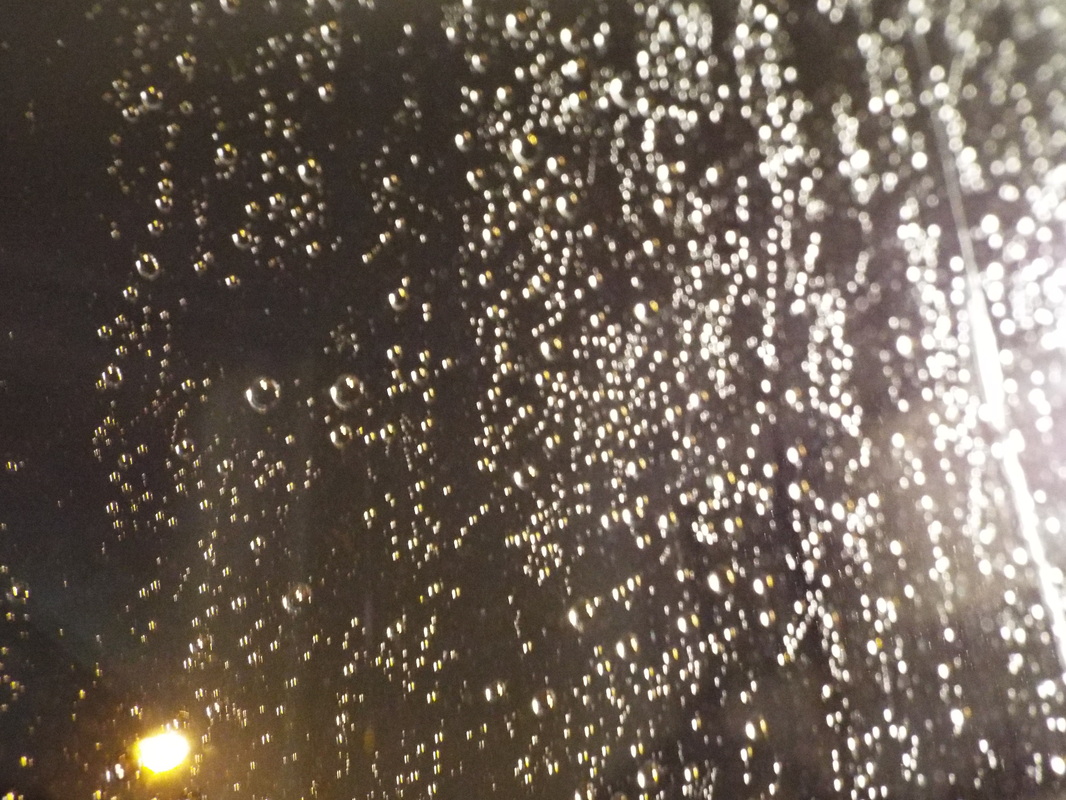
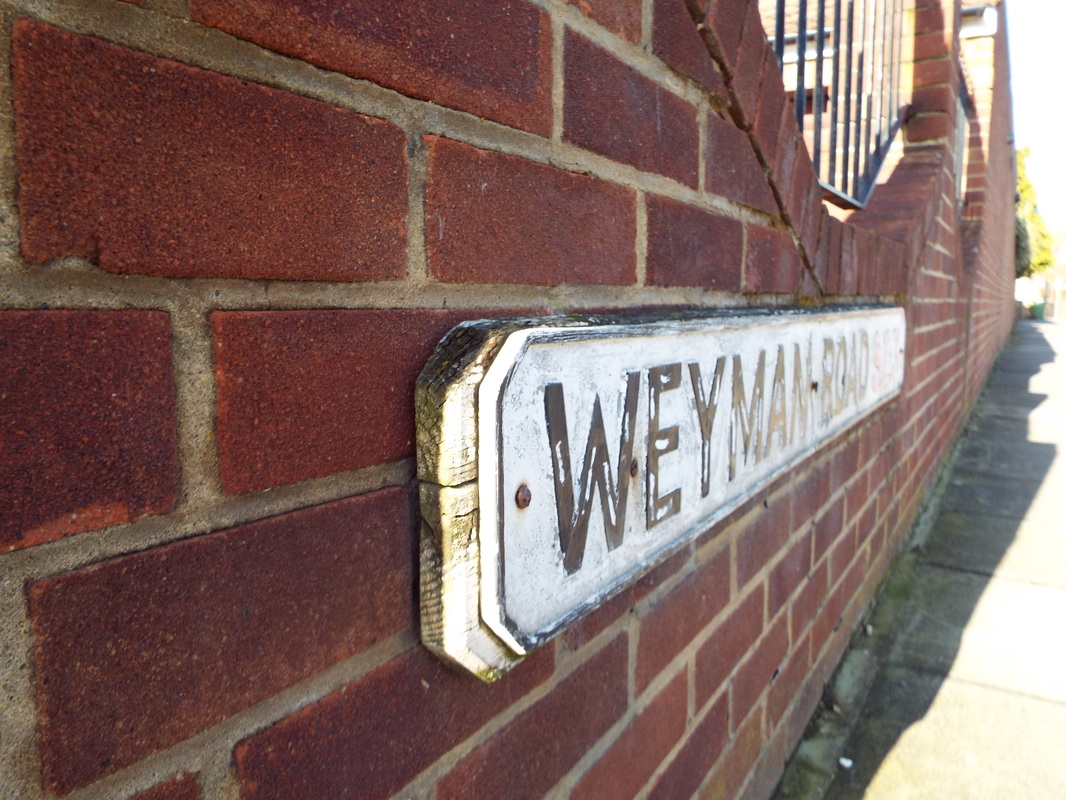
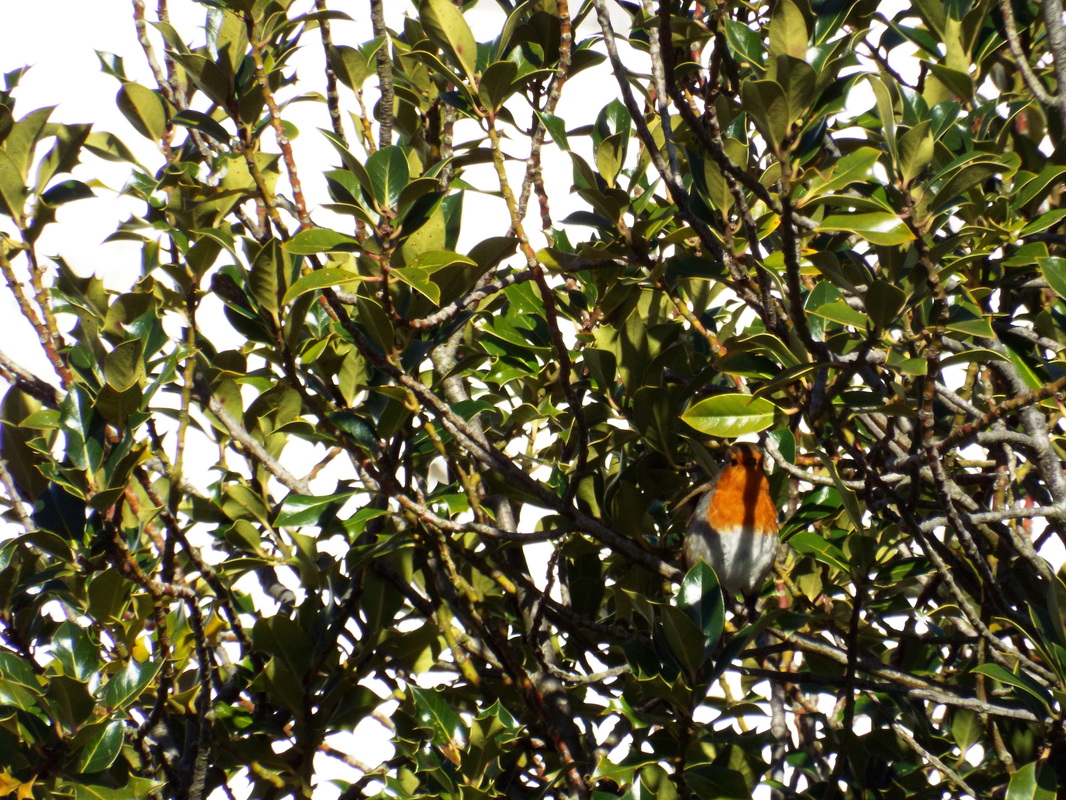
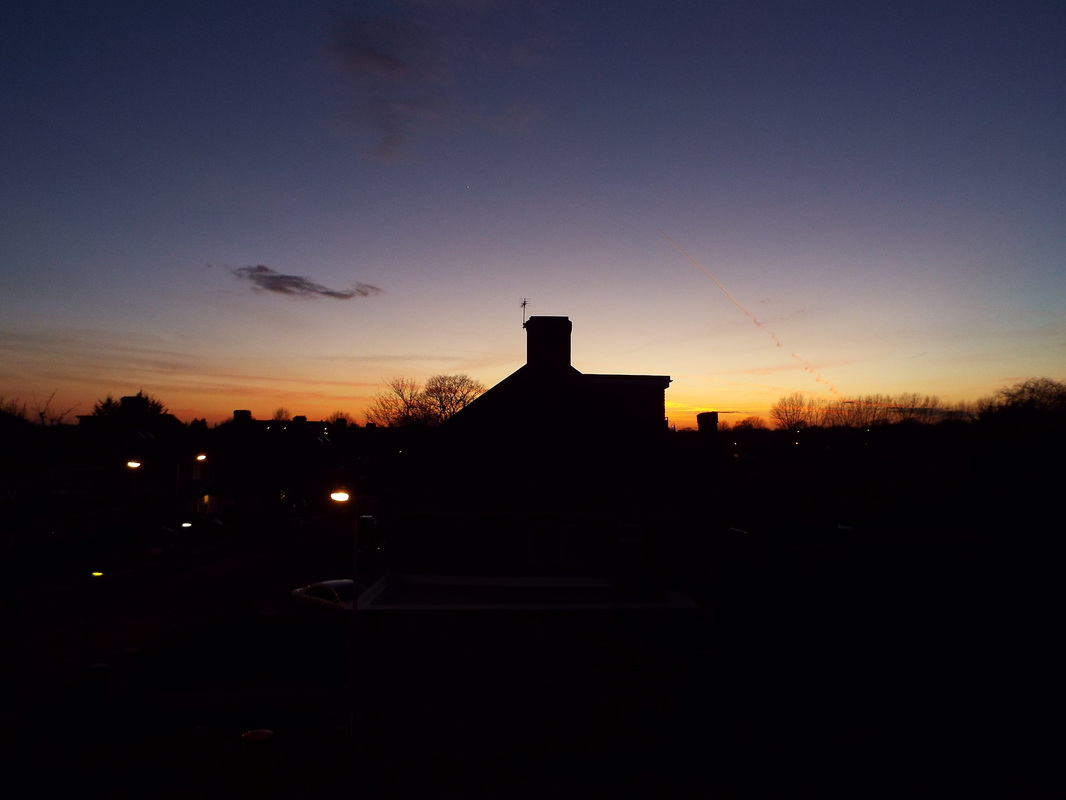
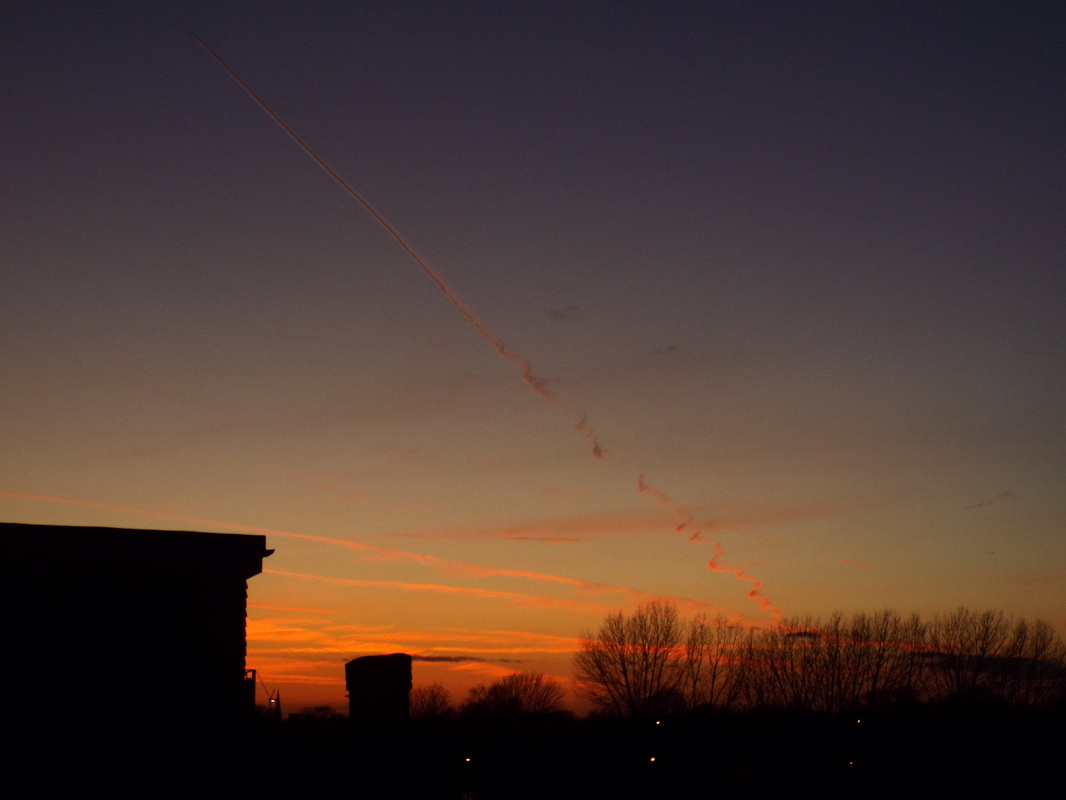
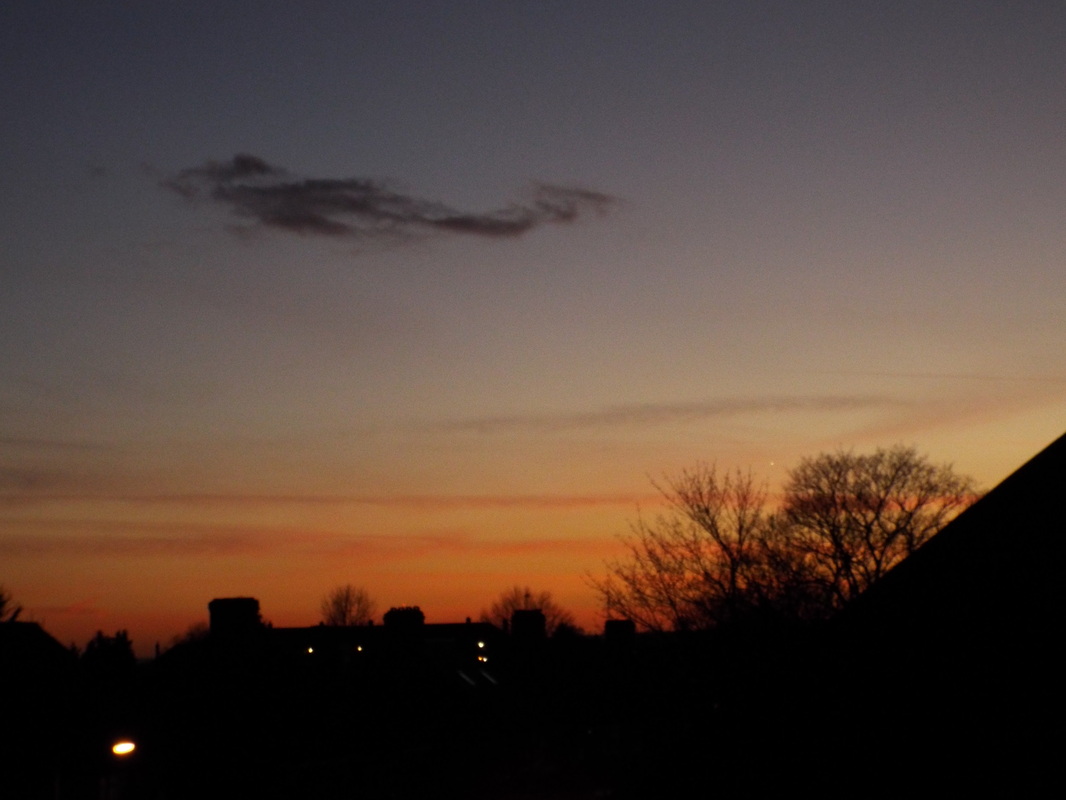
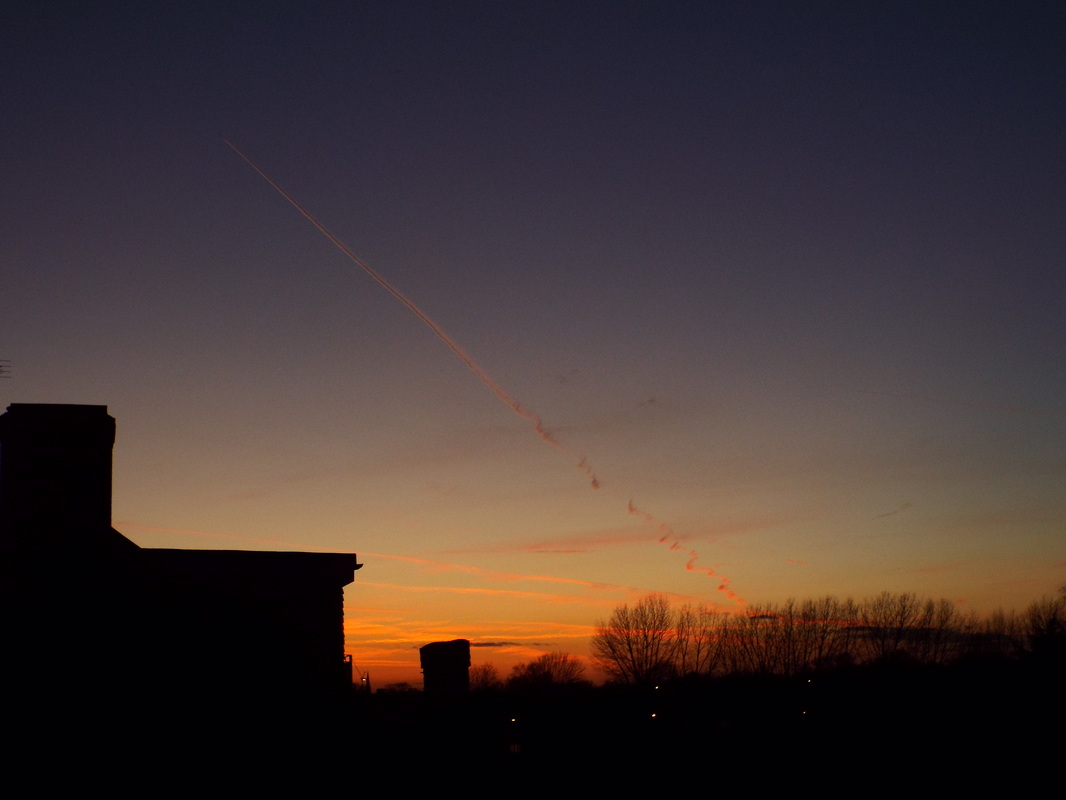
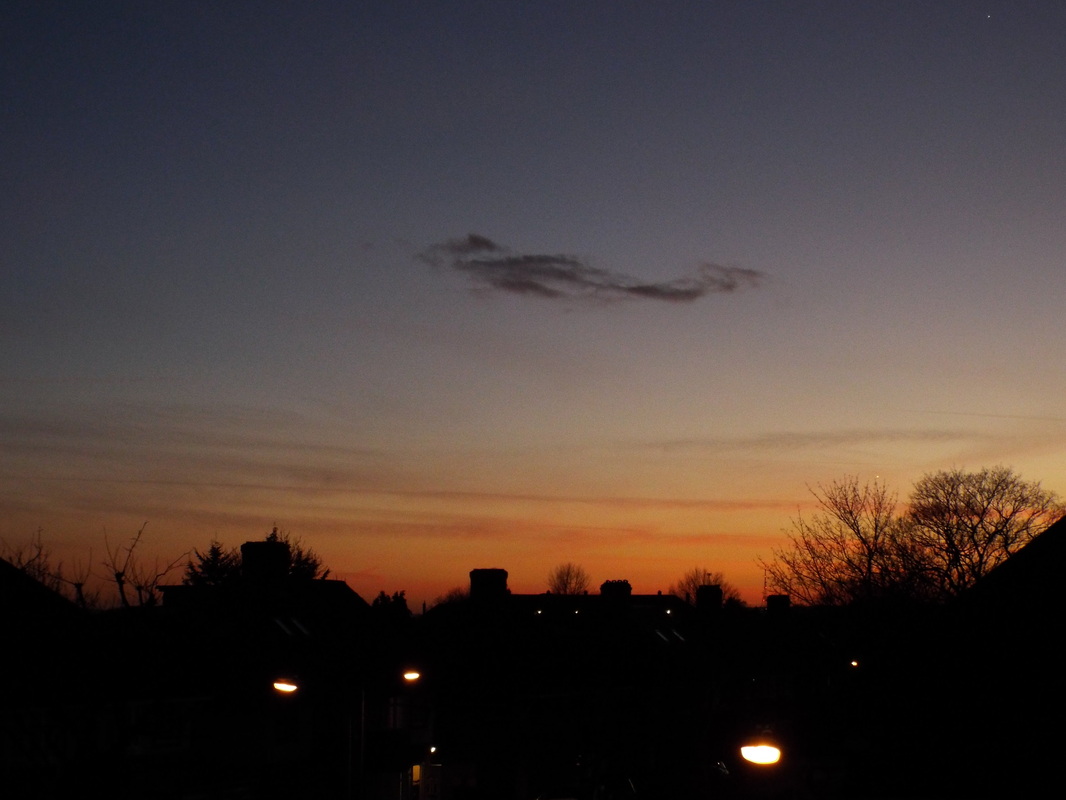
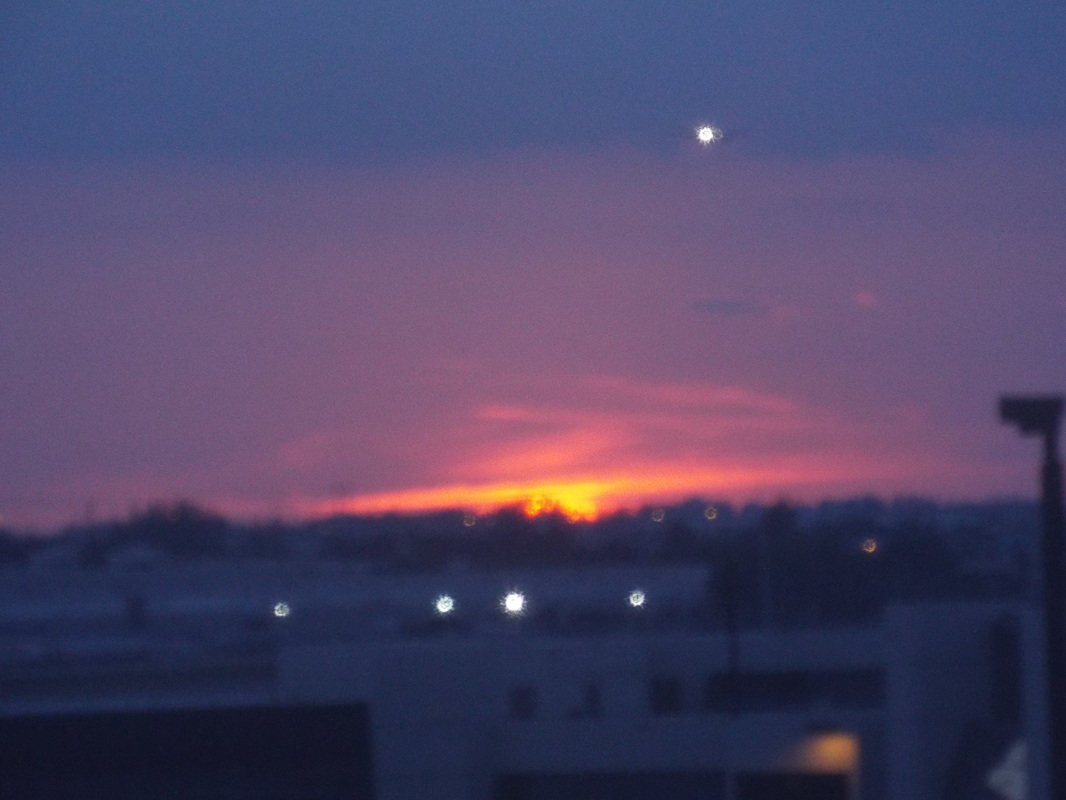
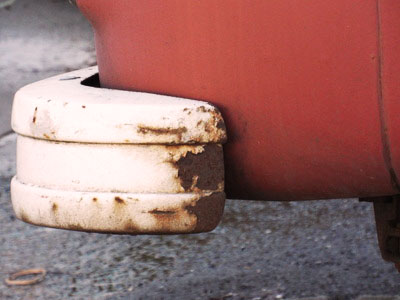
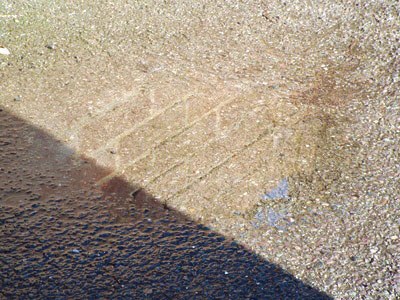
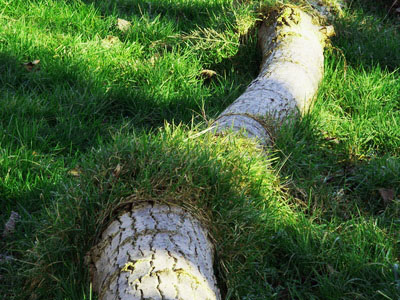
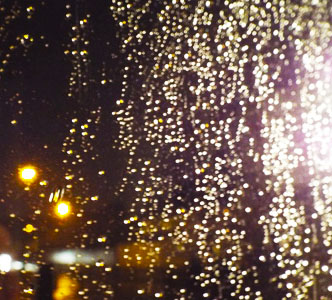
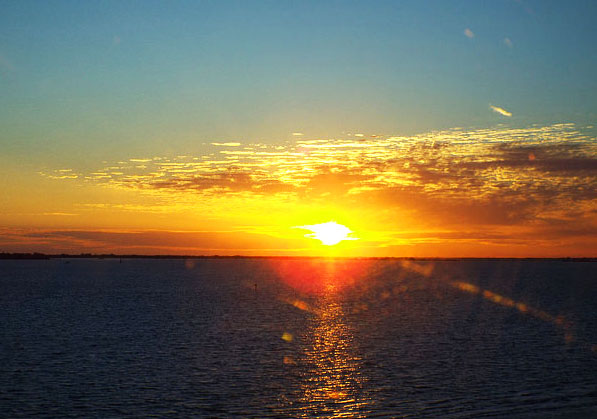
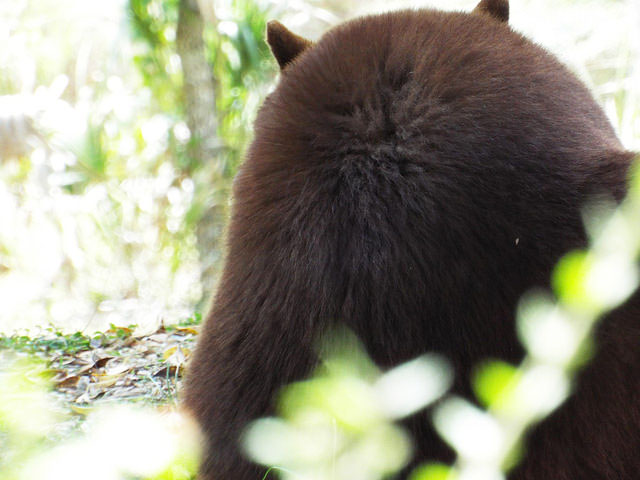
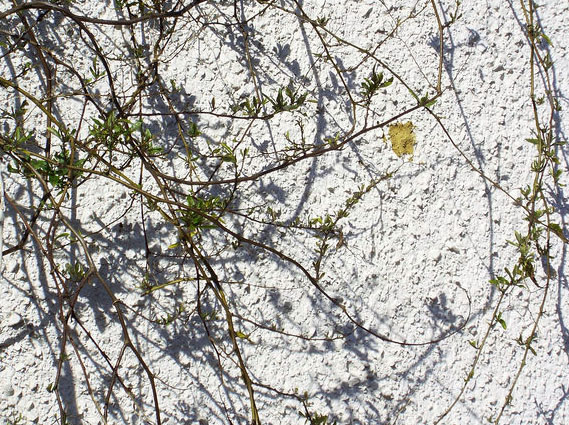
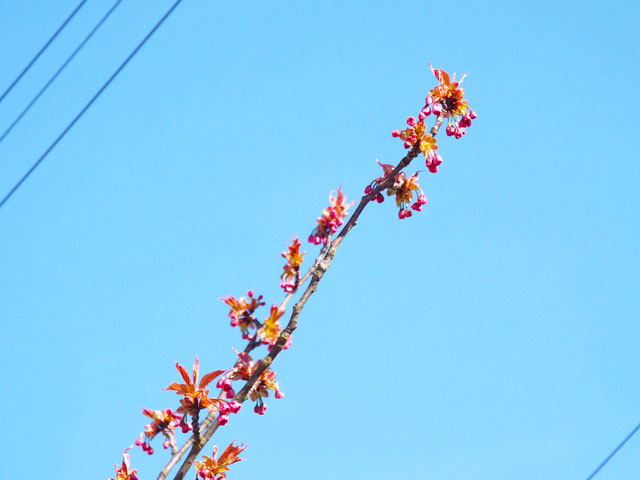
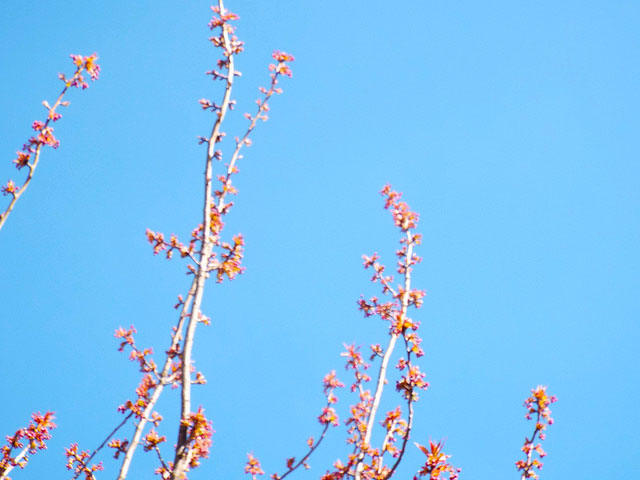
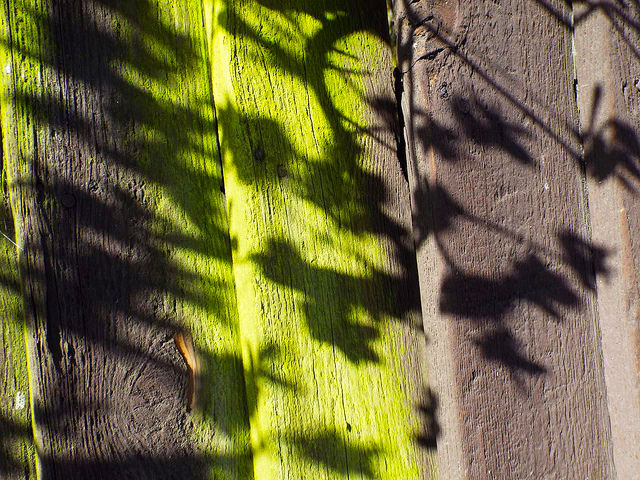
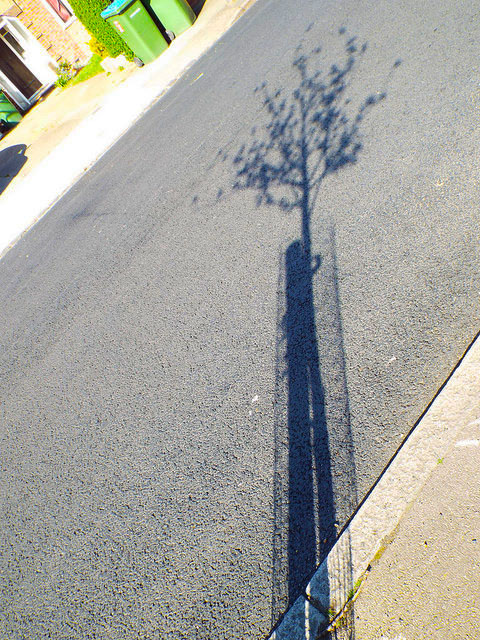
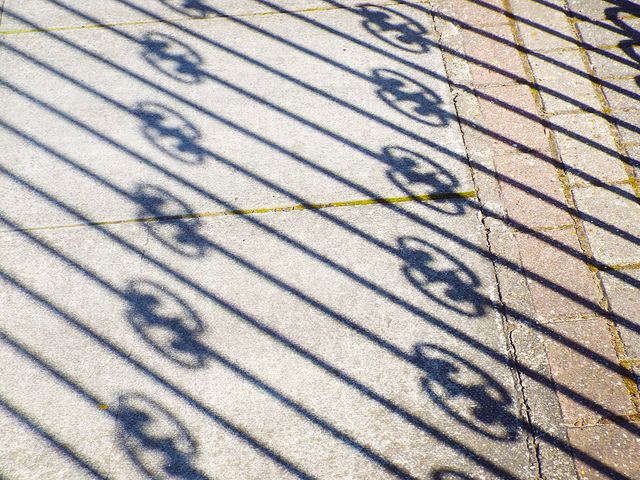
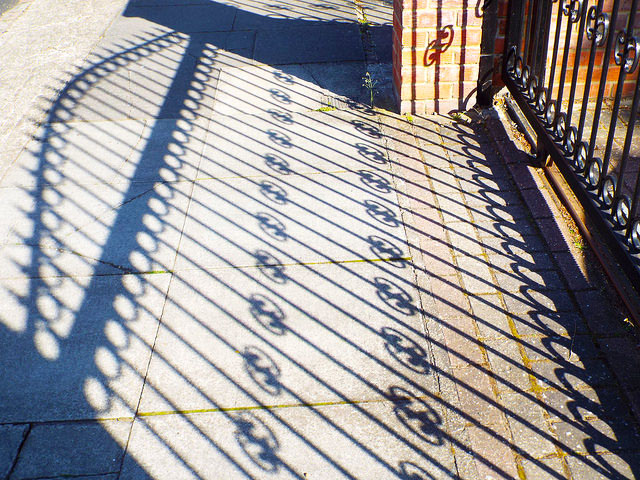
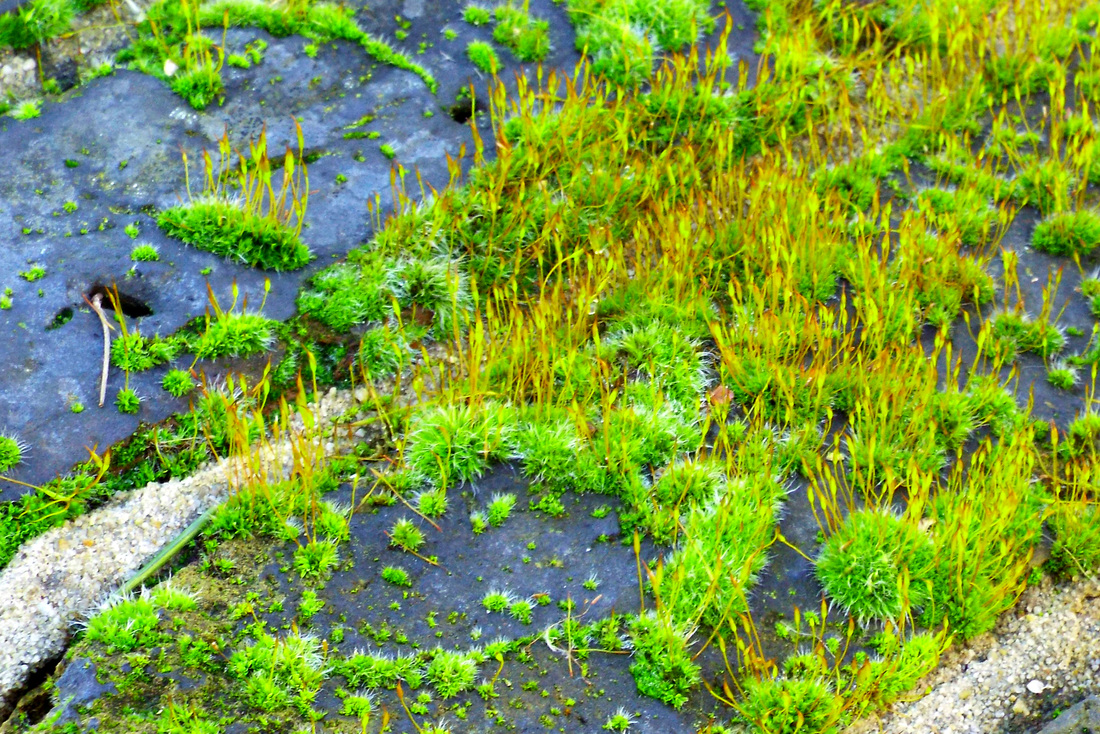
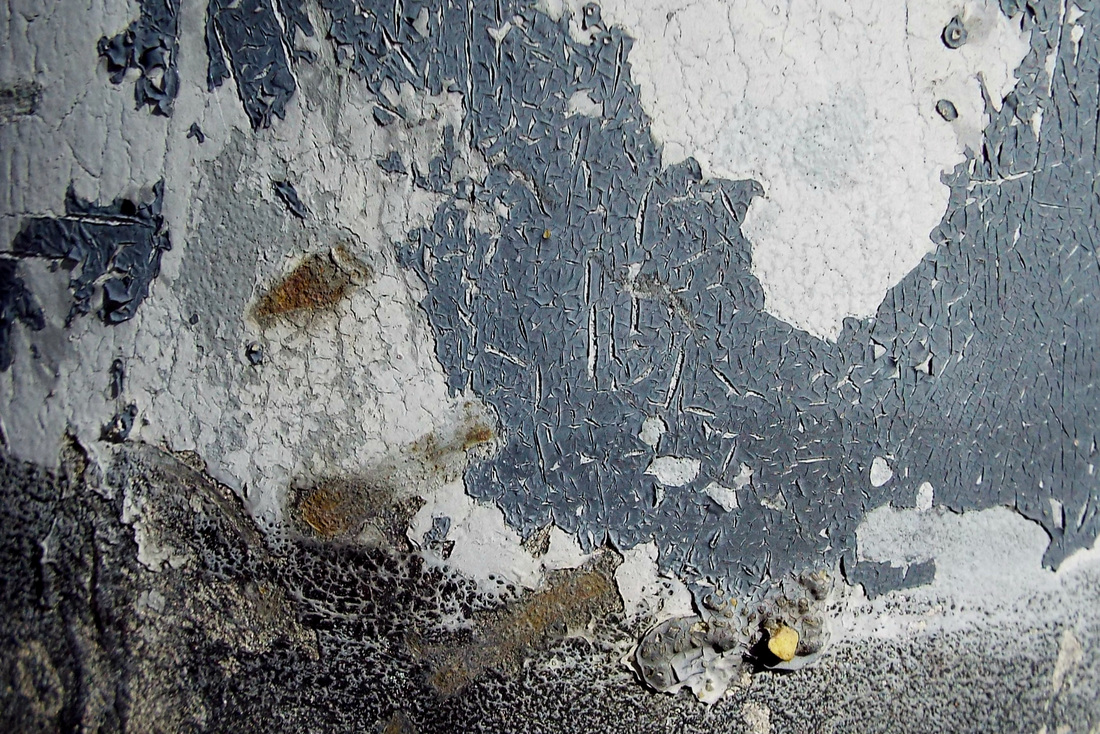
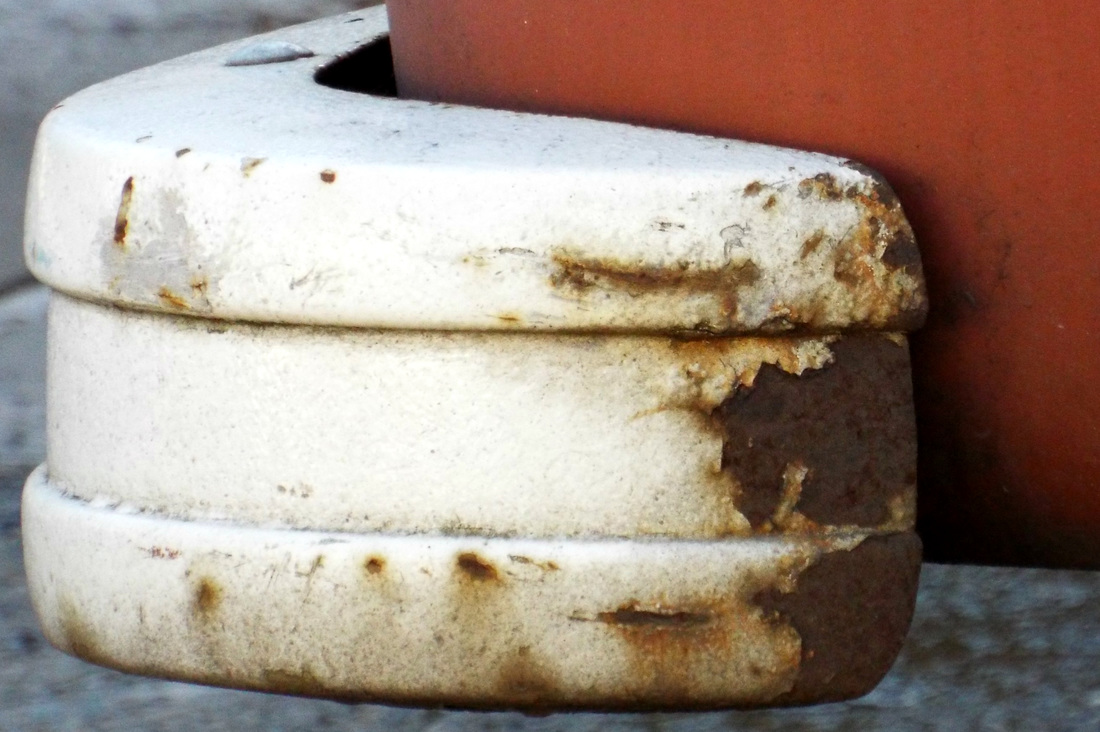
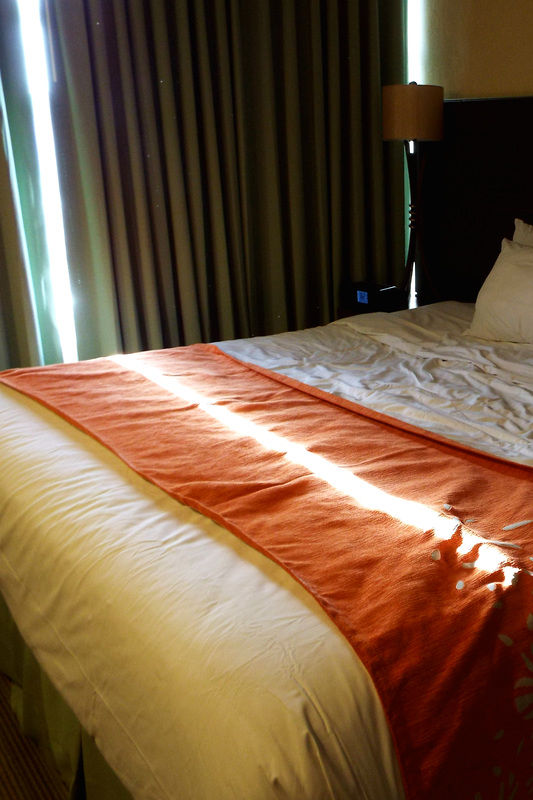
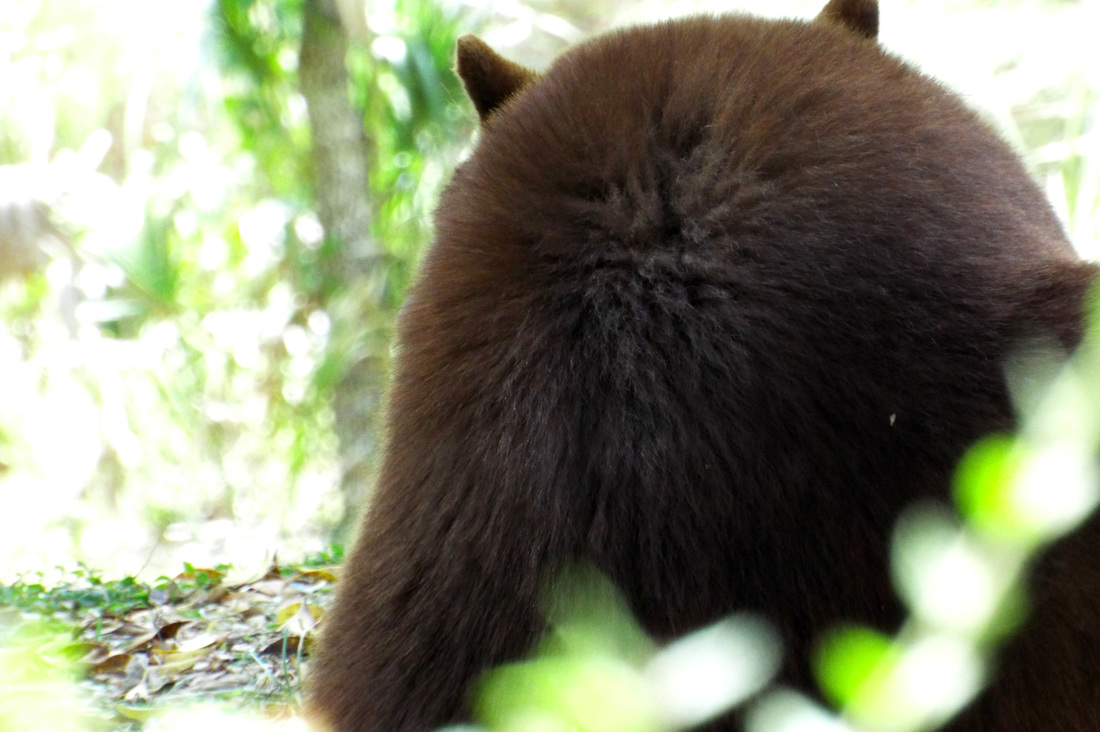
This was the first photo shoot that I did, the first two images are from the trip to Tate Britain as I thought these images were great examples of the effects of the weather, there are also some images that were taken from my porch as I liked how it shows all of the single rain droplets down the window.The majority of the other images were all taken on an hour walk around my area. I tried to take pictures of things that you wouldn't necessarily think would be associated to the weather as it isn't directly but they are still effects of the weather.

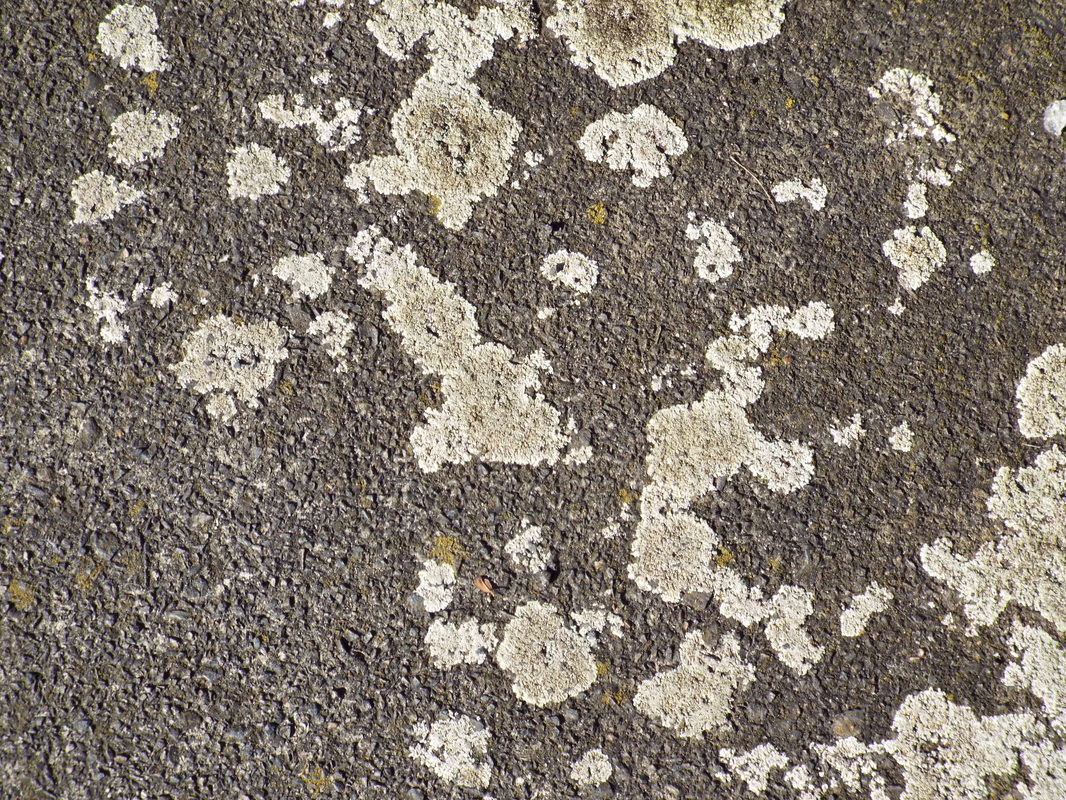
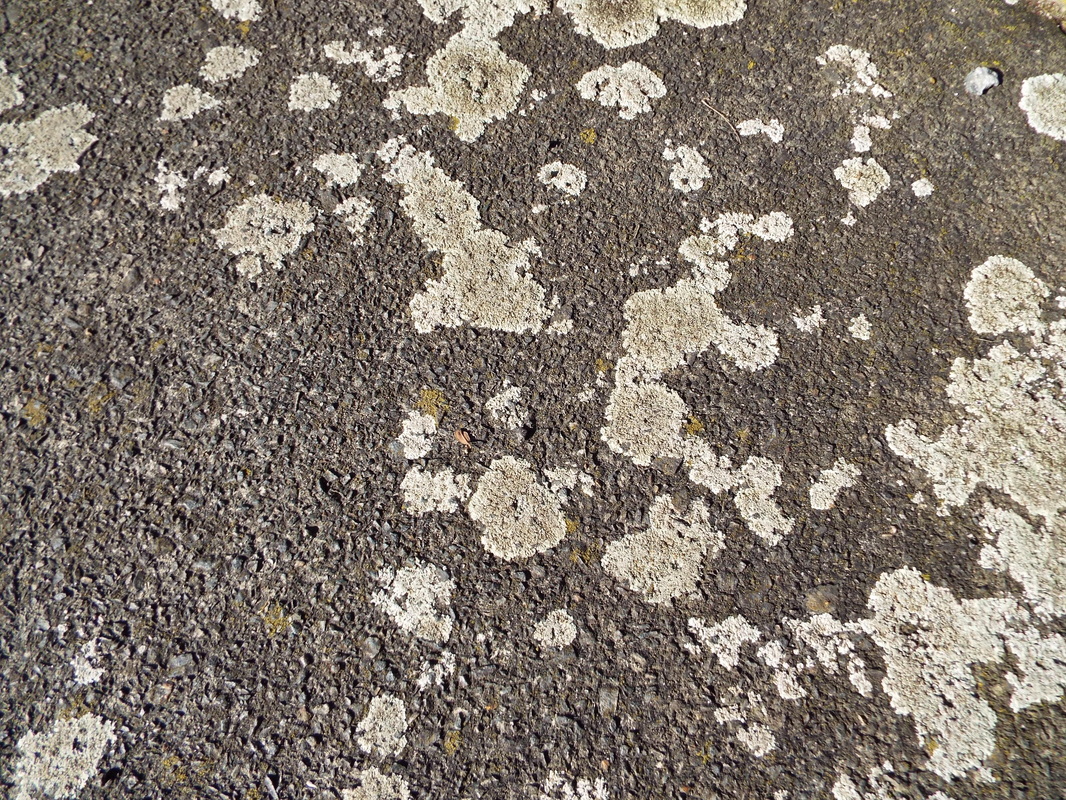
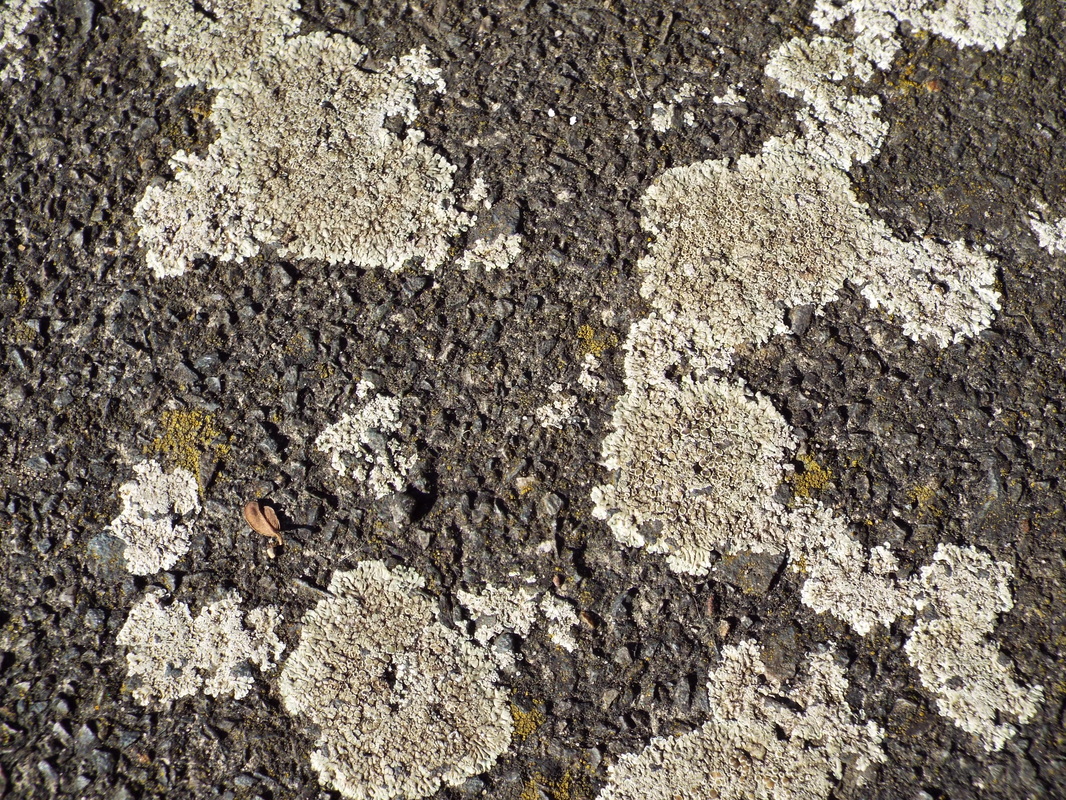
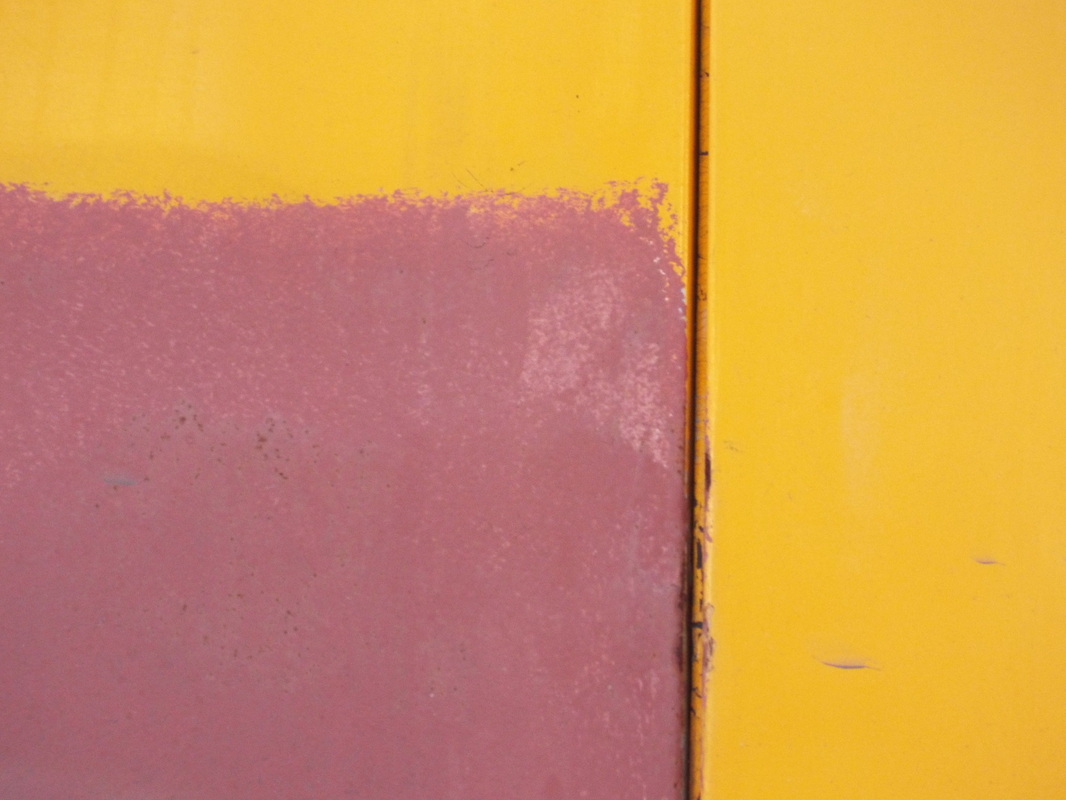
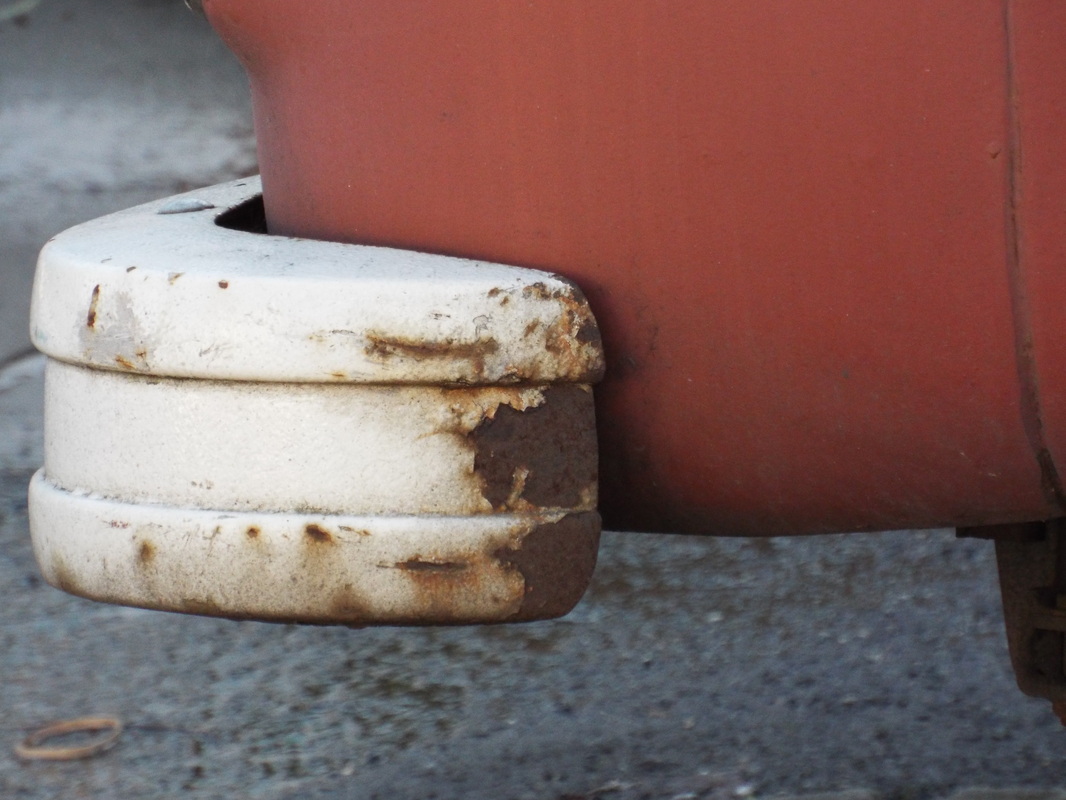

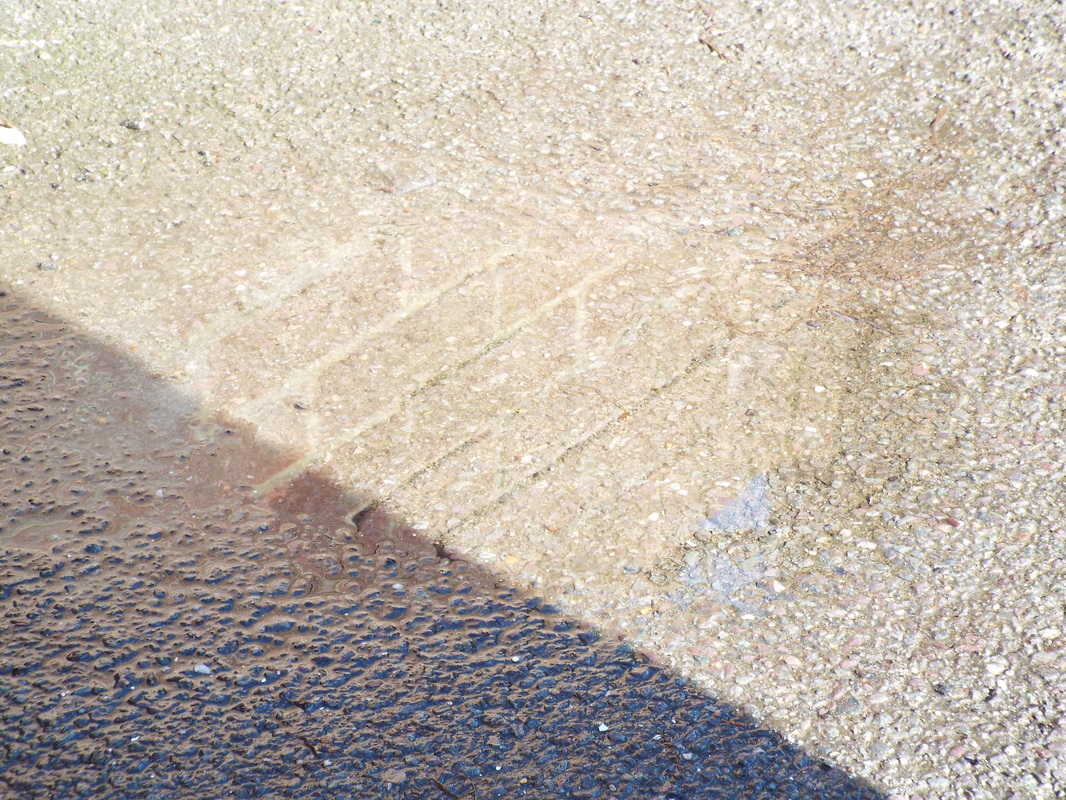
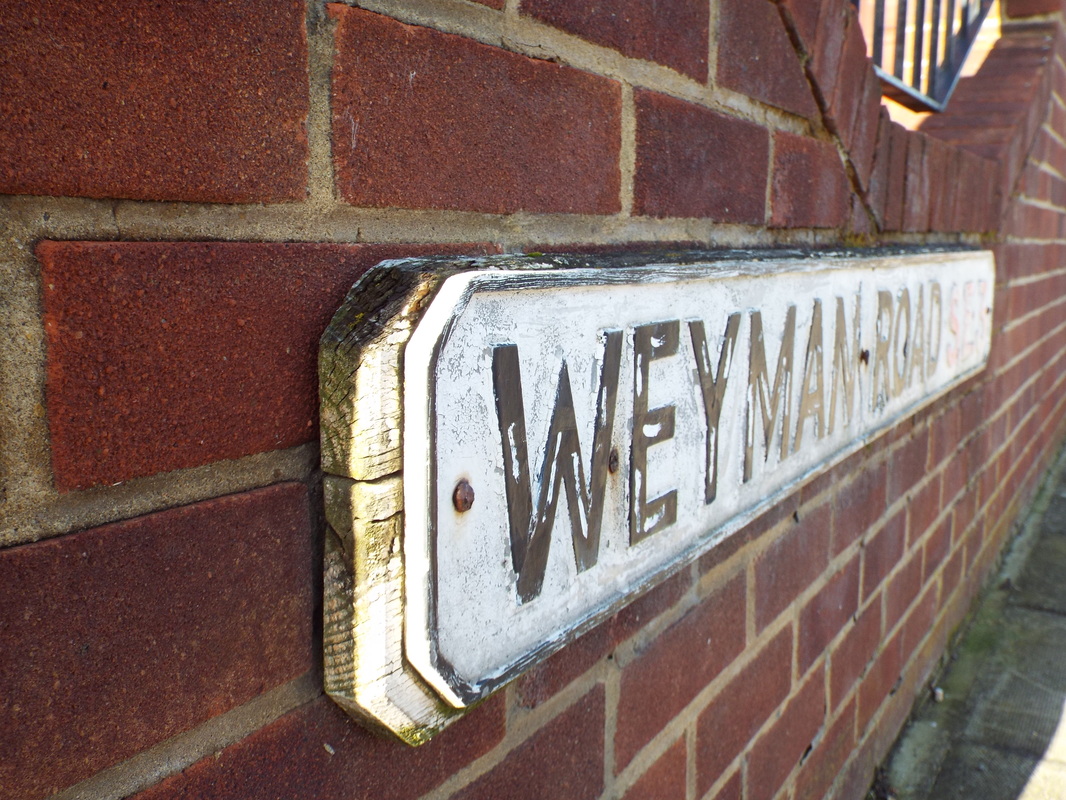
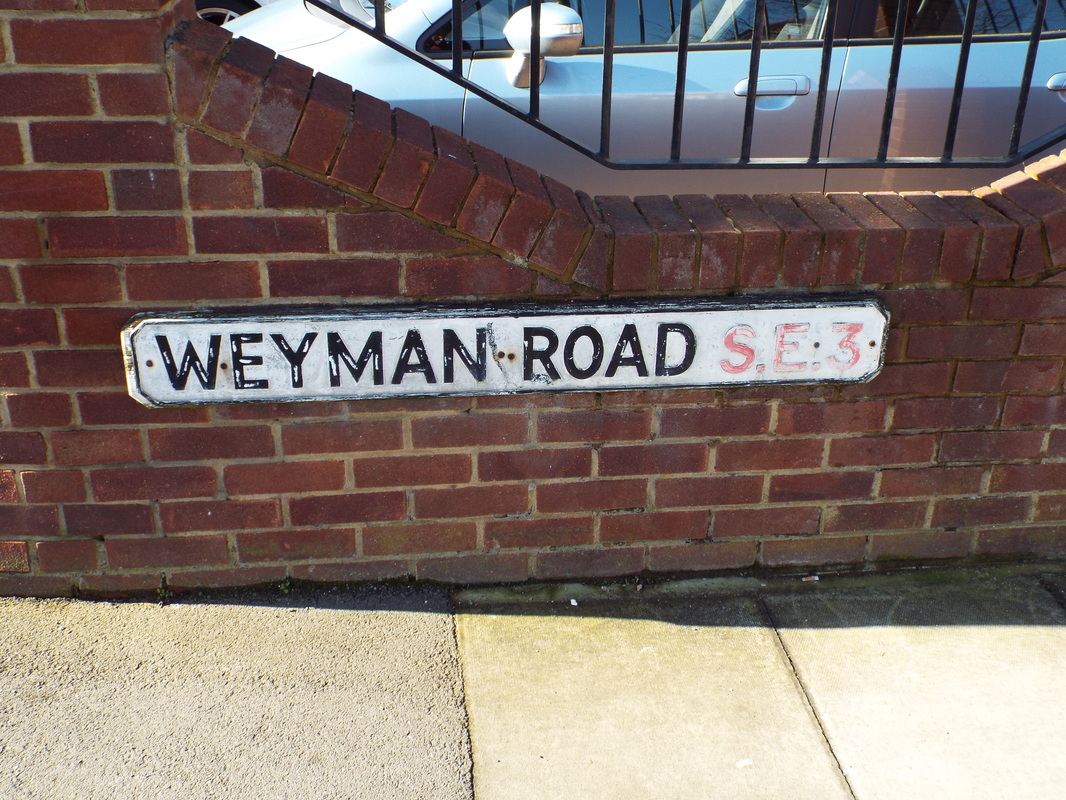
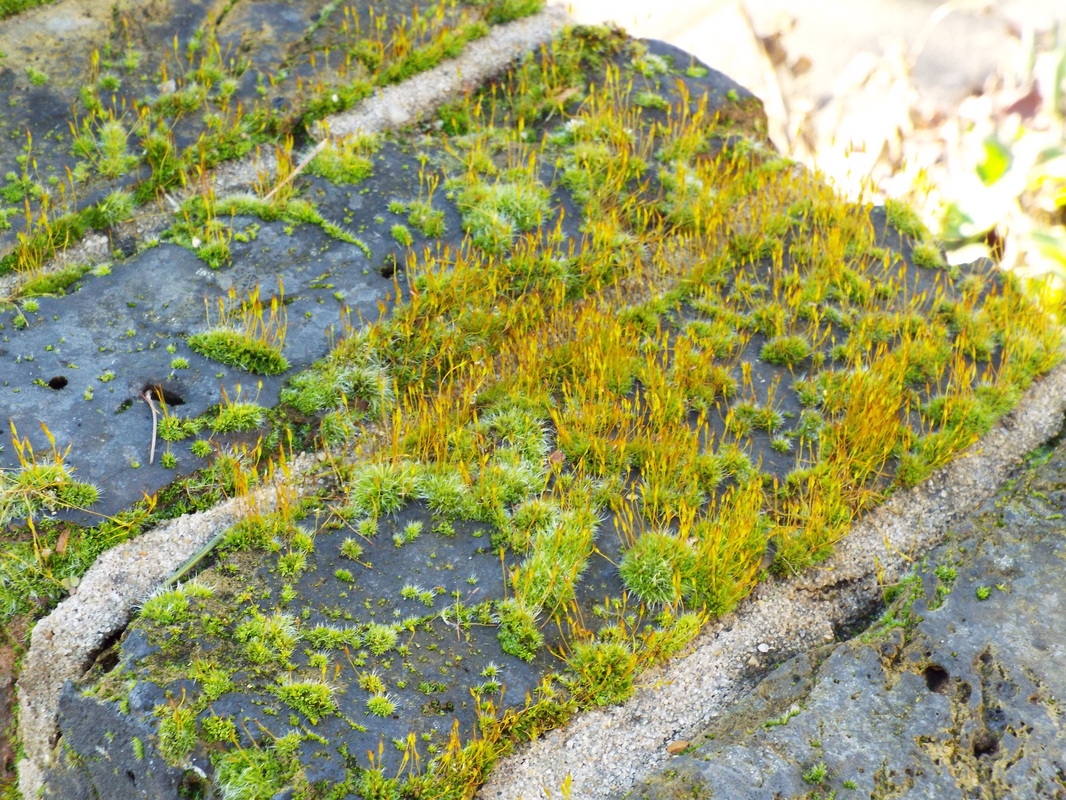
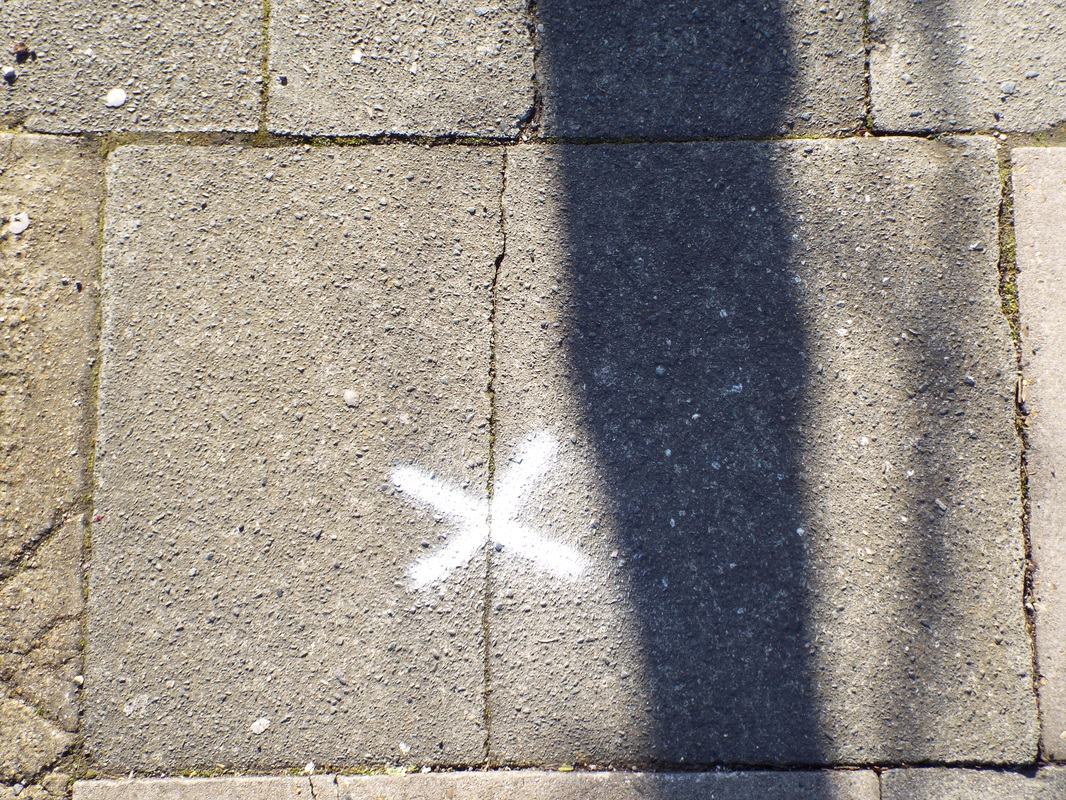

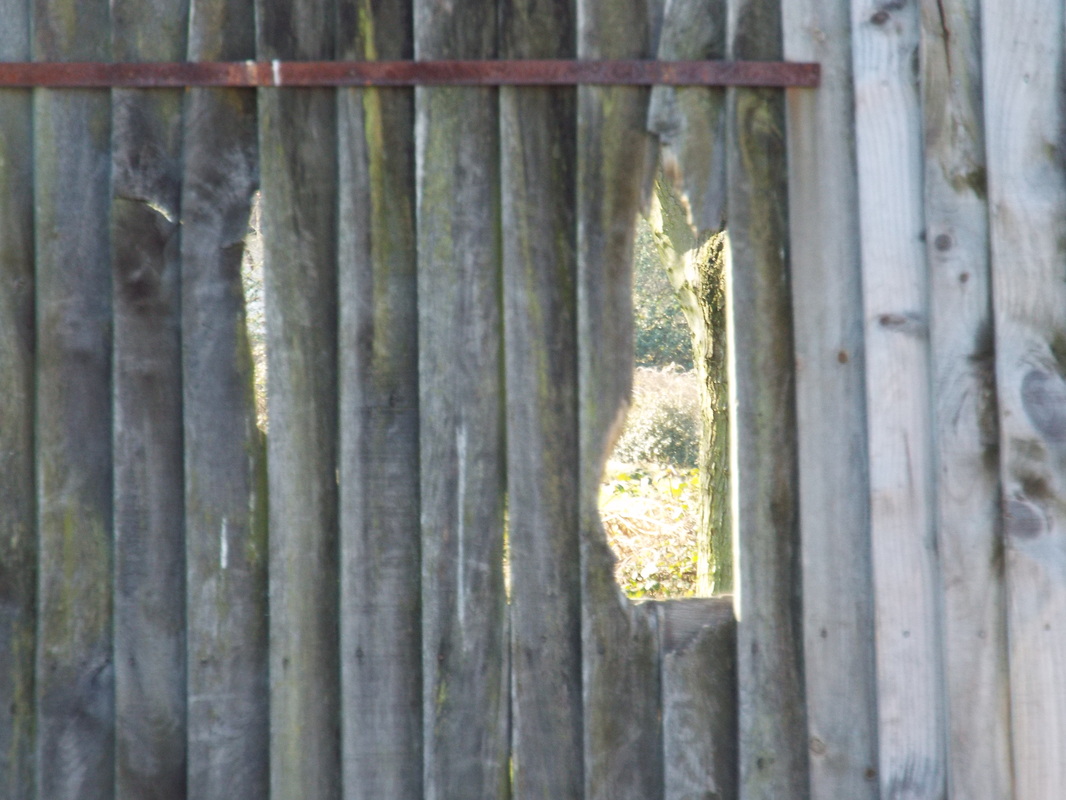
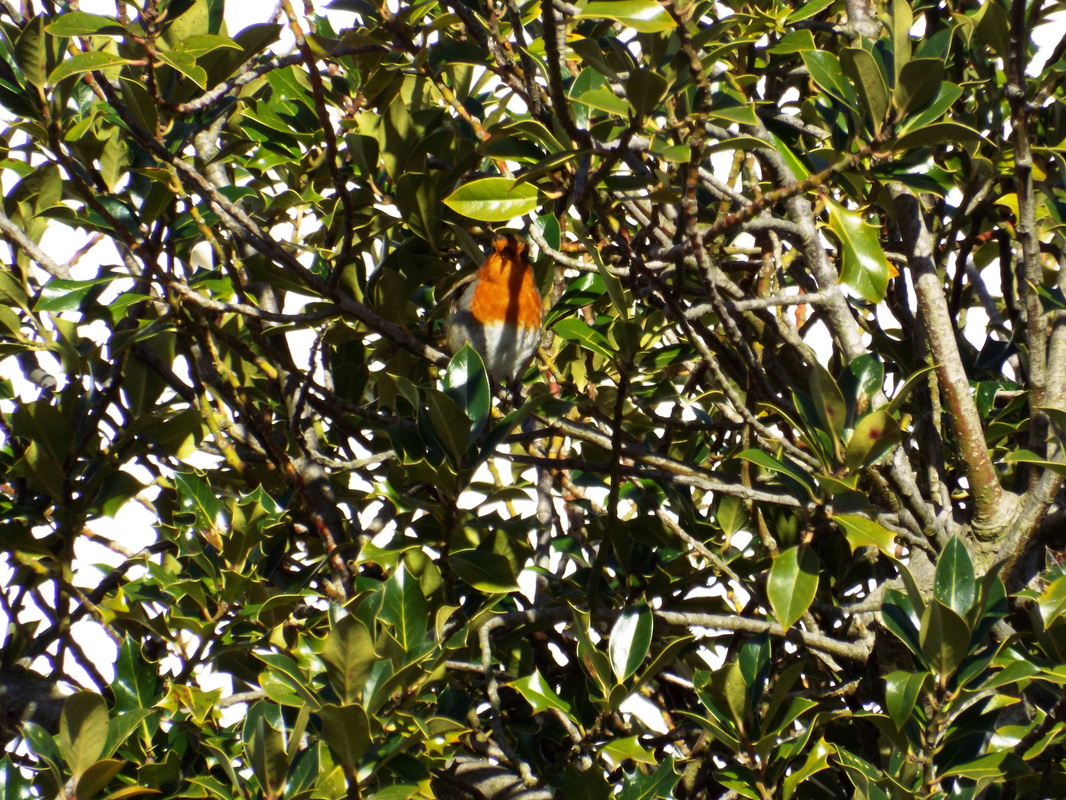
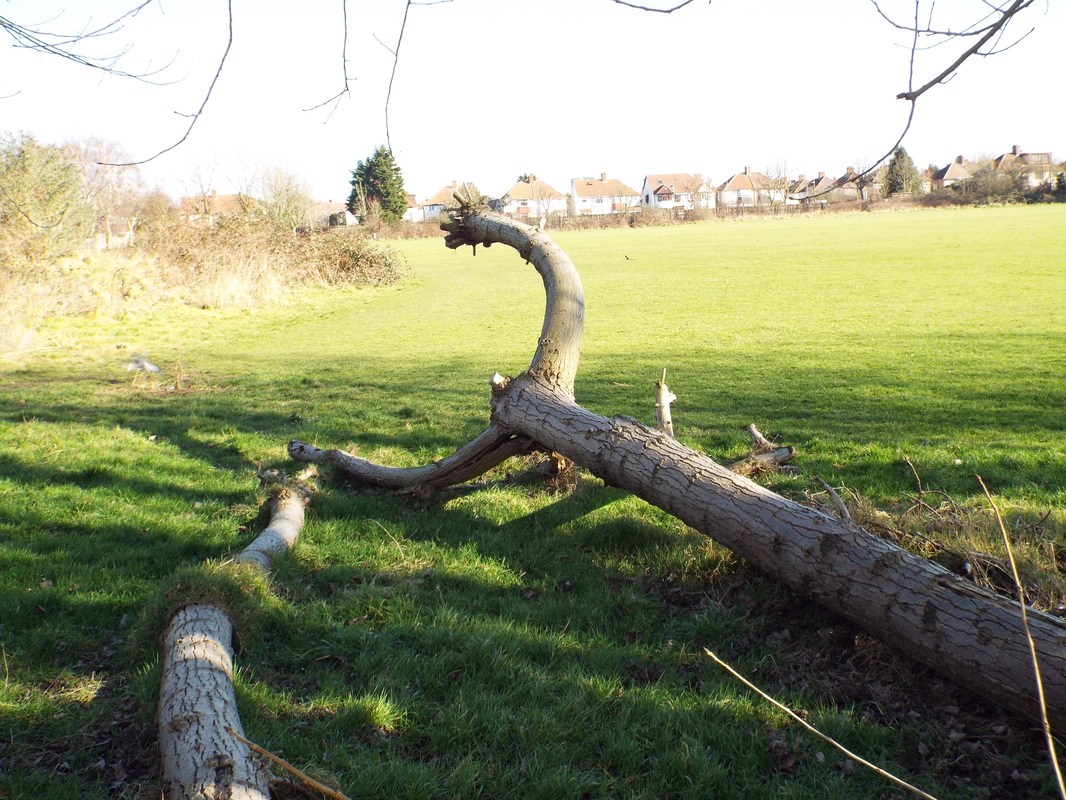


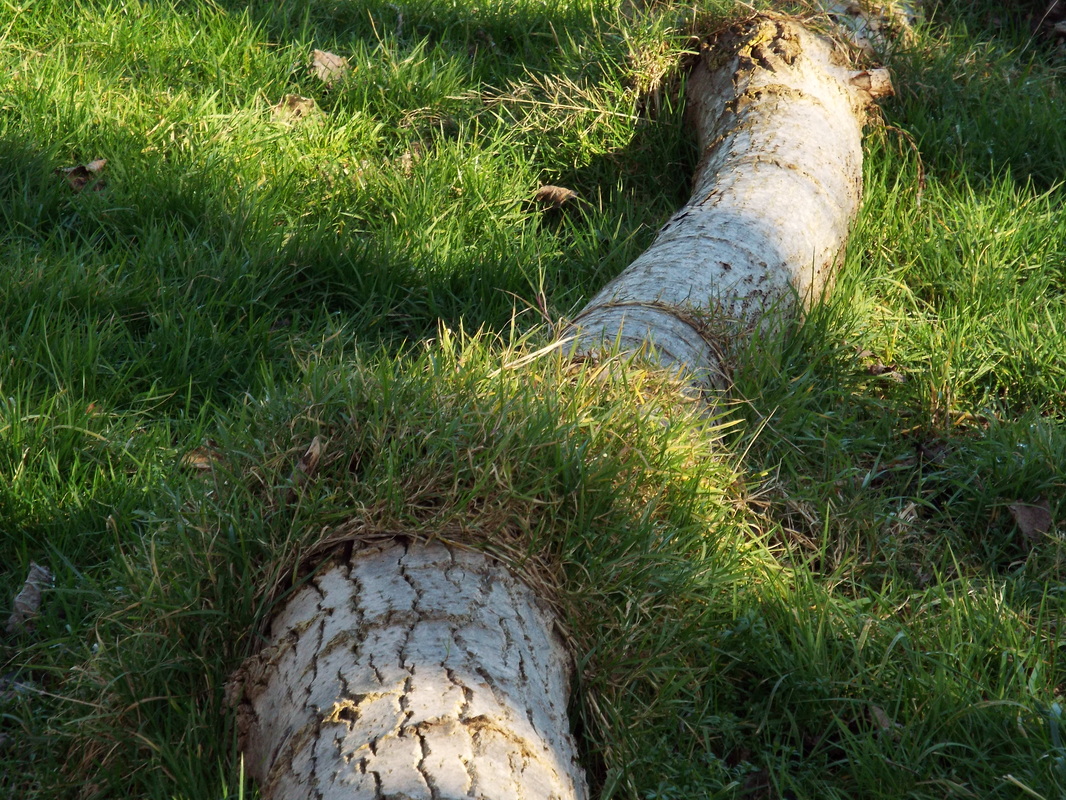
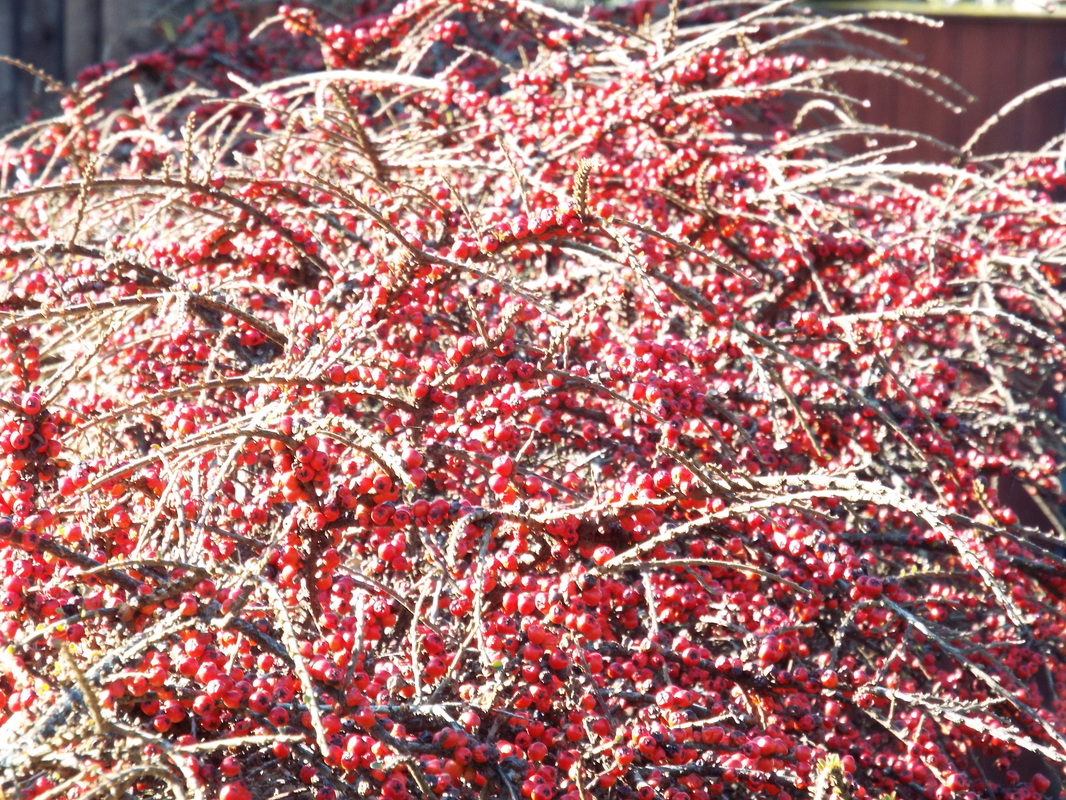
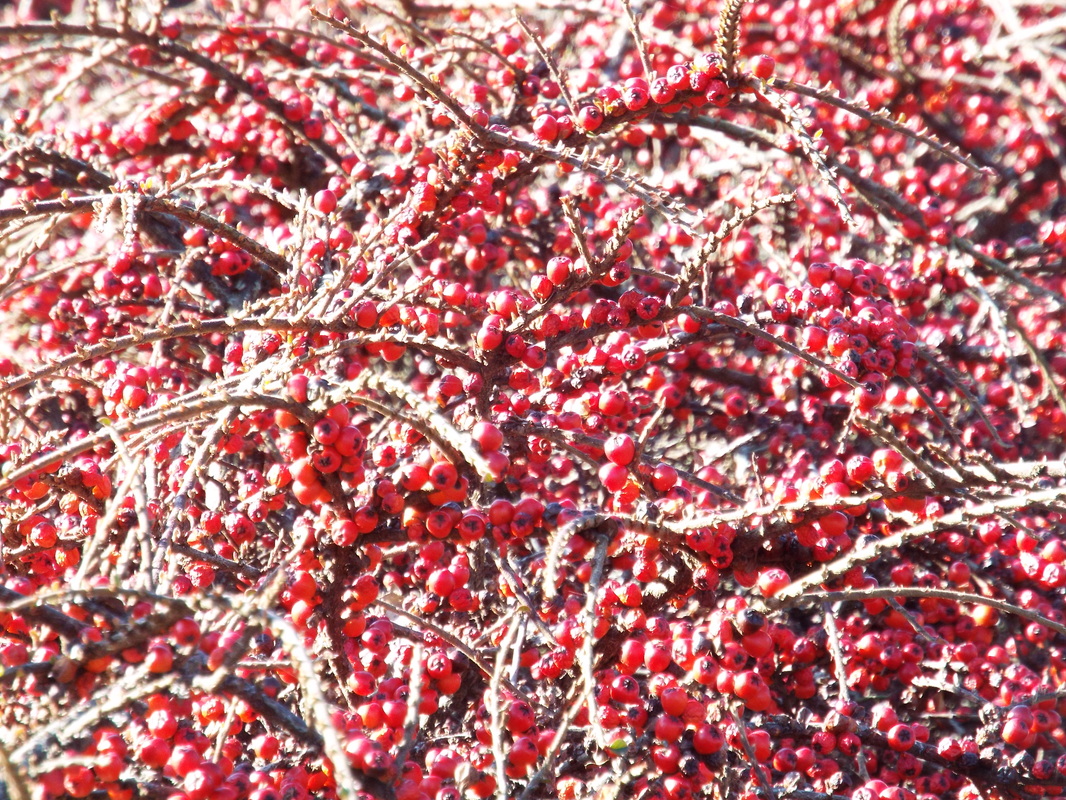
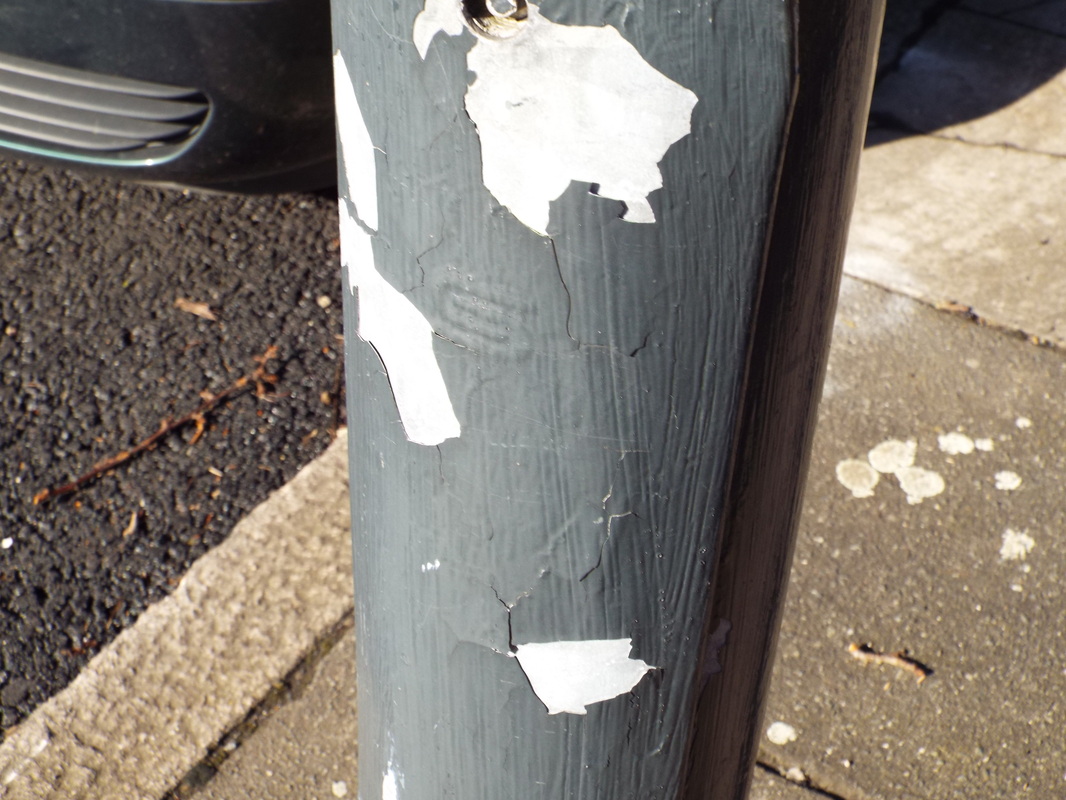
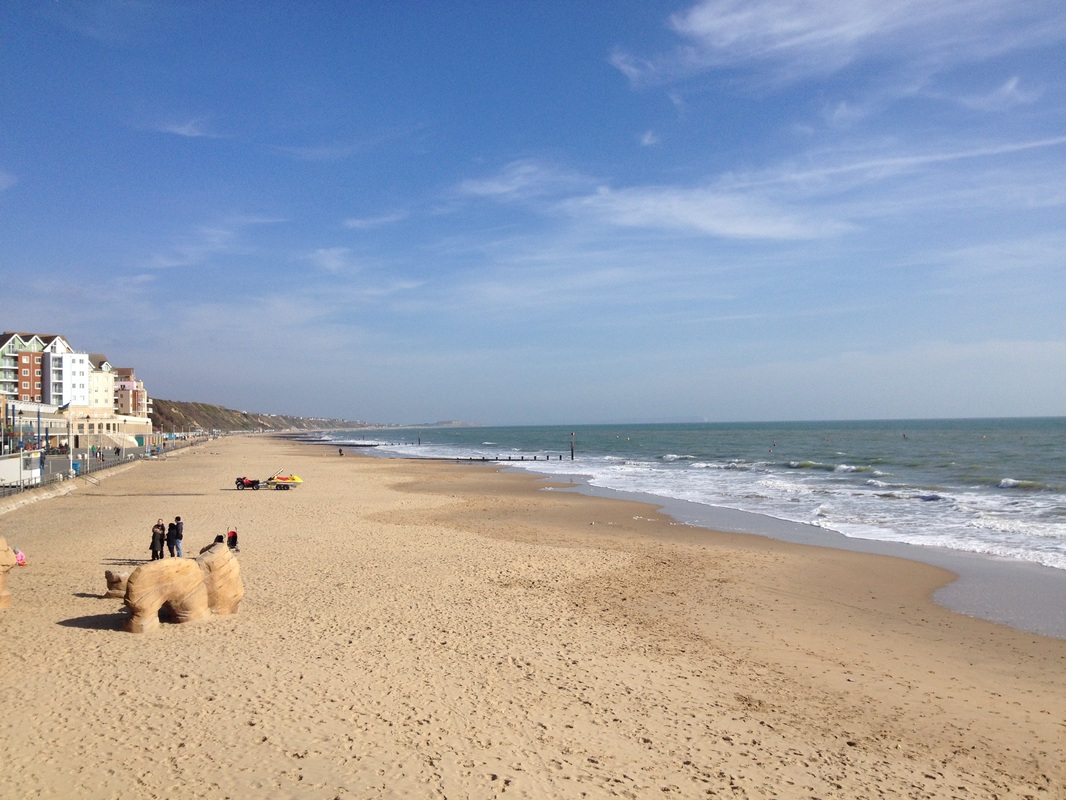

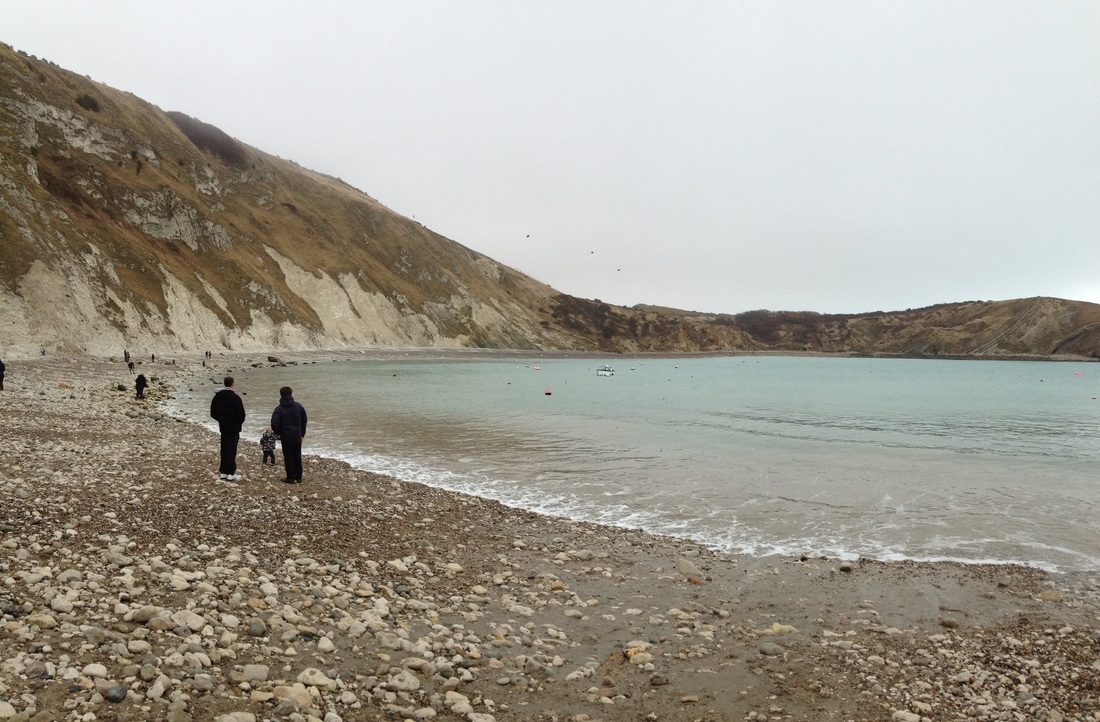
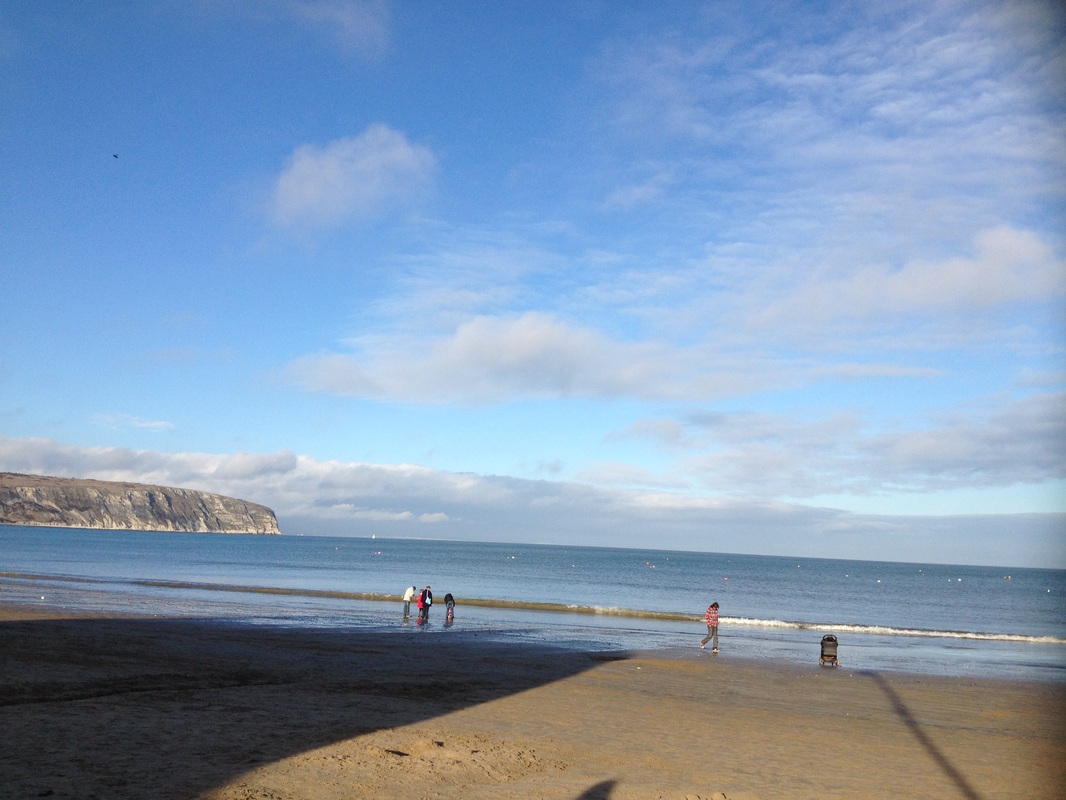
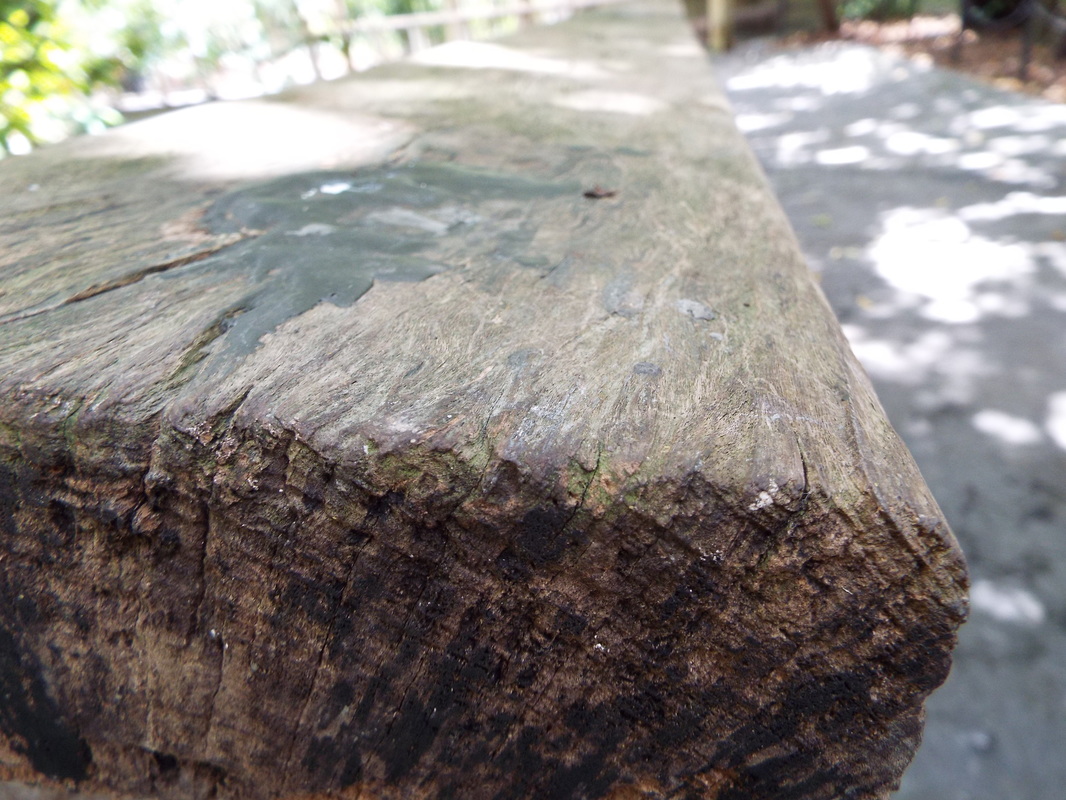
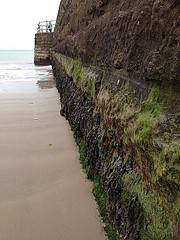
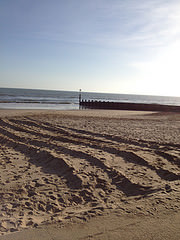
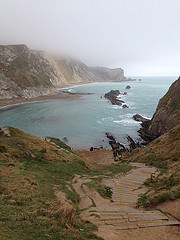
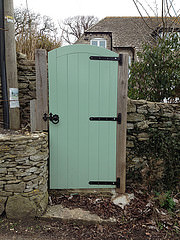
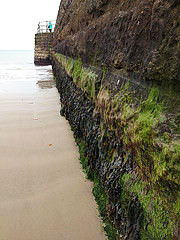
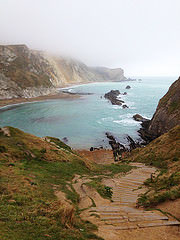
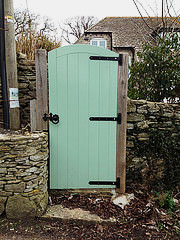
The images below were all taken on my geography trip to Swanage, I tried to focus on aspects that the weather has caused rather than the weather itself. I especially like the image below on the right of the garden gate as it stands out so much in its surroundings of nature.
|
|
|
|
photo shoot 2
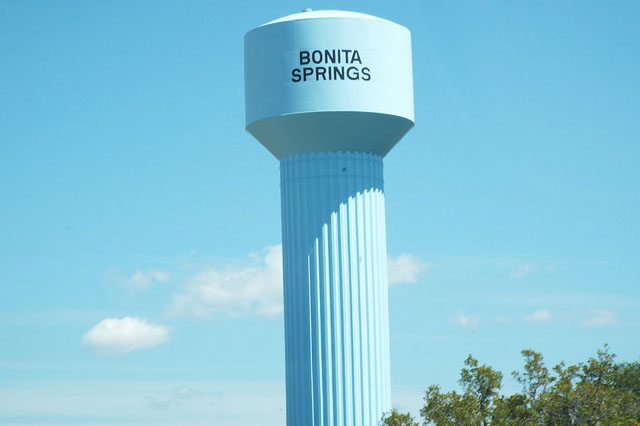
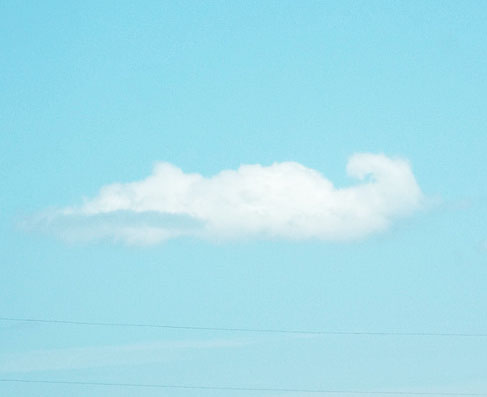
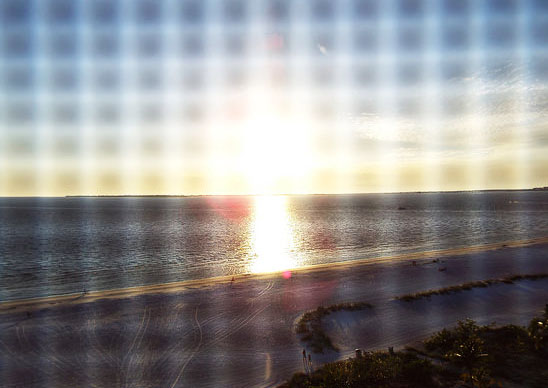
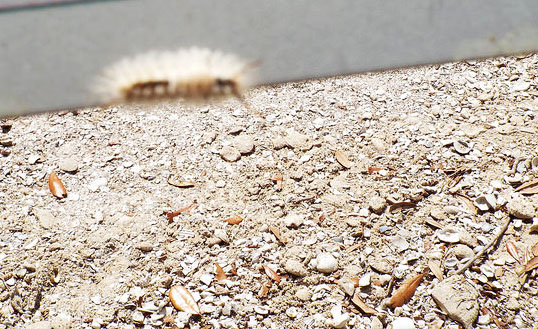
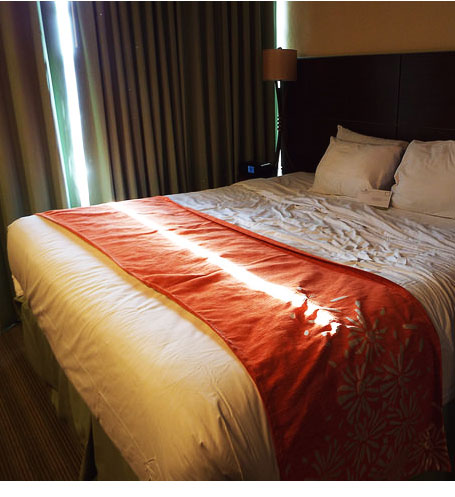
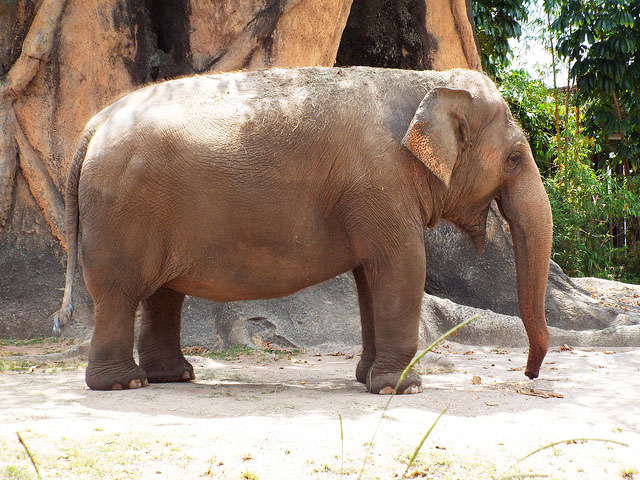
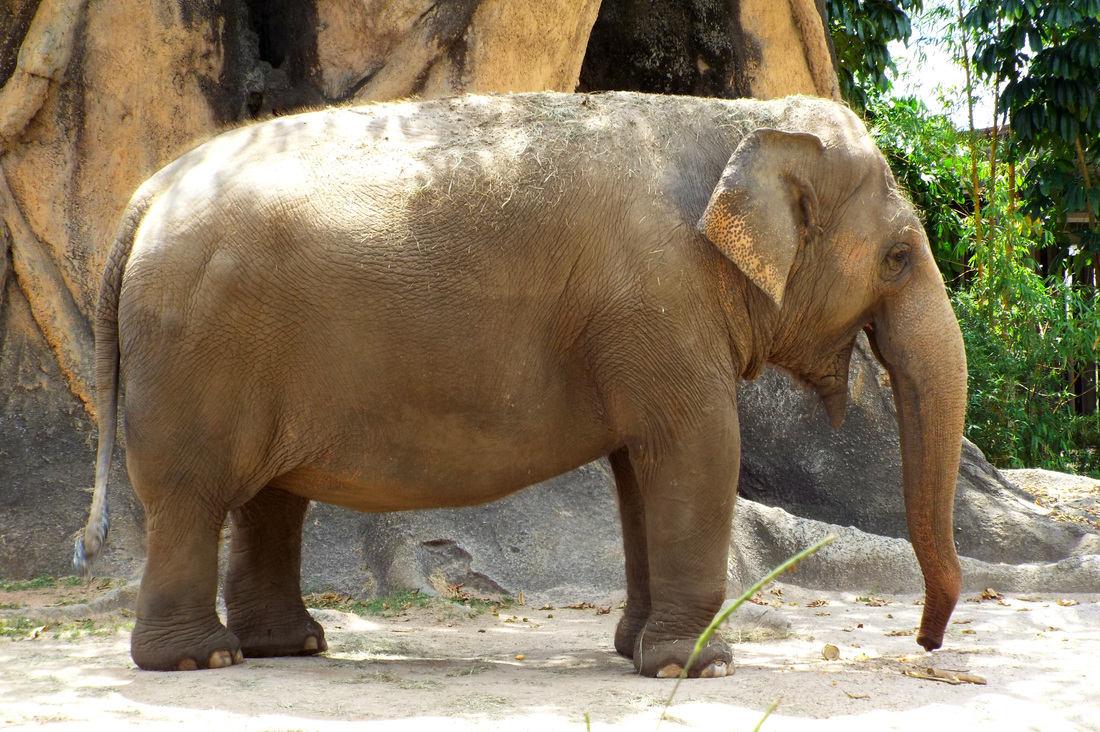
This photoshoot was done during my time on holiday in Fort Myers and Miami, Florida. Some of these pictures were taken with the purpose of being used for this project where as other images were taken because I wanted to savour the moment however when I looked back I could see how they are linked to the weather for various different reasons.
Photo shoot 3
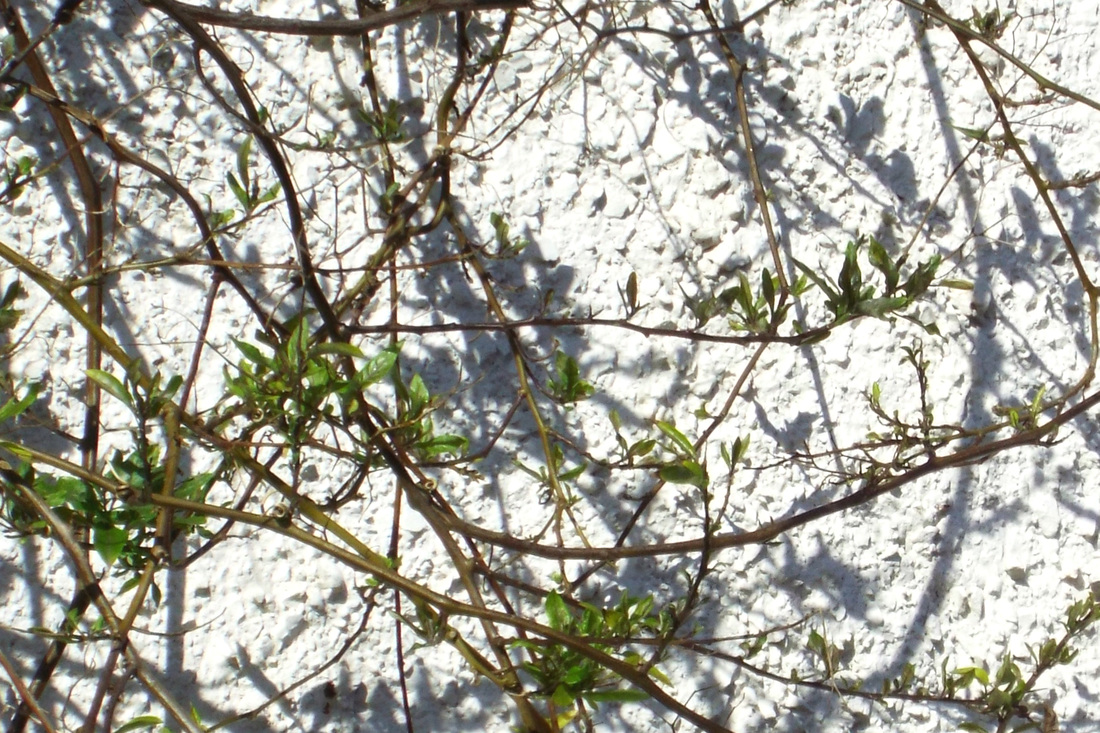
This photo shoot is only small as I walked around a different part of my area for about 20 minutes and it was extremely difficult to find some new content that I have not yet previously photographed.
first batch edited photographs
|

|
|
|
The photographs above are of the images I have edited, some of these images have been edited quite a lot and some- not as much. There are a few images that I quite like that I have edited however there are some that I am not really that happy with, this may be to do with how much the images are actually to do with the weather and that even though it is not directly linked, it is still to do with the concept of weather.
final edit

presentation ideas
My work can be presented in quite a few ways.
My first idea is that I could print out the pictures and then hang them outside on the washing line to weather so that there is weather in the image and weather that has affected the actual image. I decided not to go with this idea as I didn't manage to print my pictures off soon enough to give them enough time to weather, especially as the weather is only sunny at the moment.
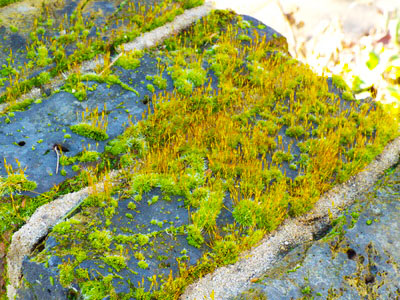
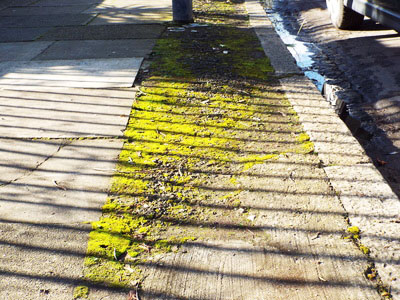
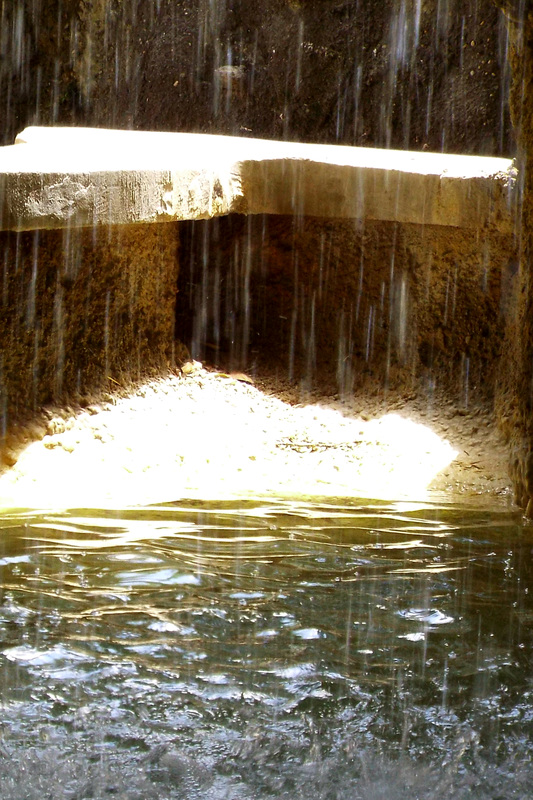
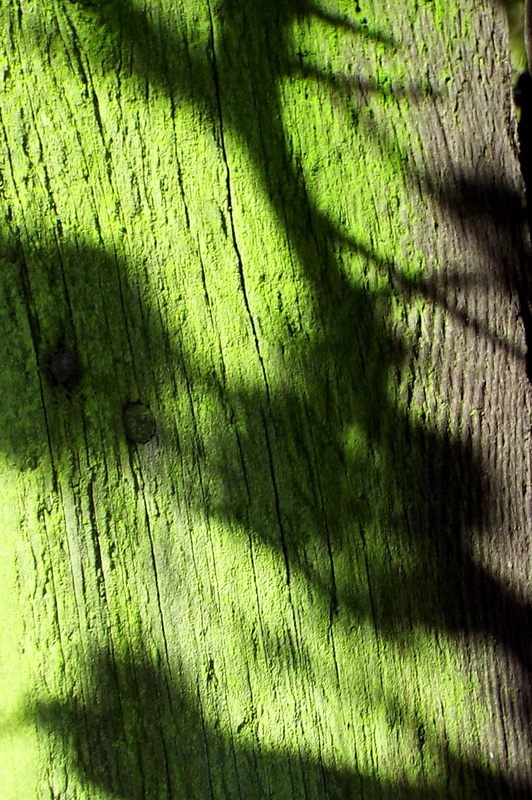
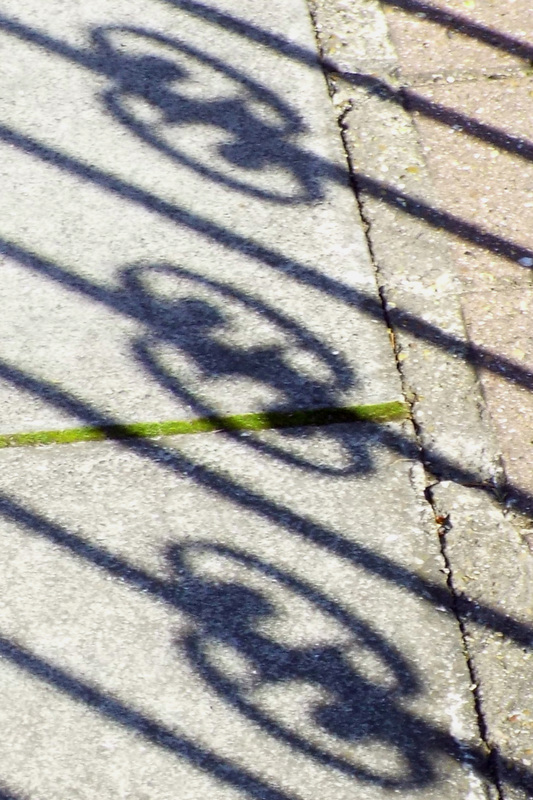
My next idea is to mount them all separately on board in a good set up to show the different parts of the weather being shown by the images, these are shown by the effects of the weather which could be the erosion or moss built up from the damp, the effects of natural sunlight and water which is either rain or as a waterfall. There are going to be eight images in two rows of four to show the effects of the weather and the best way that I personally found them to be presented. However as the eight images have all been mounted separately, they can be displayed differently; for example, eight in a column or eight in a row or two rows of four, they could even be displayed in a diagonal form.
My first idea is that I could print out the pictures and then hang them outside on the washing line to weather so that there is weather in the image and weather that has affected the actual image. I decided not to go with this idea as I didn't manage to print my pictures off soon enough to give them enough time to weather, especially as the weather is only sunny at the moment.
My next idea is to mount them all separately on board in a good set up to show the different parts of the weather being shown by the images, these are shown by the effects of the weather which could be the erosion or moss built up from the damp, the effects of natural sunlight and water which is either rain or as a waterfall. There are going to be eight images in two rows of four to show the effects of the weather and the best way that I personally found them to be presented. However as the eight images have all been mounted separately, they can be displayed differently; for example, eight in a column or eight in a row or two rows of four, they could even be displayed in a diagonal form.
final evaluation
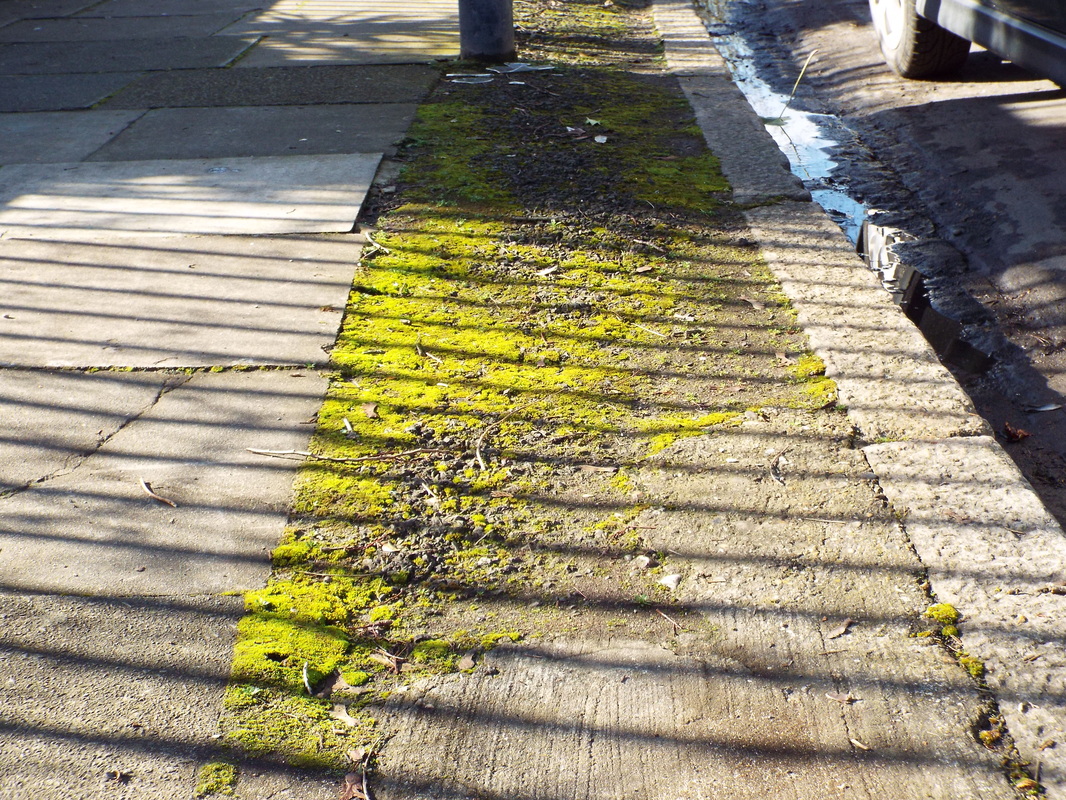
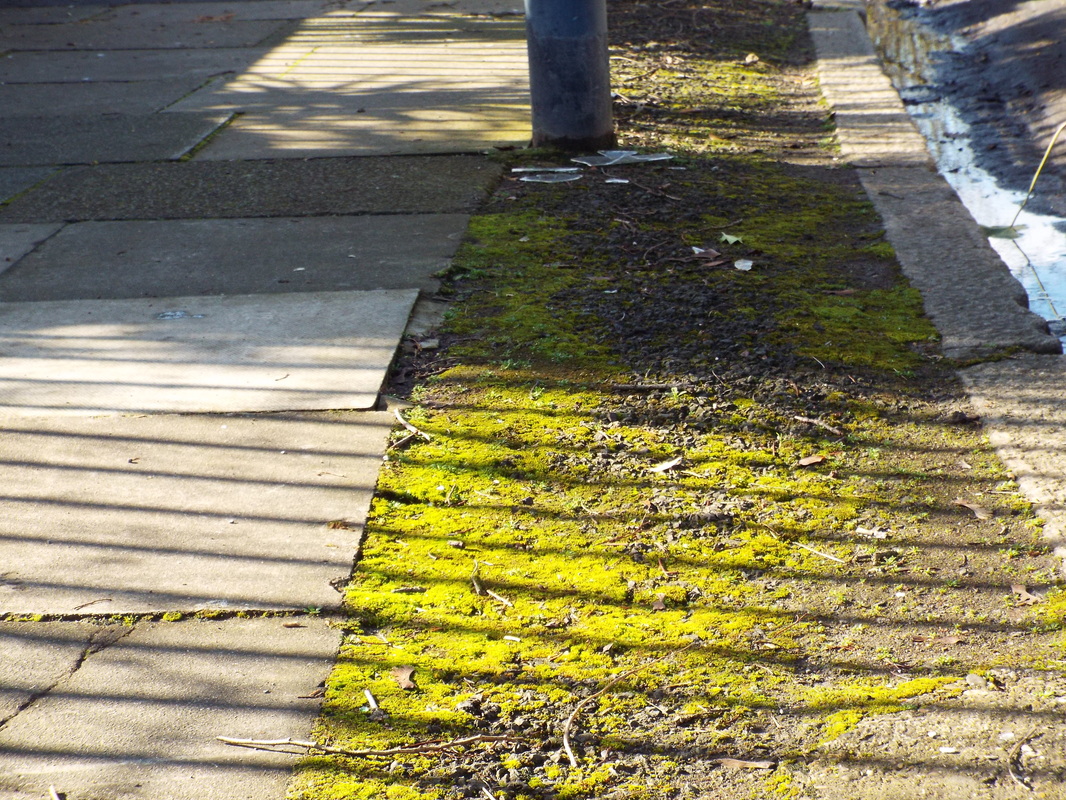
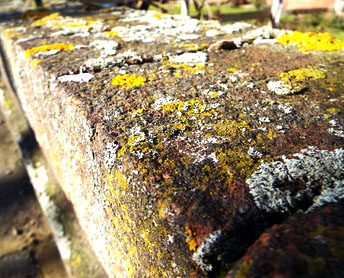
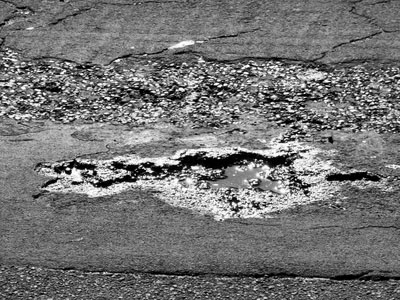
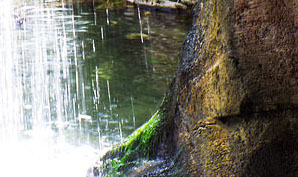
My first project that I did was of cyanotypes of the weeds inside the school grounds. I wasn’t sure how they were going to end up like in the end as I had never made so many before especially in one go. My second project that I decided to do was the effects of the weather, this is how the weather has shaped certain objects throughout the years. For example, a pot hole in the road and the rust on an old car. This project is also about how natural light can look beautiful if it is photographed in the correct way and also how striking shadows can be. The project is also about water and how it is naturally produced and is part of the weather. I like how there is such a variety between the three parts of the final piece however they still link together extremely well to create a good variation of angles on the weather. I went out multiple times to take photos on different shoots which really helped with varying the project as each time I went out I was in a different mind-set which meant I had a slightly different take on the weather each time I went out and photographed it. This could have been quite disastrous as there is such a difference between the images however I think it links the project together more with how the weather varies.
I am incredibly happy with how the first project came out; I like how the cyanotypes are extremely bright and bold. It took a while for my ideas to form for this project as I felt quite resistant about doing a project on camera-less photography. I thought that it would be a good idea to have one project that is camera-less and one that involved using a camera. When I decided that I was going to use camera-less photography, I had to think more about what camera-less photography is most related to the weather and I came to the conclusion that cyanotypes would be the best, this is because the process of making cyanotypes uses sunlight which is obviously using the weather and also being cyanotypes of plants. The photographers that I researched for this project were Anna Atkins and Alexander Hamilton who both produced cyanotypes and Floris Neususs. I was particularly interested it Atkin's and Hamilton's work as they are similar to what I wanted my work to look like. I think the second project was a lot harder than the first projects in unit 1, this may be due to the fact that the concept for this was more challenging and more open for interpretation as to what should be photographed under the title of “weather”. I decided that I wasn’t going to take the conventional route for the weather when I looked at the images on the Pinterest board for the weather. Some of the images on there are very conventional images of the weather however there are some images which show the effects of the weather over either a long period of time (years) or a short period of time (hours). Those images really intrigued me and made me feel even more interested in the effects of the weather and not just the weather at the particular time of the photo shoot. A photographer that I have researched is Peter Fraser particularly the Ice and Water project from 1993; I found these images quite interesting due to the fact that they have been cropped so that there is no sense of surrounding and how the images have been made so that there are always questions about where the image is taken, what the image is of and many other enquiries. Fraser made me think more about cropping so that an image could be unrecognisable. Another photographer that I looked at was Jazz Green who I found online, I like how the images are also mysterious like Peter Fraser’s as they have been cropped down so that they are not recognisable to a specific area. I also looked at Martin Parr who focused one of his projects on saturated prints which I am interested in as I wanted to over-saturate my final piece.
Due to the first project just being of cyanotypes, it meant that it only took one take to make all as they can all made at one time. I went into the dark room last week and put the chemicals on the paper that I bought which was an A5 sketch pad because it has good quality paper which will withstand the processes that it has to go through to create cyanotypes. The day after I put the chemicals on the paper it was dry enough to be used, however the morning after was very overcast and grey which meant that if I tried to do the cyanotypes with these weather conditions they may have worked but the blue would not be that bright and neither would the shadow of the object so I waited until the afternoon when it was sunny. I went outside with two black bags which are really thick and wouldn’t let any light through, in one bag I put the paper that I was going to use and then in the other bag I put the paper in once they had been exposed. I also took outside a piece of glass to go over the top of the paper when the weeds had been placed on them to make sure that they didn’t move and cause another partial shadow. Once I had picked the first seven weeds, I got the paper out of one bag and put it on the floor and placed the weeds on top of them and then put the glass on top. Whilst the sun was making the paper change colour, I was looking for more weeds to pick for the next batch. I did this 8 times which took about an hour which is quite quick, I then went back up to the room and washed all of the pieces of paper individually to make sure that all of the chemicals are off so that they are not as light sensitive anymore. Once I washed off the chemicals I put them all on sugar paper so that I could easily transport them to a safe place for them all to dry. There were quite a lot of images taken throughout the second project. The first images that were taken were the pictures that I took on our trip to Tate Britain where I took over 200 pictures. These images were not all useful for my project but some of them related quite well with the weather so I could use them. I also took some images one evening from my house when it was raining as I was quite interested in how the pictures would look like with the rain on the window and whether I would like how it looked, once I looked at the pictures on a computer I decided I wasn’t that happy with them and that I didn’t want to take them into the editing process. The next batch of images that I took were taken around my area, I walked around for about an hour trying to find things to take pictures of that were to do with the weather and not too conventional. I then took some images when I was at Swanage on a school trip with the weather in mind; I liked how it was so different compared to the images that I could take in London. My next photo shoot was from my holiday in Fort Myers and Miami, Florida. Most of the images that I have gathered from this holiday were not purposely taken for use in this course however after looking back at the images, there were a few that worked really well in the context of weather so I could use them and edit some of them. Lastly I did another photo shoot in my local area that took around 20 minutes, this time it was even harder to find more weather related objects to take pictures of; I did manage to get a few but not as many as I wanted. After I had all of the images that I wanted, I then had to edit them. I think this was one of the hardest parts for me as I have not edited that many images before and I didn't know what I was going to do with them however I managed the editing process quite well although it is quite time consuming and difficult at first. After editing my first batch of photos, I realised that I was editing images that are too small to be printed in A4 so I re-edited some of the ones that I particularly liked and wanted to use as my final piece and made sure that the quality of the image was the best that it can be so that I had no issues with printing them in A4 and them not being pixelated.
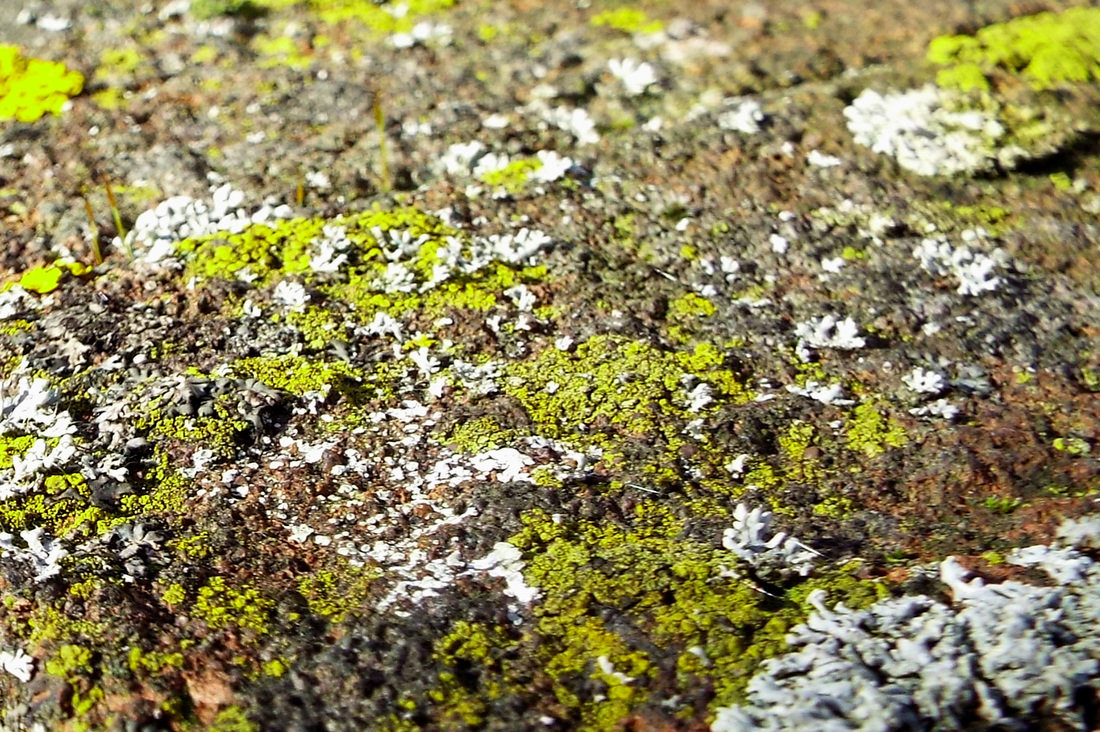
I think the first project is extremely personal to me as I found it quite difficult to actually do a project that involved camera-less photography as I found it daunting as with a camera you can take another picture a second after if you don’t like the outcome however with camera-less photography, you have to be more confident with what you are doing as once you have committed to it, you have to stay with it until the last process to see the outcome. Also when I did camera-less photography in unit 1 earlier this year, I didn’t really enjoy it that much which is why I was quite hesitant when I was thinking about doing it again, however I am extremely happy that I decided to do it as I really enjoyed it in the end. I also think that the second project is quite personal as I love the weather, I decided that I would try to keep away from the conventional weather photographs and try to broaden my mind to images that are to do with the weather but are slightly different from normal. This is when I thought more about the effects of the weather and how the weather can affect people and animals. I then tried to be more observant of my surroundings to see what way weather has affected the areas that I go to and slowly I started to notice more about how the weather has caused shadows and rust on old vehicles and moss to grow on walls and on the floor. When I started to notice these more I started to get more pictures taken. After a while it started to be a lot harder to take photographs to do with the weather, this is because I had run out of ideas of the effects that the weather causes.
Overall, I am extremely happy with my first outcome. I love how blue the cyanotypes have come out and how white the shadows are of the weeds, it makes me really happy to see how all 50 of them came out so well and none of them went wrong during the making or didn’t have enough chemicals on them. I also like how I decided to present my cyanotypes on bull dog clips in lines as it gives it the effect that they are finished and being hung up to dry. If I had the opportunity to redo this project, I don’t think I would change that much as I am extremely happy with my outcome however I think next time I would try to make even more cyanotypes in a bigger batch as I really enjoyed making them and I think the more cyanotypes, the better the effect is of “The weeds of Tallis”. I am also happy with my second outcome; I think it is quite conceptual and interesting as it is difficult to work out what certain objects are which is what I was aiming for. I like how I chose multiple pictures that all linked and could be displayed in multiple ways as they have been mounted singularly. If I was to redo this project, next time I would make sure that when I edited the images, they are all big enough documents and that when I save them after they have enough megapixels as I had to re-edit some images due to them being too small to print A4.
I am incredibly happy with how the first project came out; I like how the cyanotypes are extremely bright and bold. It took a while for my ideas to form for this project as I felt quite resistant about doing a project on camera-less photography. I thought that it would be a good idea to have one project that is camera-less and one that involved using a camera. When I decided that I was going to use camera-less photography, I had to think more about what camera-less photography is most related to the weather and I came to the conclusion that cyanotypes would be the best, this is because the process of making cyanotypes uses sunlight which is obviously using the weather and also being cyanotypes of plants. The photographers that I researched for this project were Anna Atkins and Alexander Hamilton who both produced cyanotypes and Floris Neususs. I was particularly interested it Atkin's and Hamilton's work as they are similar to what I wanted my work to look like. I think the second project was a lot harder than the first projects in unit 1, this may be due to the fact that the concept for this was more challenging and more open for interpretation as to what should be photographed under the title of “weather”. I decided that I wasn’t going to take the conventional route for the weather when I looked at the images on the Pinterest board for the weather. Some of the images on there are very conventional images of the weather however there are some images which show the effects of the weather over either a long period of time (years) or a short period of time (hours). Those images really intrigued me and made me feel even more interested in the effects of the weather and not just the weather at the particular time of the photo shoot. A photographer that I have researched is Peter Fraser particularly the Ice and Water project from 1993; I found these images quite interesting due to the fact that they have been cropped so that there is no sense of surrounding and how the images have been made so that there are always questions about where the image is taken, what the image is of and many other enquiries. Fraser made me think more about cropping so that an image could be unrecognisable. Another photographer that I looked at was Jazz Green who I found online, I like how the images are also mysterious like Peter Fraser’s as they have been cropped down so that they are not recognisable to a specific area. I also looked at Martin Parr who focused one of his projects on saturated prints which I am interested in as I wanted to over-saturate my final piece.
Due to the first project just being of cyanotypes, it meant that it only took one take to make all as they can all made at one time. I went into the dark room last week and put the chemicals on the paper that I bought which was an A5 sketch pad because it has good quality paper which will withstand the processes that it has to go through to create cyanotypes. The day after I put the chemicals on the paper it was dry enough to be used, however the morning after was very overcast and grey which meant that if I tried to do the cyanotypes with these weather conditions they may have worked but the blue would not be that bright and neither would the shadow of the object so I waited until the afternoon when it was sunny. I went outside with two black bags which are really thick and wouldn’t let any light through, in one bag I put the paper that I was going to use and then in the other bag I put the paper in once they had been exposed. I also took outside a piece of glass to go over the top of the paper when the weeds had been placed on them to make sure that they didn’t move and cause another partial shadow. Once I had picked the first seven weeds, I got the paper out of one bag and put it on the floor and placed the weeds on top of them and then put the glass on top. Whilst the sun was making the paper change colour, I was looking for more weeds to pick for the next batch. I did this 8 times which took about an hour which is quite quick, I then went back up to the room and washed all of the pieces of paper individually to make sure that all of the chemicals are off so that they are not as light sensitive anymore. Once I washed off the chemicals I put them all on sugar paper so that I could easily transport them to a safe place for them all to dry. There were quite a lot of images taken throughout the second project. The first images that were taken were the pictures that I took on our trip to Tate Britain where I took over 200 pictures. These images were not all useful for my project but some of them related quite well with the weather so I could use them. I also took some images one evening from my house when it was raining as I was quite interested in how the pictures would look like with the rain on the window and whether I would like how it looked, once I looked at the pictures on a computer I decided I wasn’t that happy with them and that I didn’t want to take them into the editing process. The next batch of images that I took were taken around my area, I walked around for about an hour trying to find things to take pictures of that were to do with the weather and not too conventional. I then took some images when I was at Swanage on a school trip with the weather in mind; I liked how it was so different compared to the images that I could take in London. My next photo shoot was from my holiday in Fort Myers and Miami, Florida. Most of the images that I have gathered from this holiday were not purposely taken for use in this course however after looking back at the images, there were a few that worked really well in the context of weather so I could use them and edit some of them. Lastly I did another photo shoot in my local area that took around 20 minutes, this time it was even harder to find more weather related objects to take pictures of; I did manage to get a few but not as many as I wanted. After I had all of the images that I wanted, I then had to edit them. I think this was one of the hardest parts for me as I have not edited that many images before and I didn't know what I was going to do with them however I managed the editing process quite well although it is quite time consuming and difficult at first. After editing my first batch of photos, I realised that I was editing images that are too small to be printed in A4 so I re-edited some of the ones that I particularly liked and wanted to use as my final piece and made sure that the quality of the image was the best that it can be so that I had no issues with printing them in A4 and them not being pixelated.
I think the first project is extremely personal to me as I found it quite difficult to actually do a project that involved camera-less photography as I found it daunting as with a camera you can take another picture a second after if you don’t like the outcome however with camera-less photography, you have to be more confident with what you are doing as once you have committed to it, you have to stay with it until the last process to see the outcome. Also when I did camera-less photography in unit 1 earlier this year, I didn’t really enjoy it that much which is why I was quite hesitant when I was thinking about doing it again, however I am extremely happy that I decided to do it as I really enjoyed it in the end. I also think that the second project is quite personal as I love the weather, I decided that I would try to keep away from the conventional weather photographs and try to broaden my mind to images that are to do with the weather but are slightly different from normal. This is when I thought more about the effects of the weather and how the weather can affect people and animals. I then tried to be more observant of my surroundings to see what way weather has affected the areas that I go to and slowly I started to notice more about how the weather has caused shadows and rust on old vehicles and moss to grow on walls and on the floor. When I started to notice these more I started to get more pictures taken. After a while it started to be a lot harder to take photographs to do with the weather, this is because I had run out of ideas of the effects that the weather causes.
Overall, I am extremely happy with my first outcome. I love how blue the cyanotypes have come out and how white the shadows are of the weeds, it makes me really happy to see how all 50 of them came out so well and none of them went wrong during the making or didn’t have enough chemicals on them. I also like how I decided to present my cyanotypes on bull dog clips in lines as it gives it the effect that they are finished and being hung up to dry. If I had the opportunity to redo this project, I don’t think I would change that much as I am extremely happy with my outcome however I think next time I would try to make even more cyanotypes in a bigger batch as I really enjoyed making them and I think the more cyanotypes, the better the effect is of “The weeds of Tallis”. I am also happy with my second outcome; I think it is quite conceptual and interesting as it is difficult to work out what certain objects are which is what I was aiming for. I like how I chose multiple pictures that all linked and could be displayed in multiple ways as they have been mounted singularly. If I was to redo this project, next time I would make sure that when I edited the images, they are all big enough documents and that when I save them after they have enough megapixels as I had to re-edit some images due to them being too small to print A4.
